The Hexflame Reaver is a fearsome green wyrm whose glowing, corrupted form and menacing presence make it one of the most intimidating mounts from Midnight Season 2. Its sickly green flames and jagged, predatory silhouette make it a favourite among collectors who appreciate mounts with a dark, forbidden aesthetic. The flavour text speaks to its deadly nature: "Its glow is a warning: the hunt is already over." For collectors who value rarity and the thrill of the hunt, this mount is a true trophy — a symbol of your dedication to the Prey system and the pursuit of Ral'kala.
Introduced in patch 12.1.0 as part of the Midnight Season 2 update, the Hexflame Reaver is the ultimate reward for dedicated hunters of the Prey system. Unlike straightforward reputation grinds or vendor purchases, this mount is earned through a layered process that tests your knowledge of multiple systems — from unlocking the Coiled Isle to mastering the Curse of the Isle phase and coordinating with other players to summon a powerful boss. The journey is as complex as it is rewarding, requiring both individual effort and community cooperation to maximise your chances. For players who thrive on multi-step challenges and enjoy the collaborative nature of summoning rare bosses, the Hexflame Reaver offers one of the most engaging mount farms of Midnight Season 2.
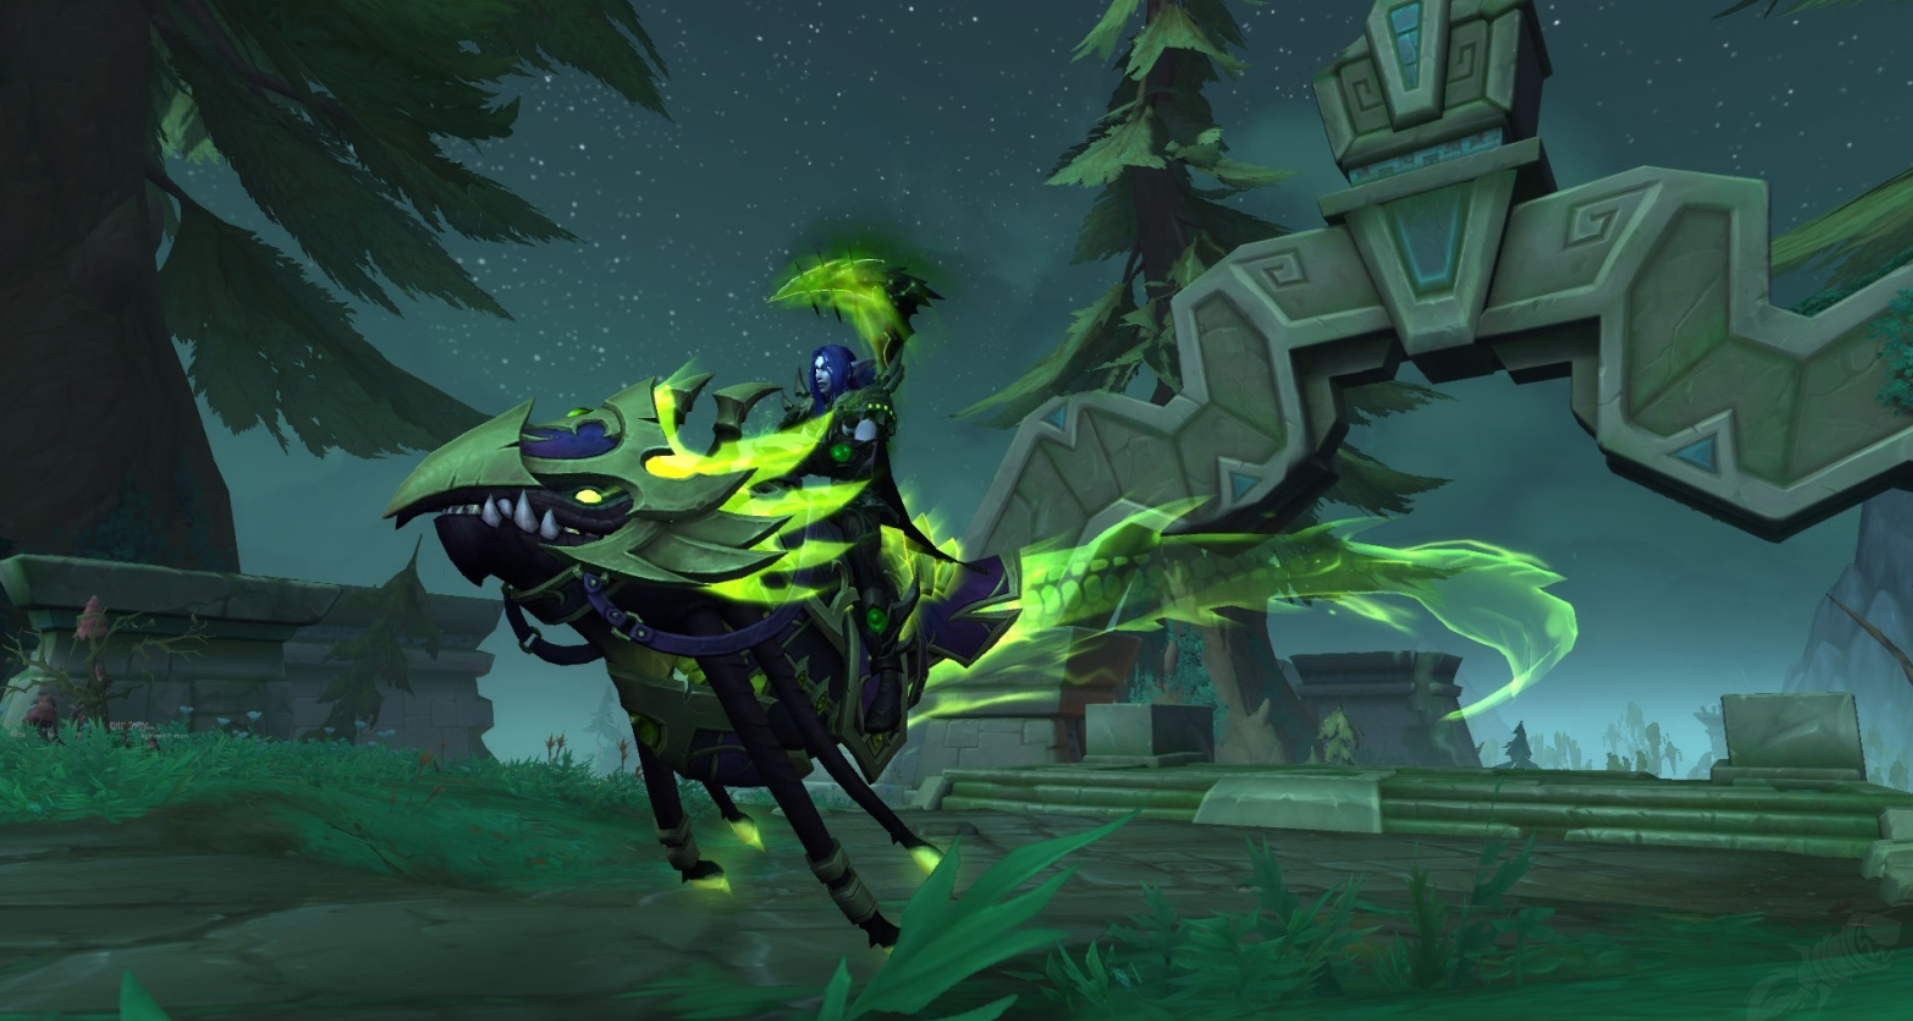
The Hexflame Reaver has a chance to drop from Ral'kala, the Prey Boss in Midnight Season 2. To summon and defeat Ral'kala, you must first unlock the Coiled Isle, complete a quest chain to access the Curse of the Isle phase, and farm Ossified Relics to offer at Haunted Braziers. The mount is Bind-on-Pickup, so it must be looted and learned on the character that obtains it.
To begin your journey, you must first gain access to The Coiled Isle. The island becomes available during the main campaign questline The Curse of Ula'tek in Patch 12.1.0 during Chapter 2. The quest What Lies Beyond the Fog sends you to the island.
Once you've completed the introductory questline, you are able to fly over to the island on every character that is part of your Warband. If you haven't completed the campaign on your main character, you will need to do so before you can access the island on your alts.
The Curse of the Isle is a new toggleable version of Nightmare Prey, putting you into a phase where you can summon and fight Ral'kala, the Midnight Season 2 Prey Boss. To unlock the Curse of the Isle phase, you need to complete a quest chain which starts from Astalor Bloodsworn, who can be found in the Prey Hub in Silvermoon City.
The Quest Chain starts with Prey: A Slithering Threat. This will require you to defeat one of the snake-themed Prey Hunts on The Coiled Isle in Nightmare Difficulty. The follow-up for this quest chain will introduce you to Ral'kala and the Ossified Relics needed to summon him.
Once you have unlocked the Curse of the Isle phase through the quest line, you can enable it whenever you want by speaking to the Image of Astalor Bloodsworn in Tokka's Landing, on the Coiled Isle.
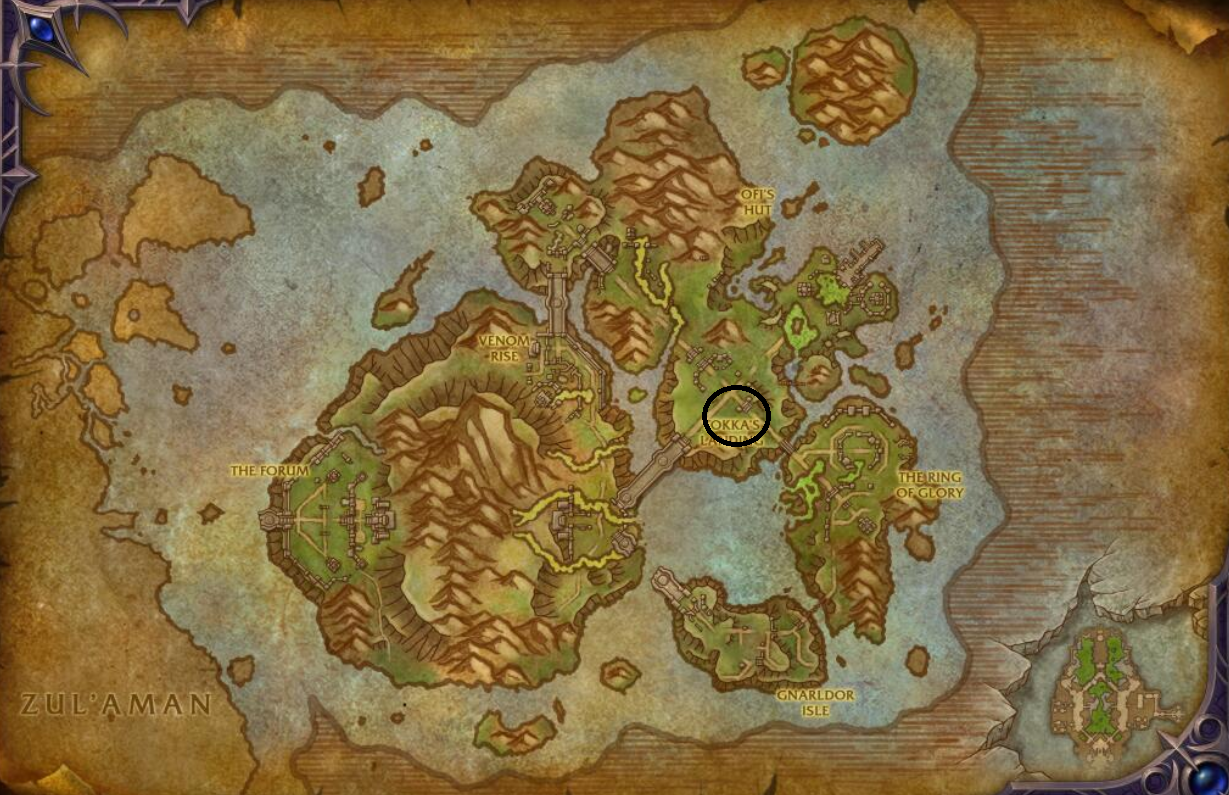
Image of Astalor Bloodsworn
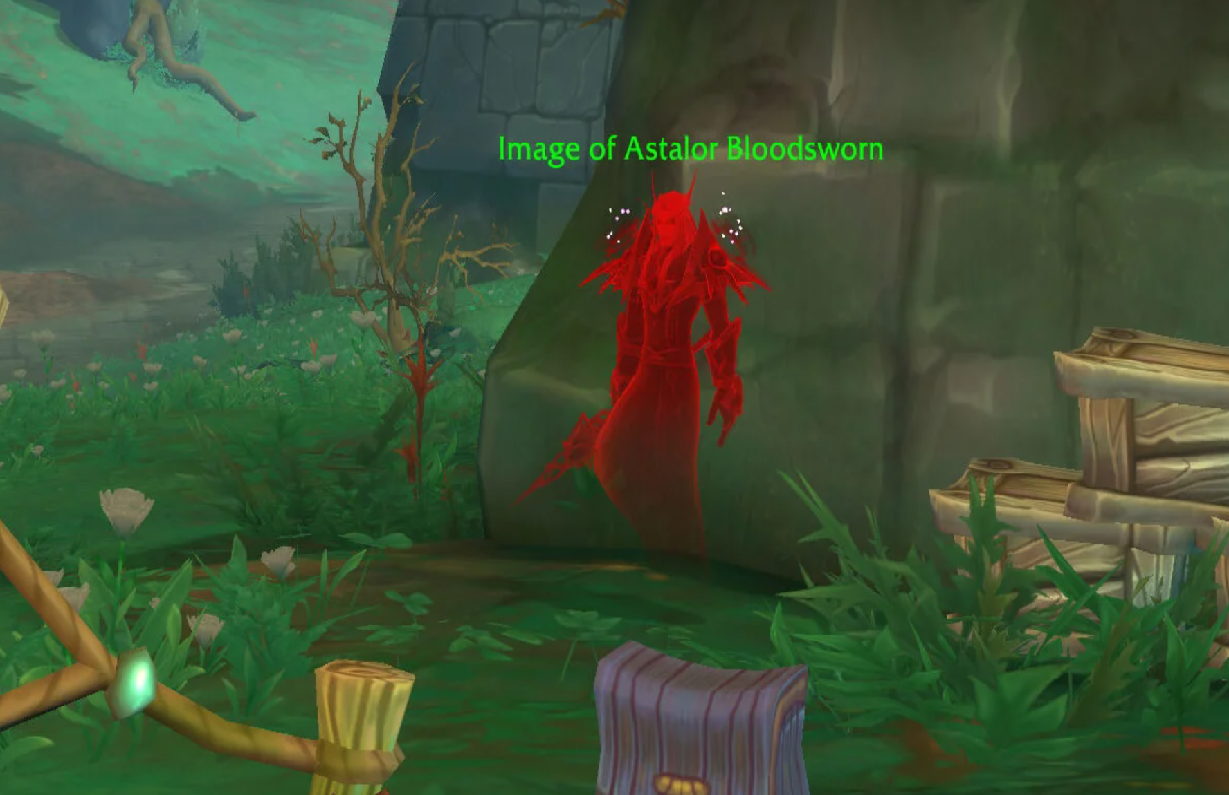
Image of Astalor Bloodsworn
Once you are in the Curse of the Isle Phase, you can start to farm Ossified Relics. These come from Skulls you can collect around the isle, defeating enemies around the Coiled Isle, and from the Daily Quest Prey: Anguish from Beyond. All require you to have the Curse of the Isle active.
The Daily quest, Prey: Anguish from Beyond, rewards 100 Ossified Relics, so we would recommend doing that first and then farming more relics by defeating enemies or collecting skulls until you have enough to summon Ral'kala as many times as you want.
The Haunted Brazier can be found in several locations around the Coiled Isle, they are shown on the world map with a blue brazier icon.
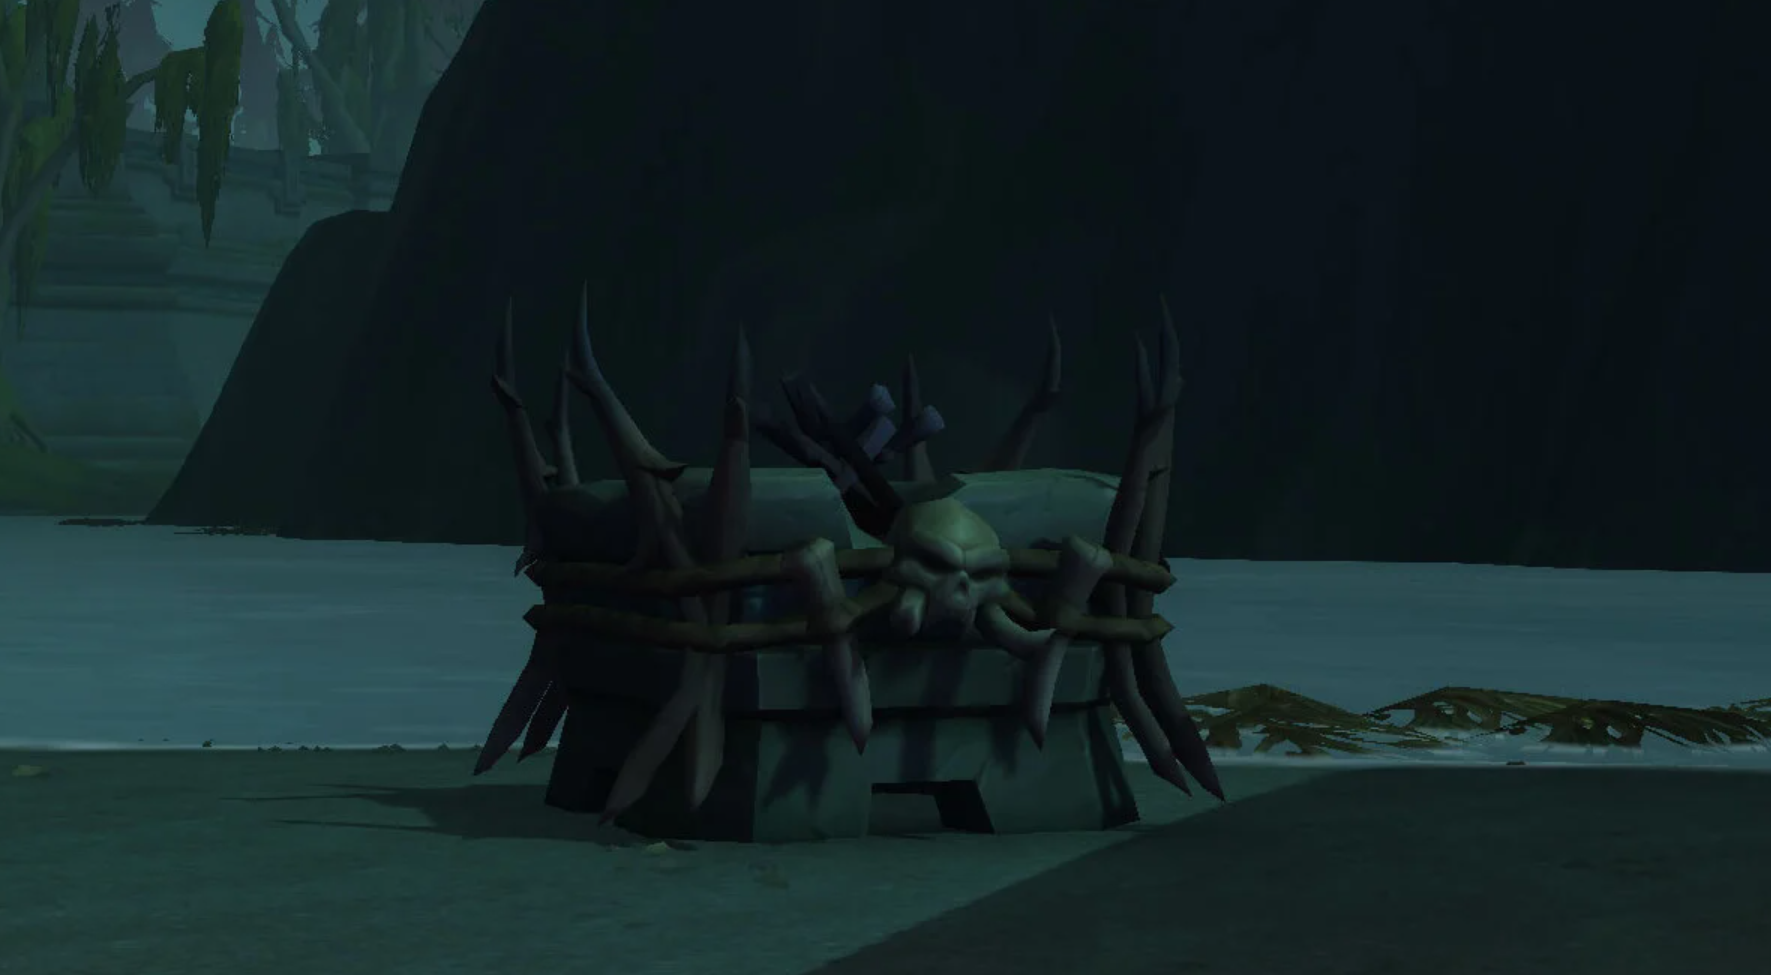
Interacting with the Brazier will let you offer Ossified Relics, either in amounts of 1, 5, 10 or 50. The total amount required to summon Ral'kala is 100 Ossified Relics per Brazier. This amount is shared between any player that contributes, so you don't need to offer all 100 of your Ossified Relics to summon Ral'kala.
Important: When you contribute Ossified Relics, you gain a buff saying you are more likely to receive loot because you offered your own relics. Because of this, make sure to always contribute some Relics to the Haunted Brazier each time you summon Ral'kala.
Once a collective 100 Ossified Relics have been offered to a Haunted Brazier, Ral'kala will spawn. He is fairly easy to defeat and has a small chance to drop the Hexflame Reaver mount.
Since Ossified Relics are account-wide and Ral'kala can be summoned repeatedly, using multiple characters can help you accumulate Relics faster.
Why alts matter for Hexflame Reaver:
Recommended alt strategy:
Farming Ossified Relics and summoning Ral'kala requires efficiency and organisation. The right addons can help you track Relic locations, manage your Warband progress, and coordinate with groups.
Pro tip: Use HandyNotes to see all Skull and Brazier locations at a glance. Then use TomTom to set waypoints and plan an efficient route — this will save you hours of searching and ensure you never miss a Relic.