
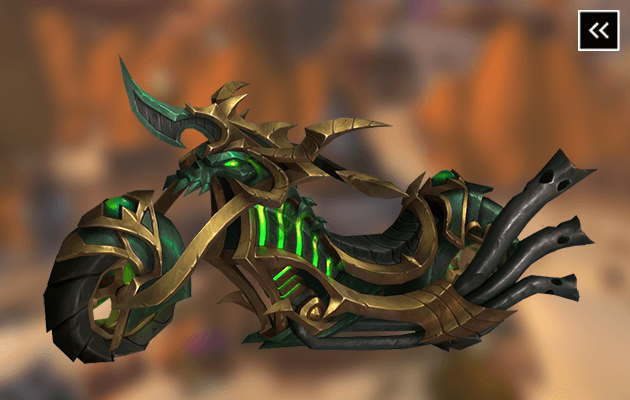
Among Azeroth’s many mounts, few turn heads like the Incognitro. This isn’t just transport as it’s a fel-forged engine of chaos, wrapped in chains and pulsing with eerie green light. Its roar echoes dark pacts and arcane secrets. Riding Incognitro is a warning to the foes around you.
Earning Incognitro is no simple feat. This mount lies at the heart of one of WoW’s most complex and demanding secrets — a puzzle that spans continents, expansions, and disciplines. It challenges players to think like detectives, scour the world like collectors, and work together to unravel clues no one can solve alone. Securing it takes time, cunning, and dedication (and those who do wear it as a mark of true mastery).
Before we begin the main achievement, we need to gather a few essential items. Let's get these prerequisites out of the way first:
"Dogg-Saron" Costume - This item can be purchased in Azsuna.
Or "Yipp-Saron" Costume - This item can be purchased in Tirisfal Glades and Elwynn Forest.
Pet: Fledgling Warden Owl - Can be bought for 400g at Revered with The Wardens or from the Auction House. The Perky Pug pet is the reward for completing the Looking For Multitudes achievement. To earn it, you need to use the Dungeon Finder to successfully complete random Heroic dungeons with 100 different players.
Profession: The Fishing secondary profession.
Toys: Either the Twitching Eyeball or the All-Seeing Eyes. The Torch of Pyrreth (The steps to obtain this important item are depicted below).
Title: Detective - To get the this title, you need to earn the Azeroth's Greatest Detective achievement. Below, we'll explain how.
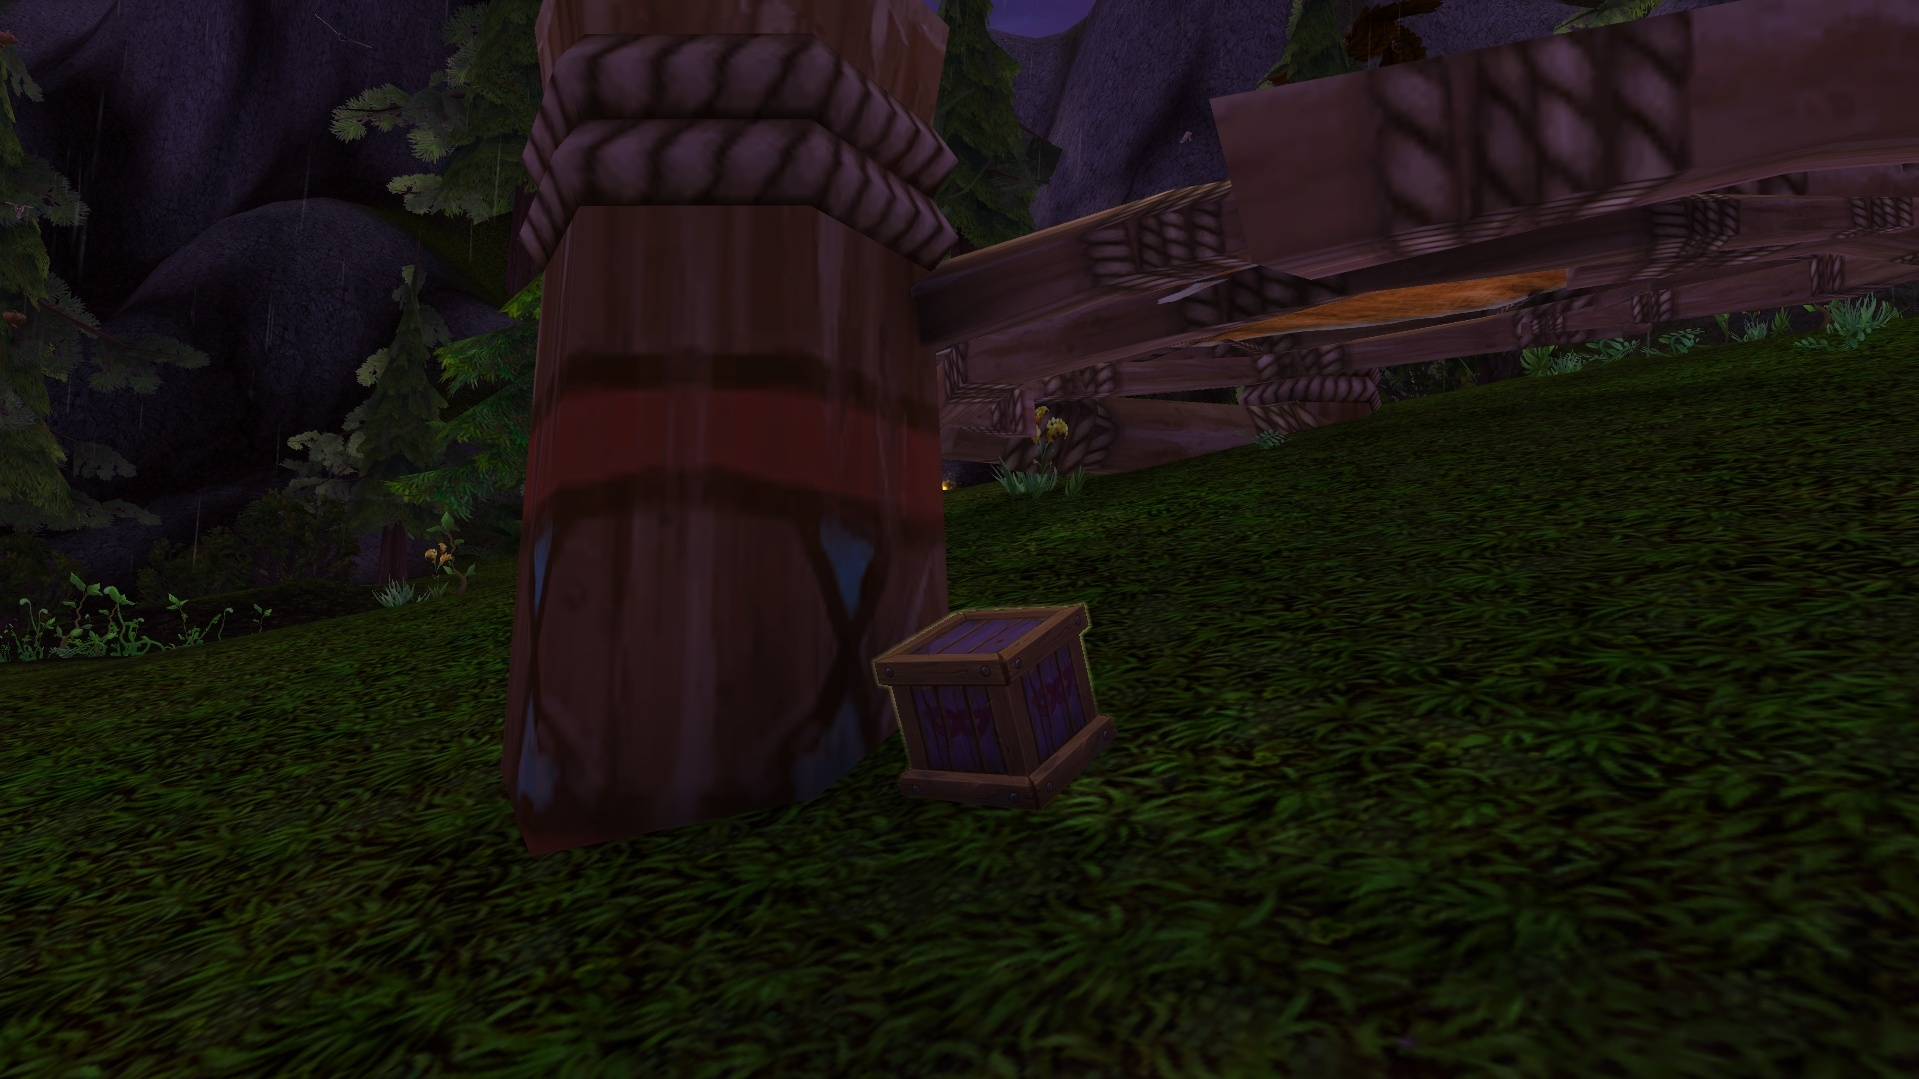
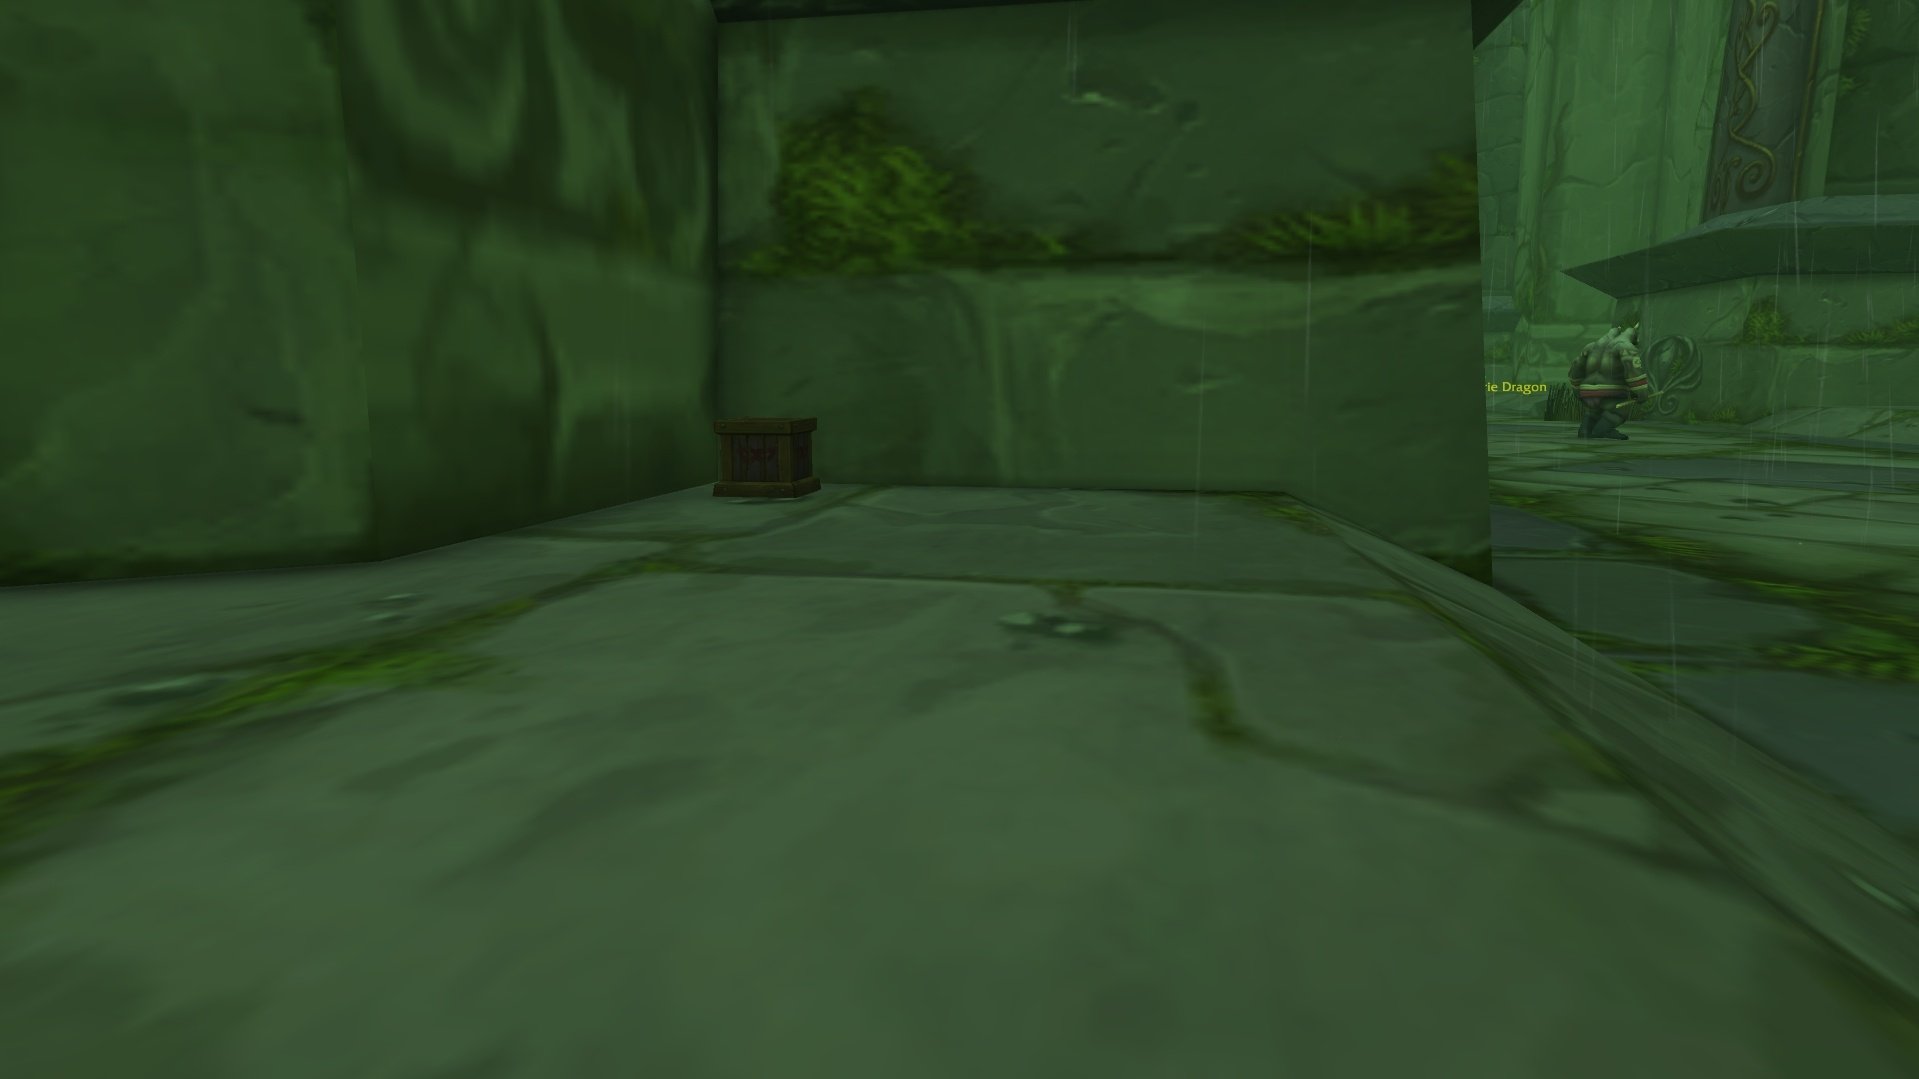
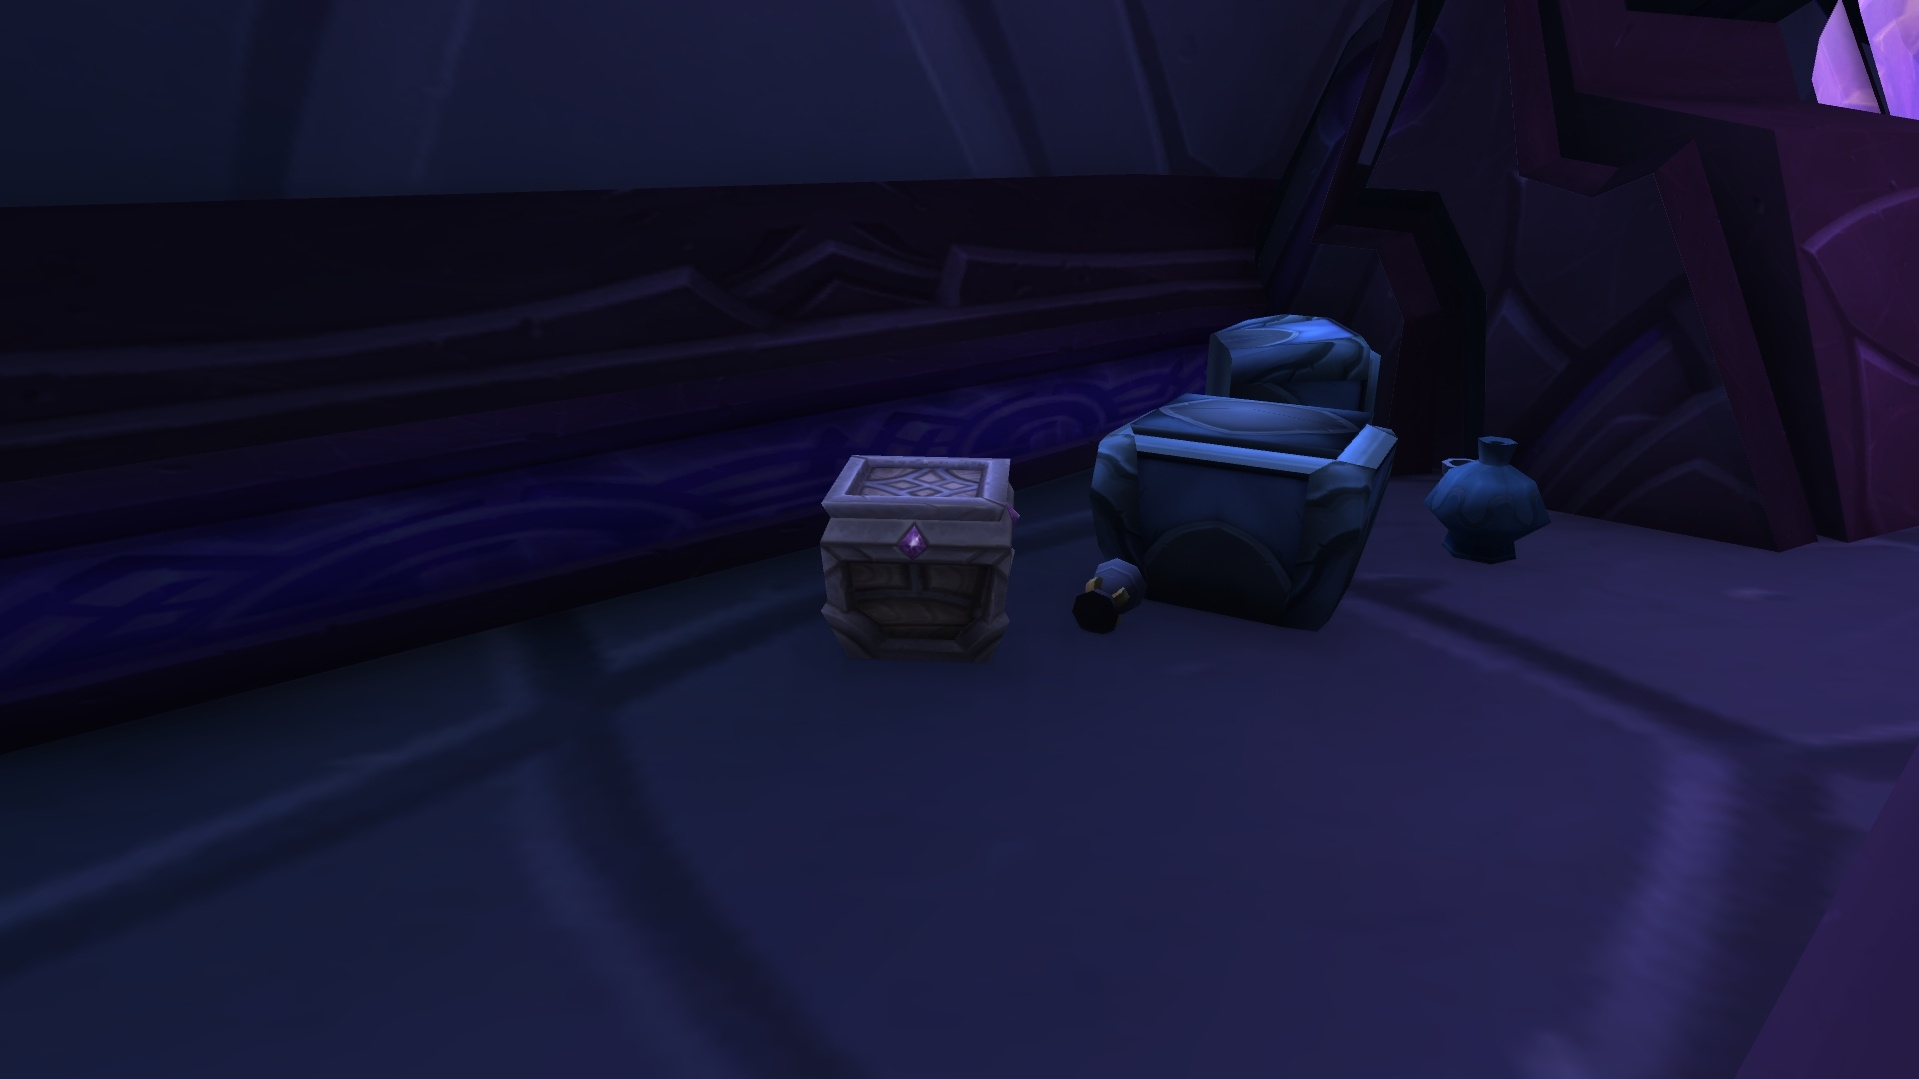
The Detective title granted to players upon completion of the Azeroth's Greatest Detective achievement. There are multiple pathways to earning this achievement, involving various investigative tasks. However, the most time-effective strategy bypasses some of the more intricate steps. The recommended and fastest method involves locating and collecting 11 specific chests. These are hidden in various locations throughout Azeroth, requiring players to travel extensively to find them all.
Below you will find the list of chests you need to collect:
Your journey for the first crate begins at the Dive Bar, a tavern hidden just beneath Dazar'alor in Zuldazar. Make your way to the upper floor, where you'll discover a peculiar conch known as Gerald. He won't open for just anyone, however. To earn his trust, venture deeper into the establishment to find Master Talekeep Nikto. Purchase his special Clam Digger cocktail and present it to Gerald as an offering. He will then gladly open up and reveal your prize!
/way #862 54.2 54.2
With the second box everything is much simpler, you just need to be dead to see it!
/way #66 54.0 58.1
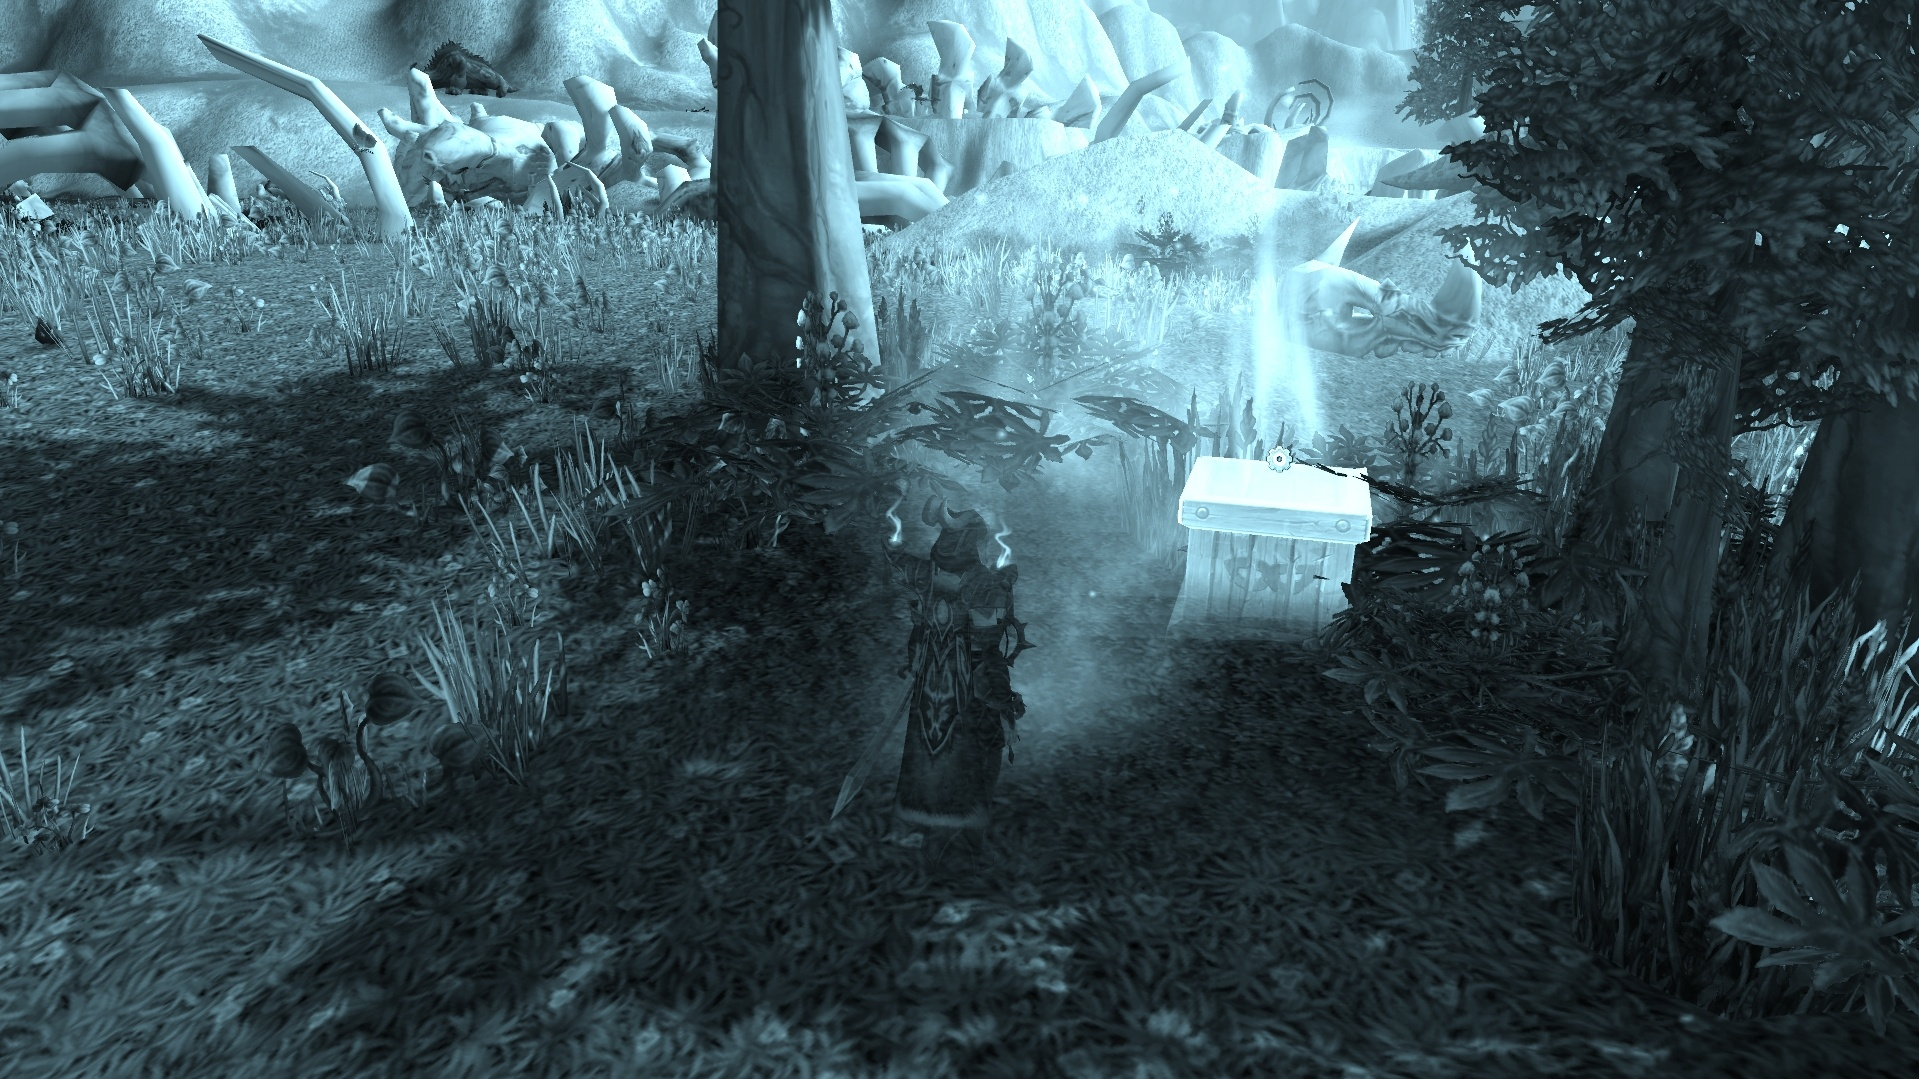
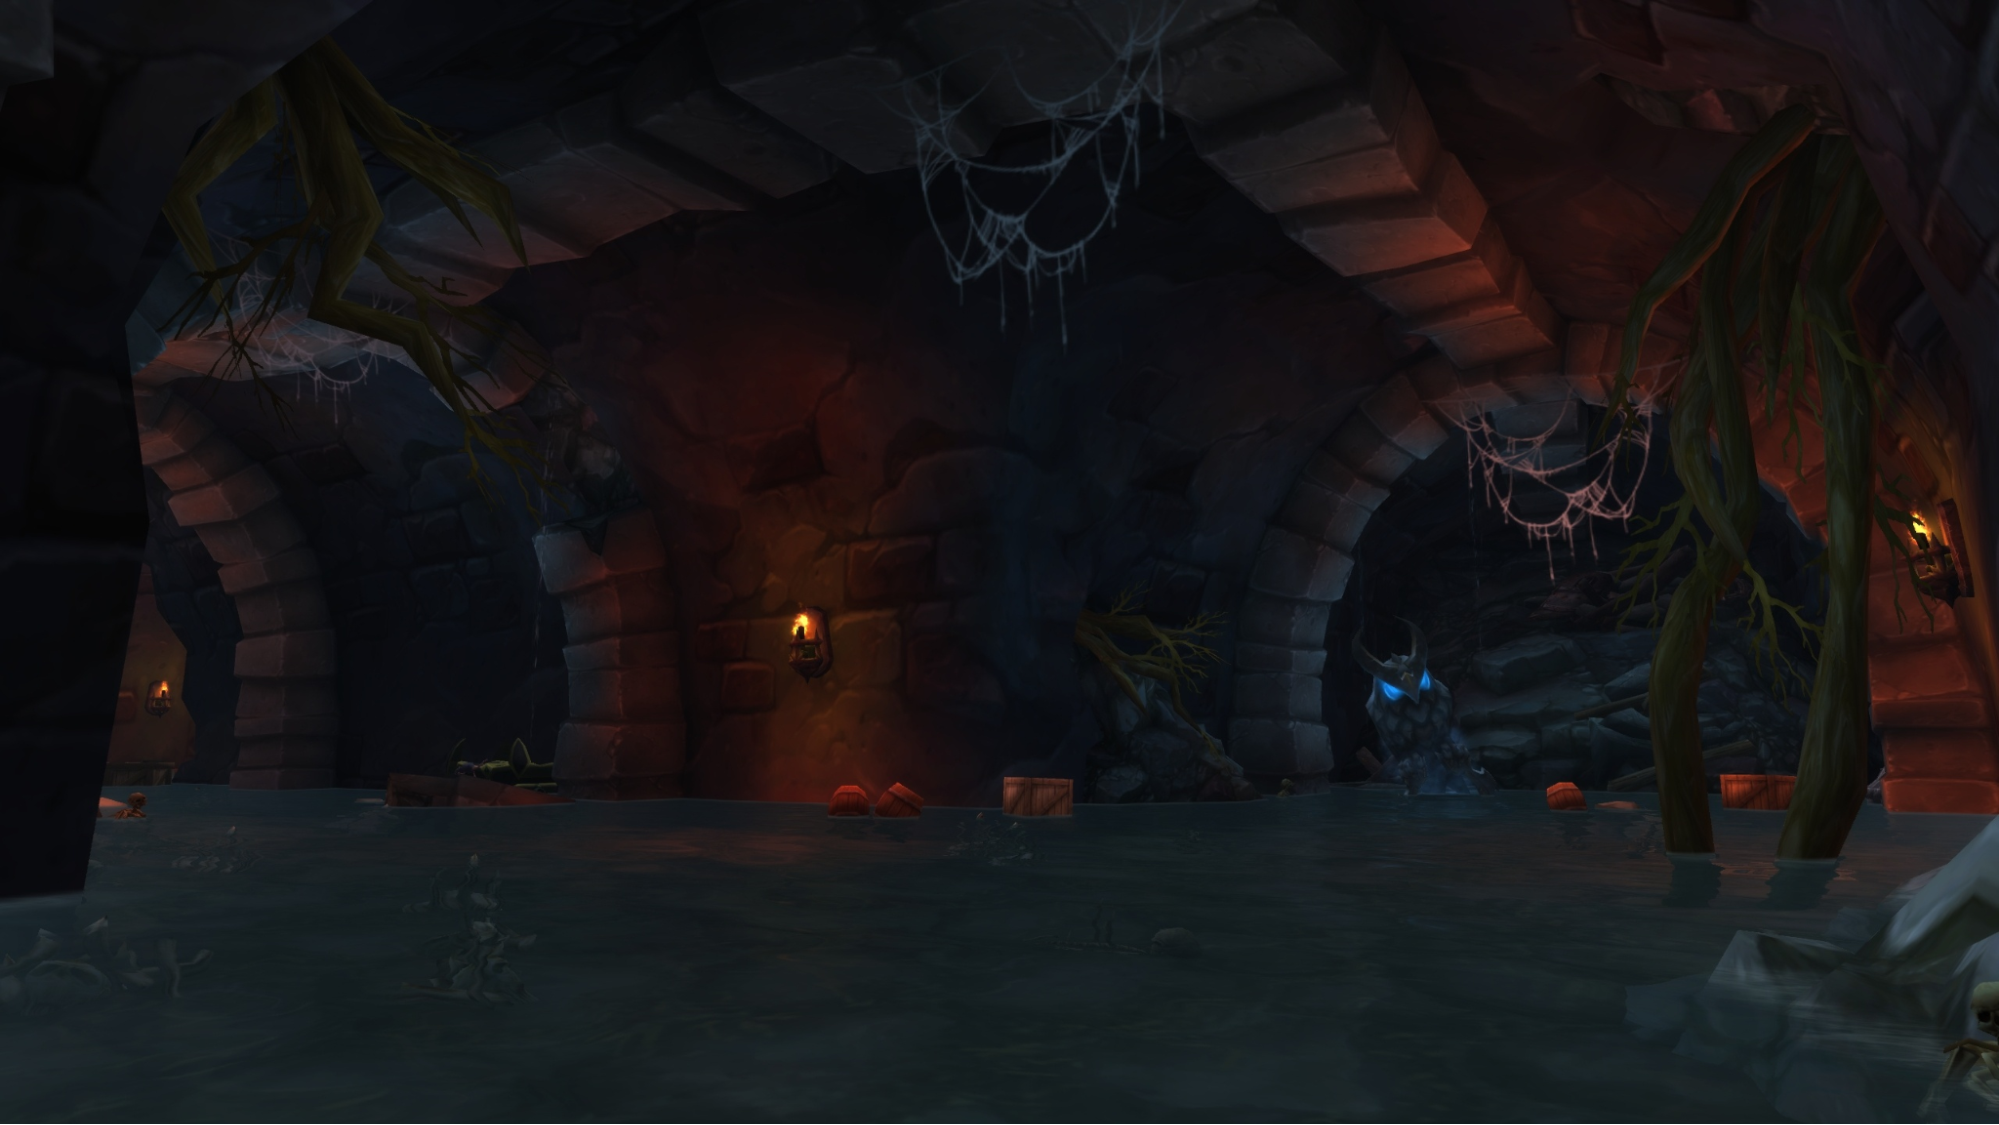
Your next prize, the third crate, is hidden at the very end of the Karazhan Crypts. Be warned, the crypts are a disorienting labyrinth, so be attentive!
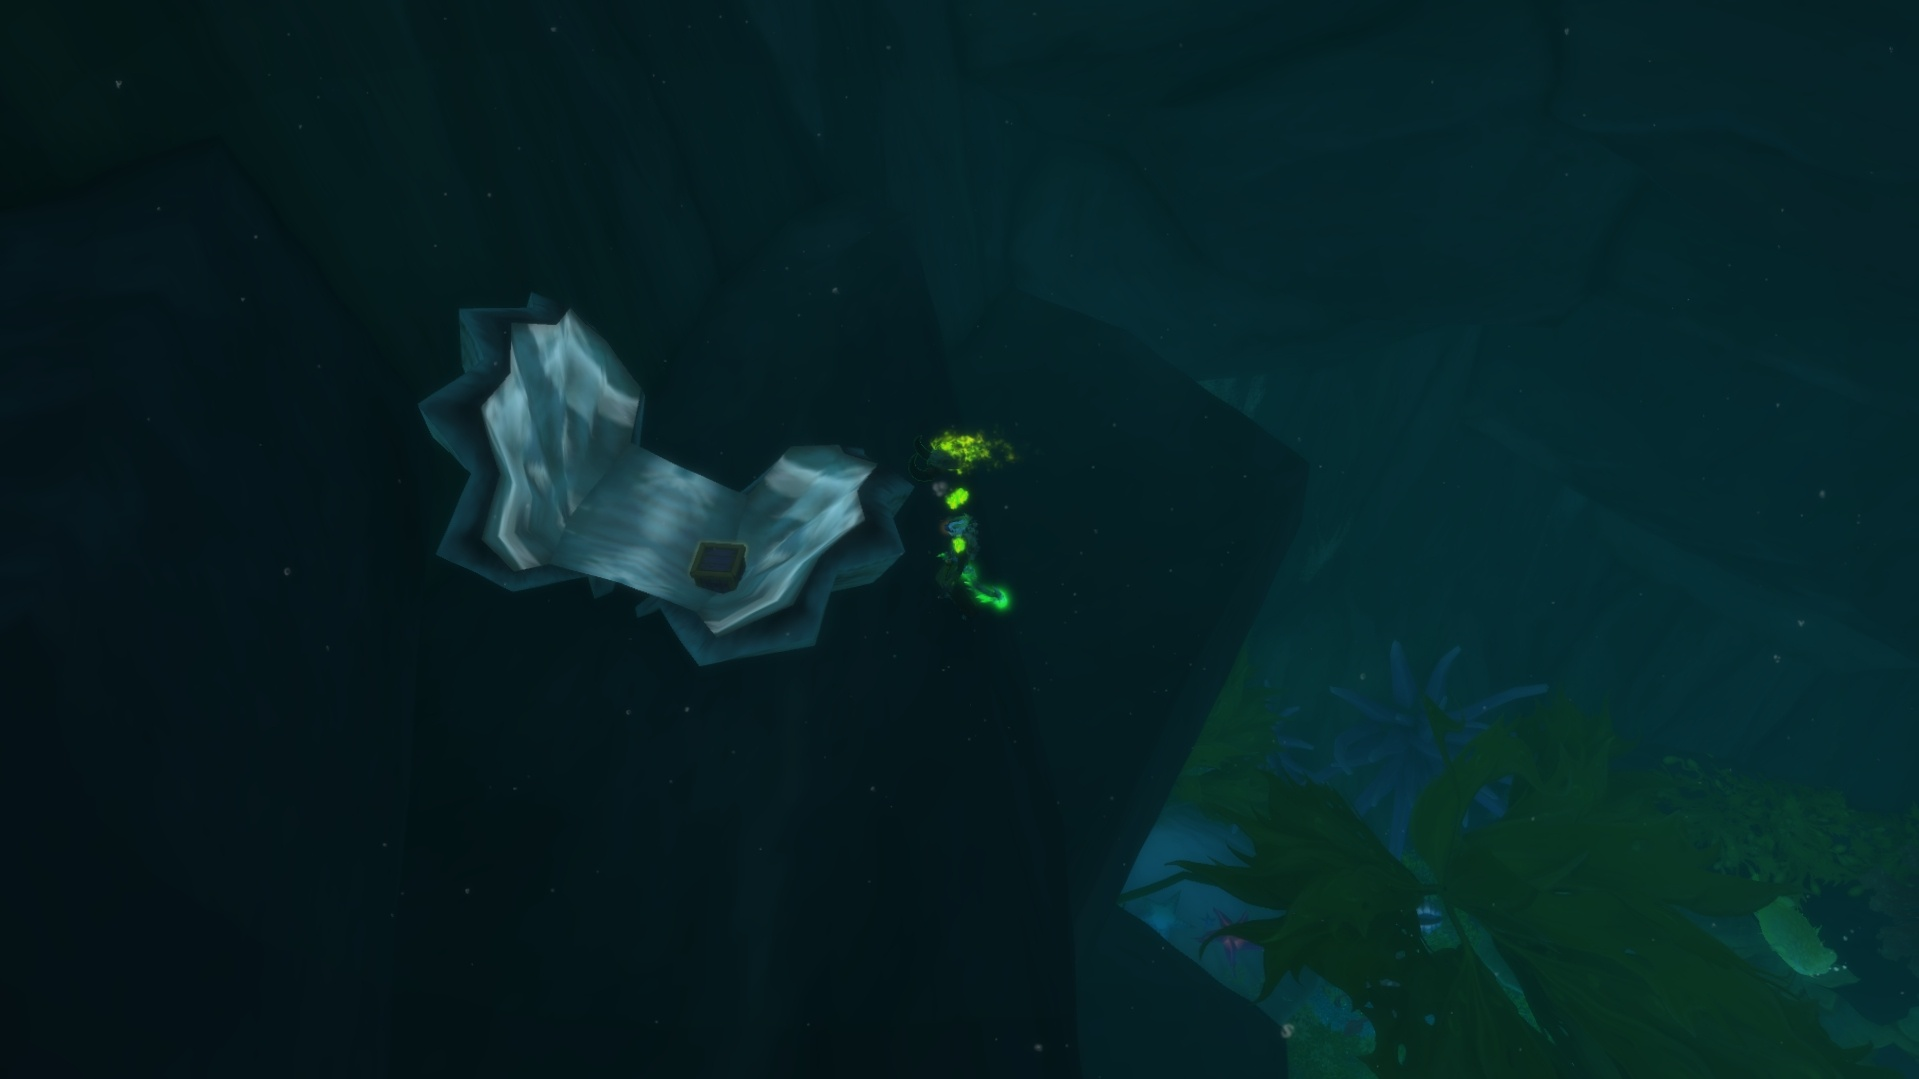
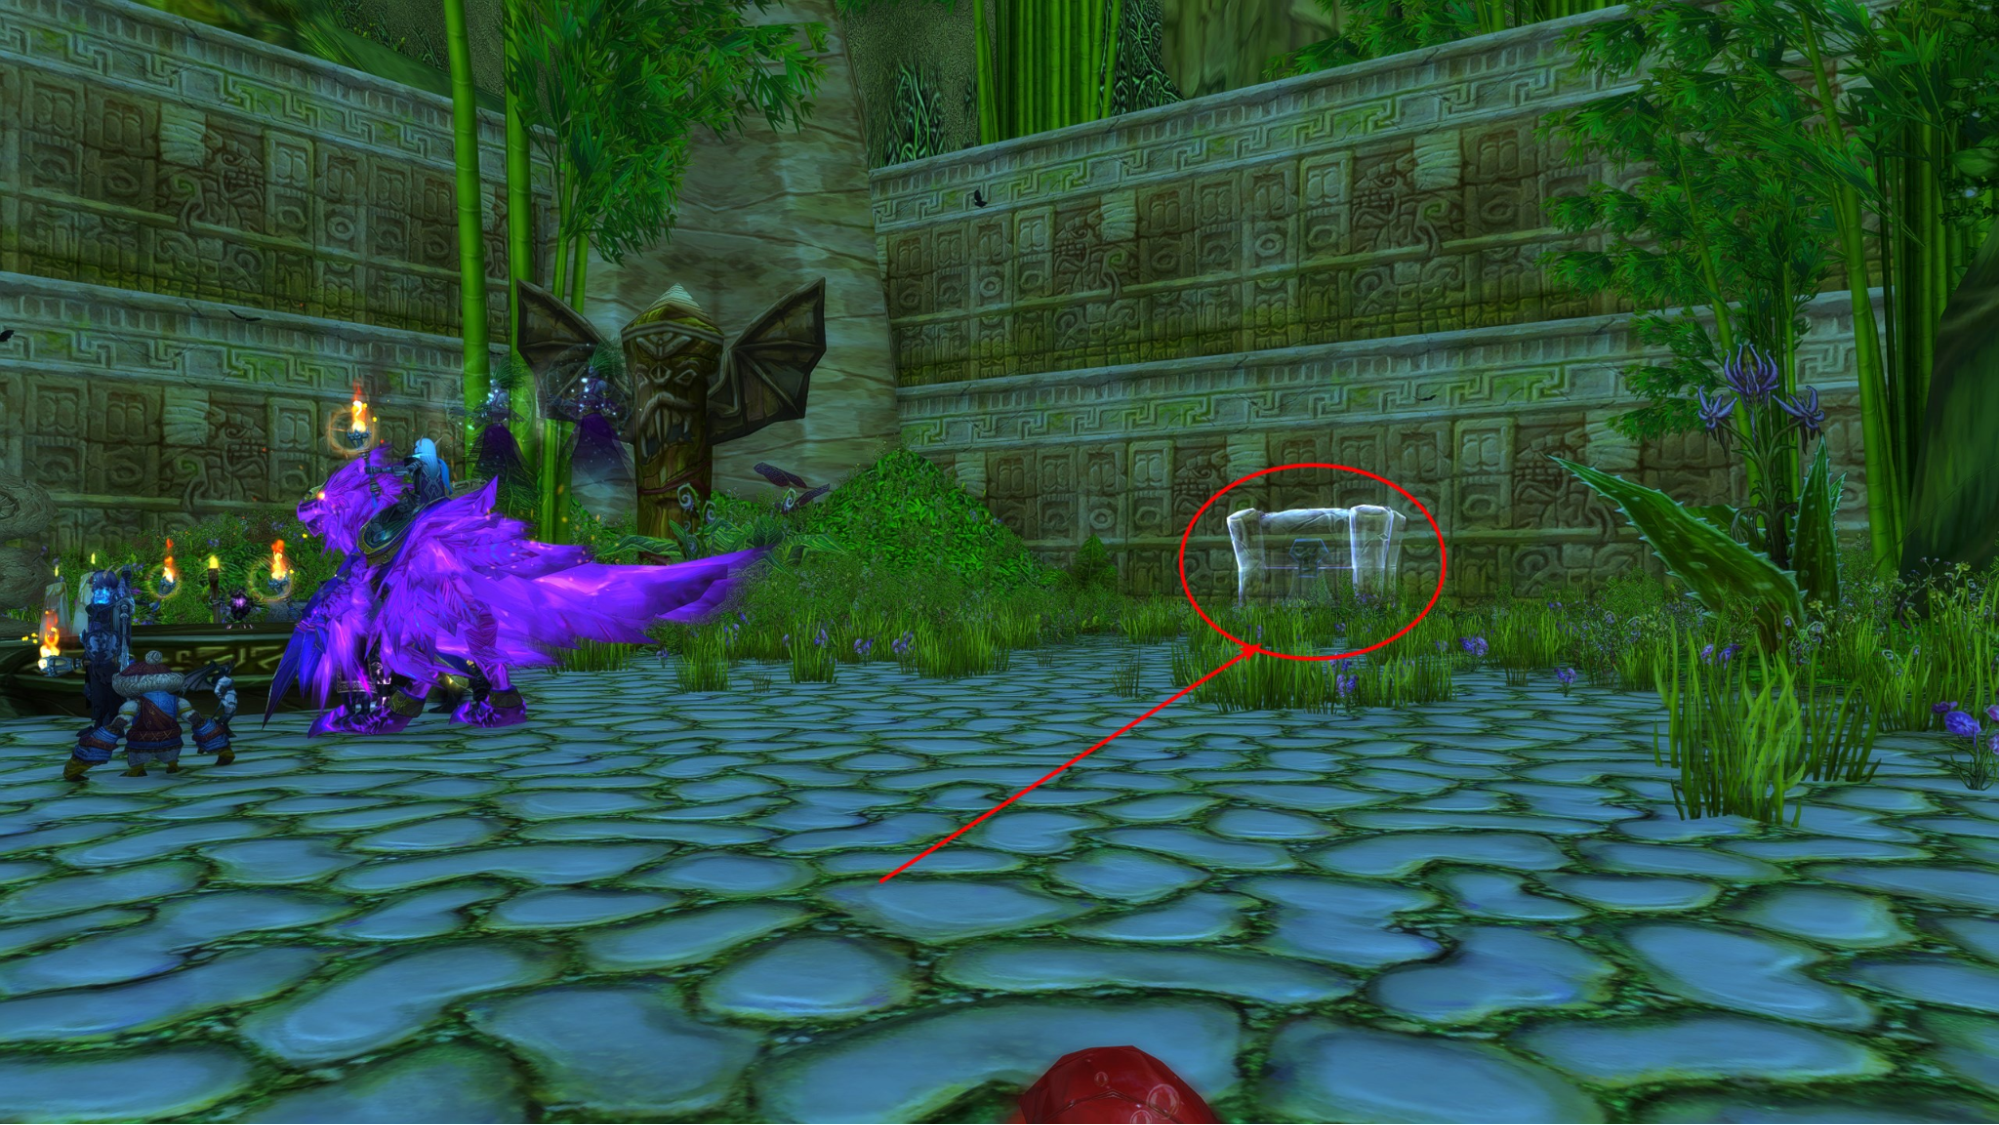
Head to the former Dig Site in Thousand Needles, which is now a flooded area by the Shimmering Flats. Swim down to the underwater ruins and locate a silithid cave at the back of the site. Inside is a Water-Resistant Receipt that contains your next hint. It is mandatory that you loot this receipt before you can continue your search for the crate.
/way #64 64.9 84.4 Water-Resistant Receipt
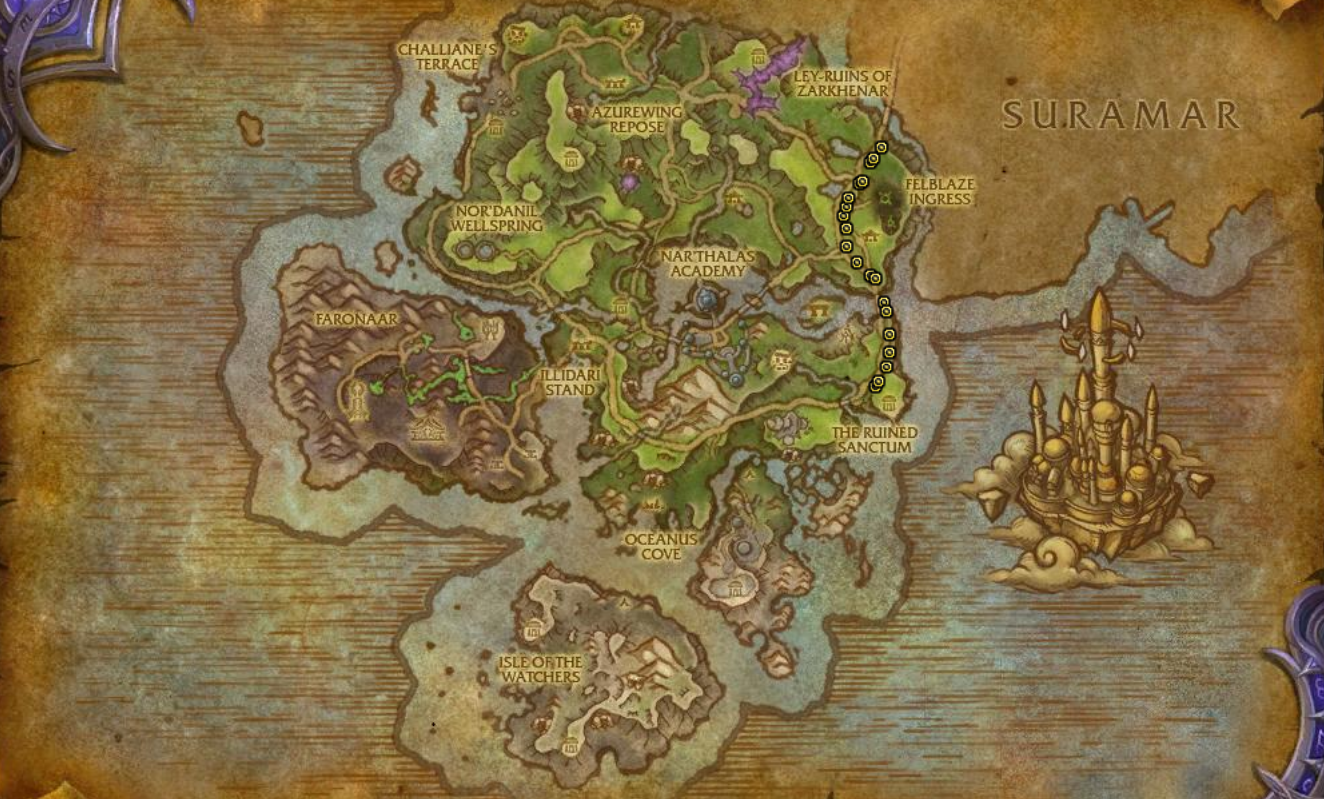
With the Water-Resistant Receipt now in your possession, your next destination is Azsuna. You must seek out Vashti the Wandering Merchant who travels along the eastern road of the zone. Having the recipe will unlock the option to purchase the Sandy Celebration Crate from them.

This next crate is easy to find. It's located inside a cave filled with worgs, situated right on the border between the Grizzly Hills and the Howling Fjord.
/way #117 29.40 6.36
To find the Waterlogged Celebration Crate, head to the coast of Tanaris. At the location marked below, you will see two submerged gnomish buildings. The crate is on the second floor of the larger of these two structures.
/way #71 69.18 68.60
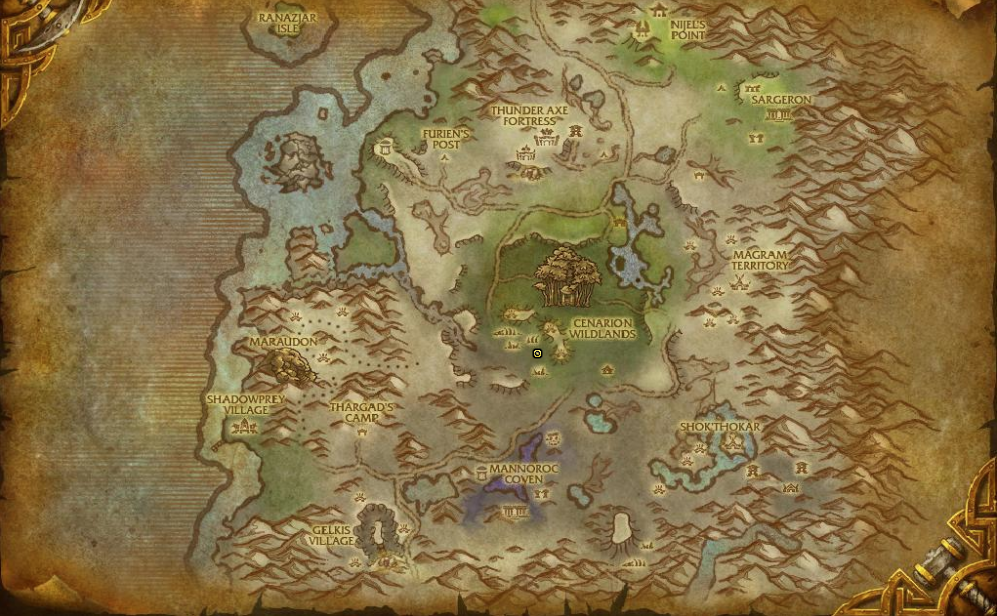
Your next clue leads to Hyjal, a place well-known to veterans of the Cataclysm. Recall the memorable Avengers of Hyjal daily quest—the one where you rescue bear cubs by tossing them from trees onto a waiting trampoline. You'll find the Celebration Crate hidden right underneath that very landing spot.
/way #198 13.6, 33.5 Hyjal Crate
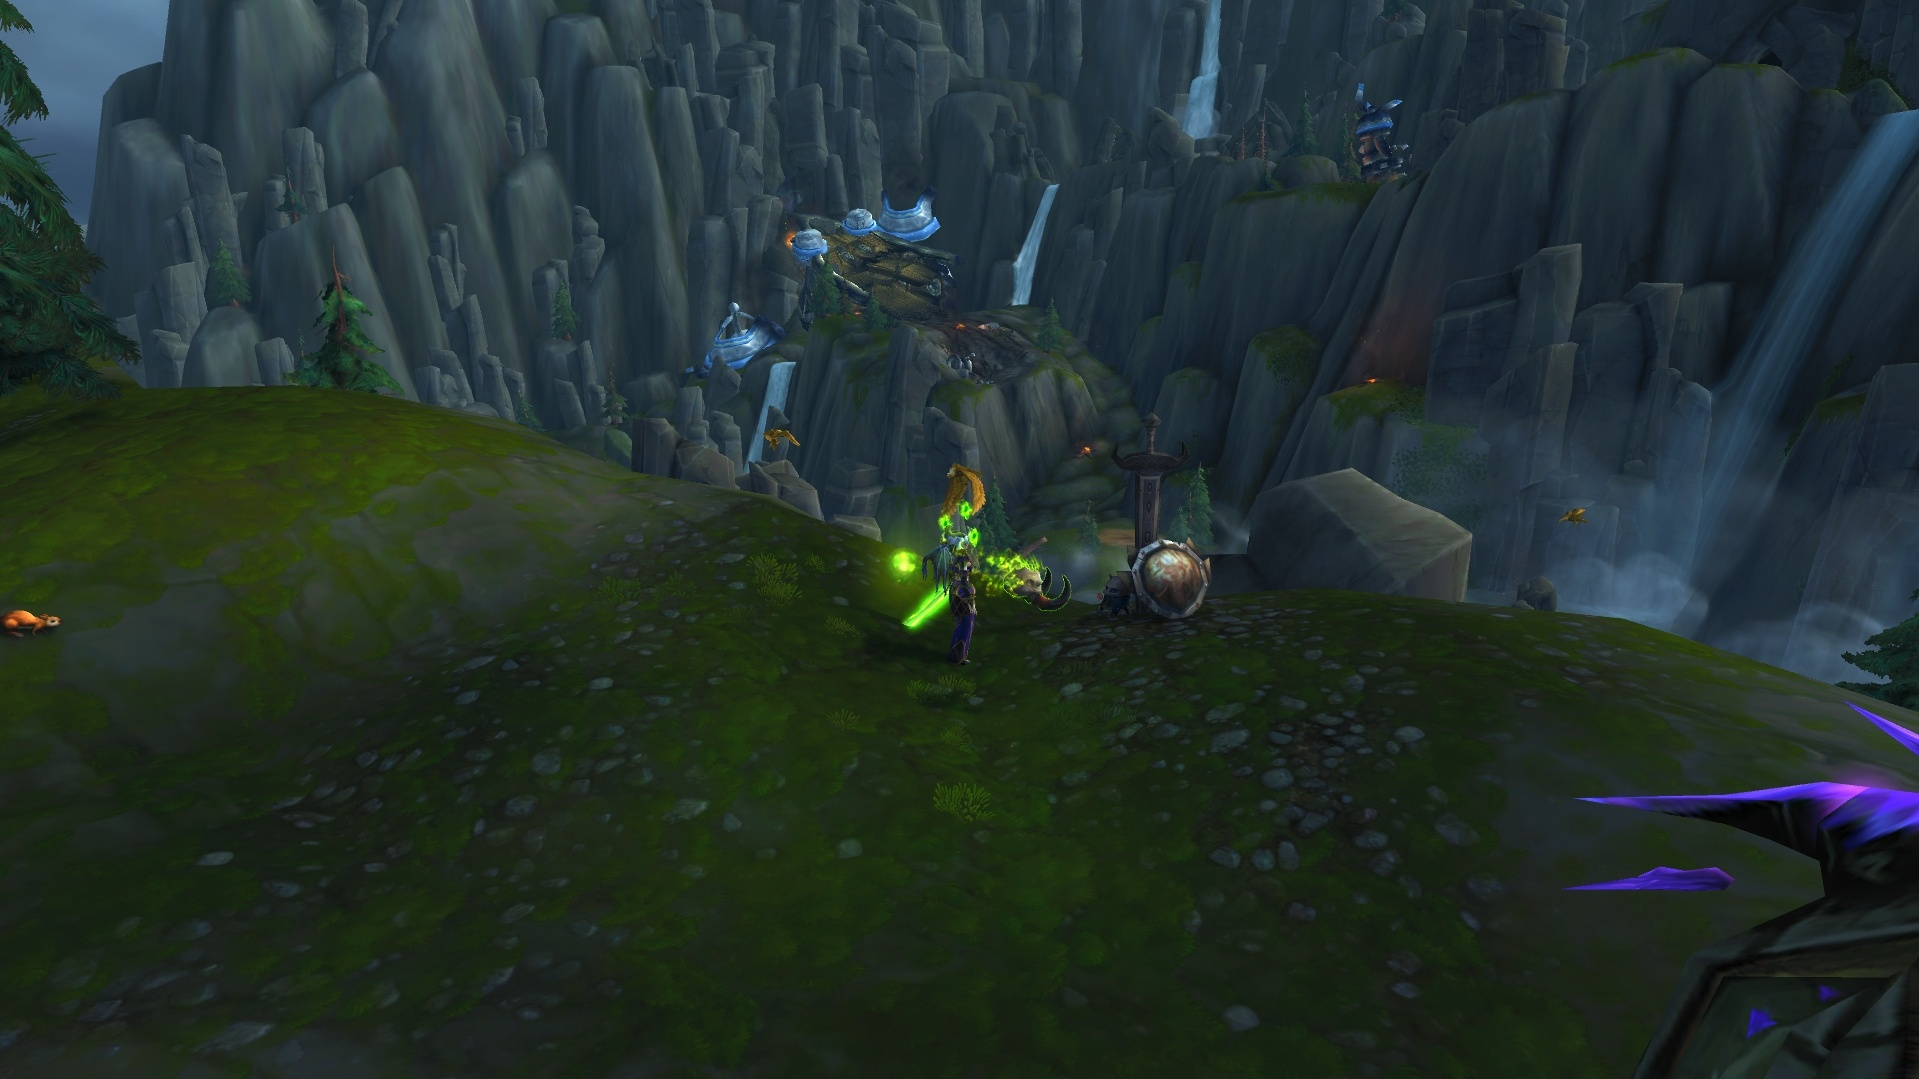
This Celebration Crate requires a journey across two zones. Your quest begins at the fiery summit of Thunder Peak in Ashenvale. Ascend to its highest point, behind Lord Magmathar, to find a blue potion. Drinking it grants you the Potion of Truth, a 30-minute buff that reveals what is hidden.
/way #63 47.9 38.4 Potion of Truth
With the clock ticking, you must fly under your own power to Feralas — be warned, any other form of travel will break the potion's magic! Make your way to the entrance corridors of Dire Maul, where the potion's power will unveil the Mildewed Celebration Crate.
/way #69 60.42 35.40 Feralas Crate
To find the Crystallized Celebration Crate, enter Oshu'gun and navigate to the area featuring Draenei-style architecture. The crate is waiting in the middle room of that section.
/way #107 35.85 67.20 Oshu'gun entrance
/way #107 35.27 74.73 Crystalized Celebration Crate
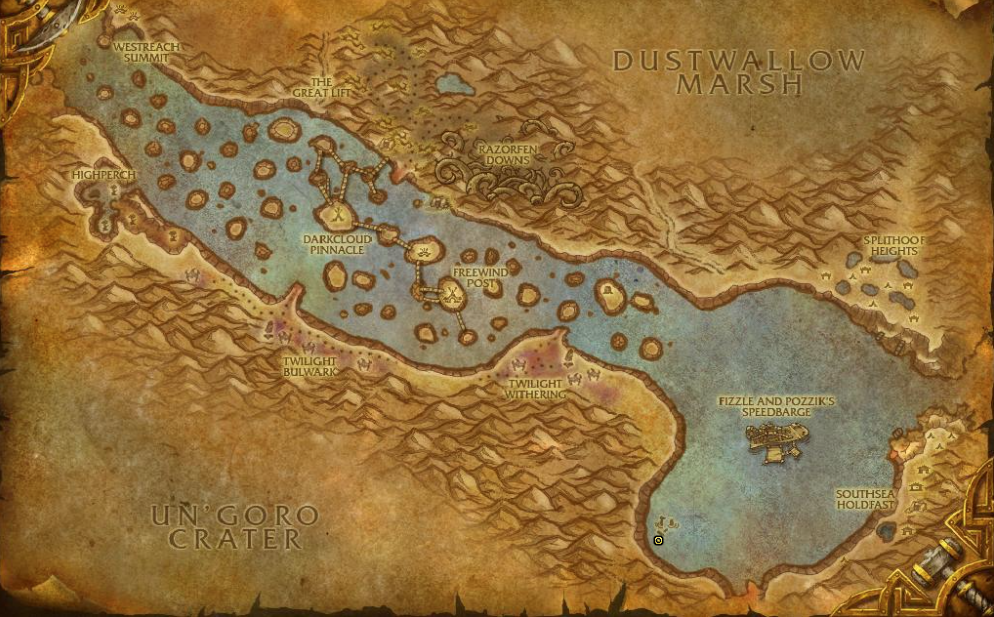
Go to the cave on the southwest coast of Ahn'Qiraj: The Fallen Kingdom where the red dragon Andrestrasz sleeps. Behind the dragon, you will find a pile of bones you can't interact with. To solve this, summon any dog-like battle pet (for example, the The Perky Pug), and it will dig up the Mysterious Bones for you.
/way #12 40.43 93.12 Cave Entrance
/way #12 40.71 92.83 Mysterious Bones

Now that you have the Mysterious Bones, you need to find a specific grave. Head to the Weeping Bluffs in Stormheim, near the crashed Skyfire warship. The grave is located on top of a cliff to the northeast of the wreckage. Use the Mysterious Bones on the grave, and the Surprisingly Pristine Celebration Crate will appear.
/way #634 37.39 47.64 Grave of the Fallen Warrior
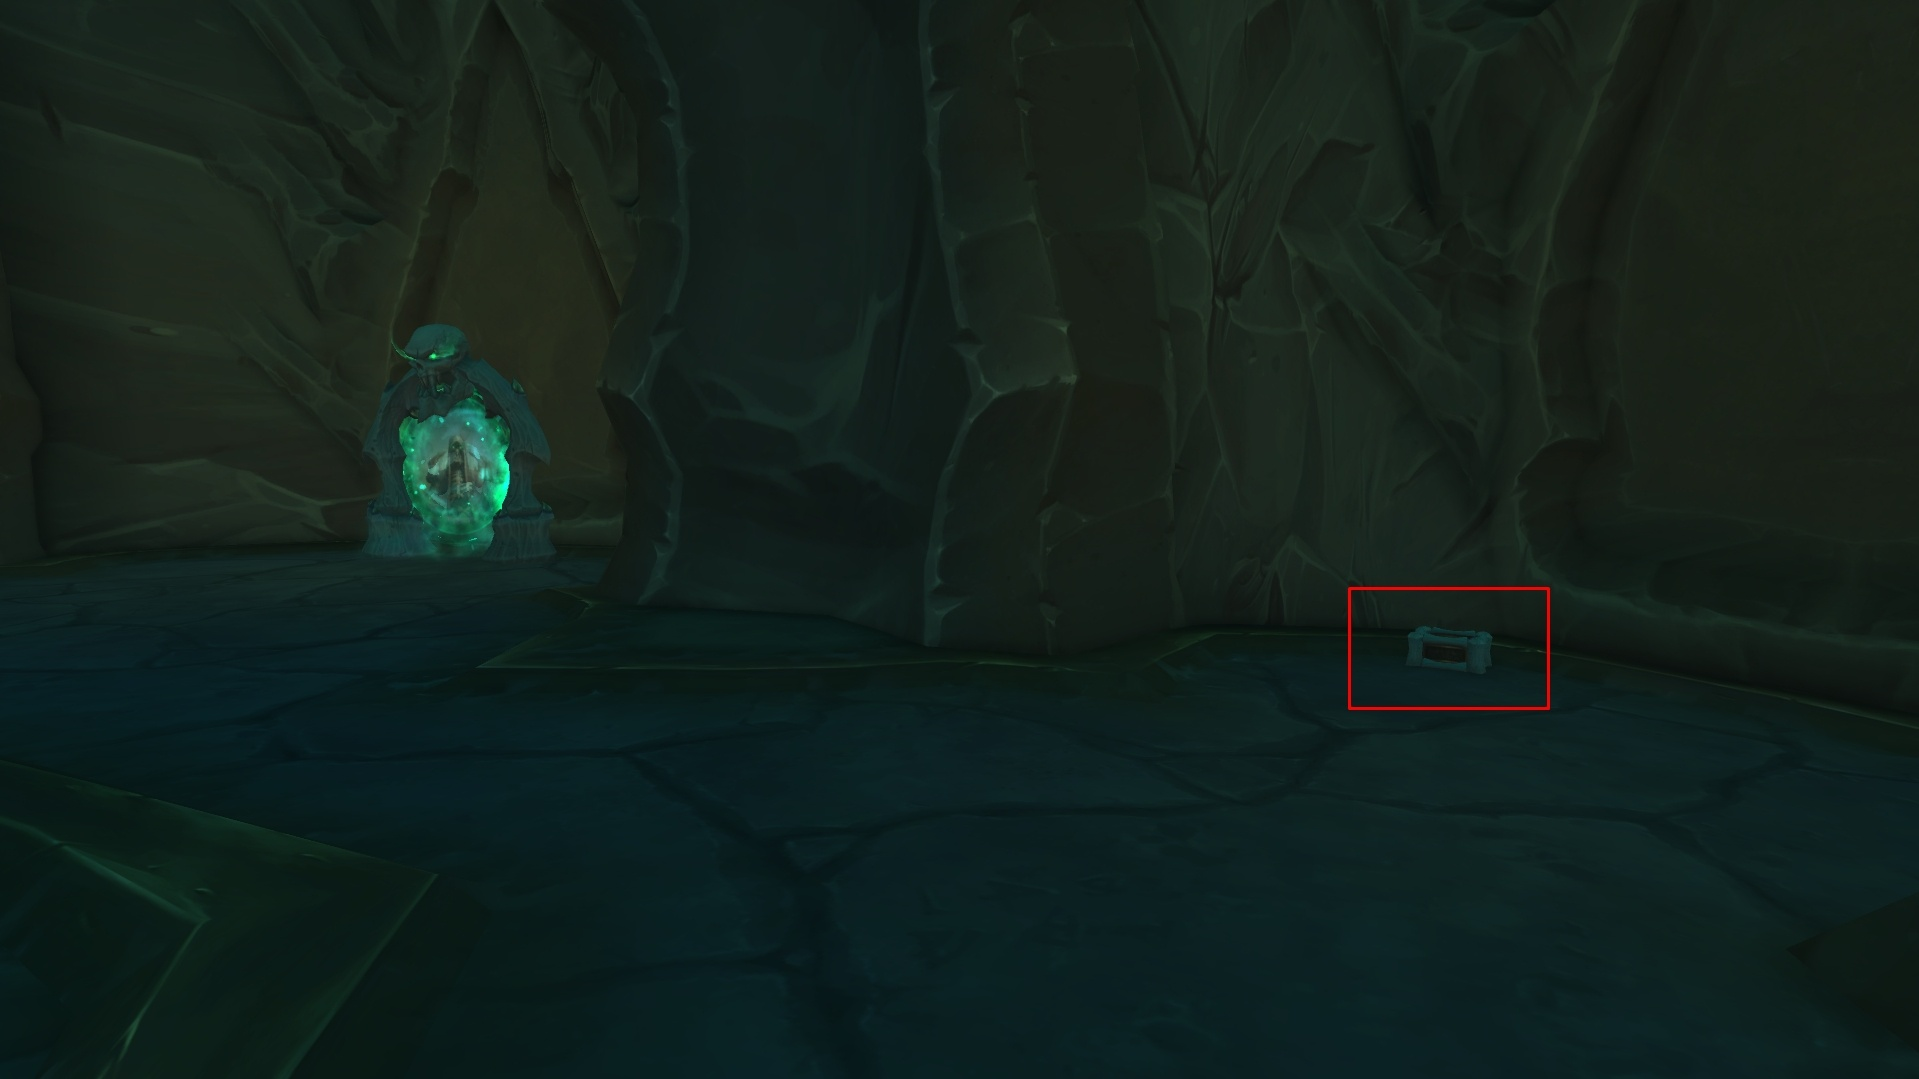
For your final prize, your journey concludes in Maldraxxus. Make your way to the Seat of the Primus and ascend to its upper level. The Haunted Crate is waiting for you near the portal that returns you to the interior of the structure.
/way #1536 49.99 73.81 Ghostly Celebration Crate
Excellent work on completing the initial steps! By earning the Detective title, you've already proven your dedication and successfully unlocked the door to the main secret. You're officially on the case, and that's a huge accomplishment in itself.
However, be prepared: the journey ahead is a true marathon, not a sprint. The real challenge involves a long and complex series of intricate puzzles, obscure item hunts, and steps that can be incredibly time-consuming.
Once your character has the title, travel to Dornogal and find the Dalaran Survivor. If you interact with her without the title equipped, she will say she witnessed a crime but will only speak to a detective.
To proceed, equip your Detective title. When you speak to her again with the title active, she will agree to talk and will give you the quest Ratts Race.
/way #2339 54.99 28.92 Dalaran Survivor, Dornogal
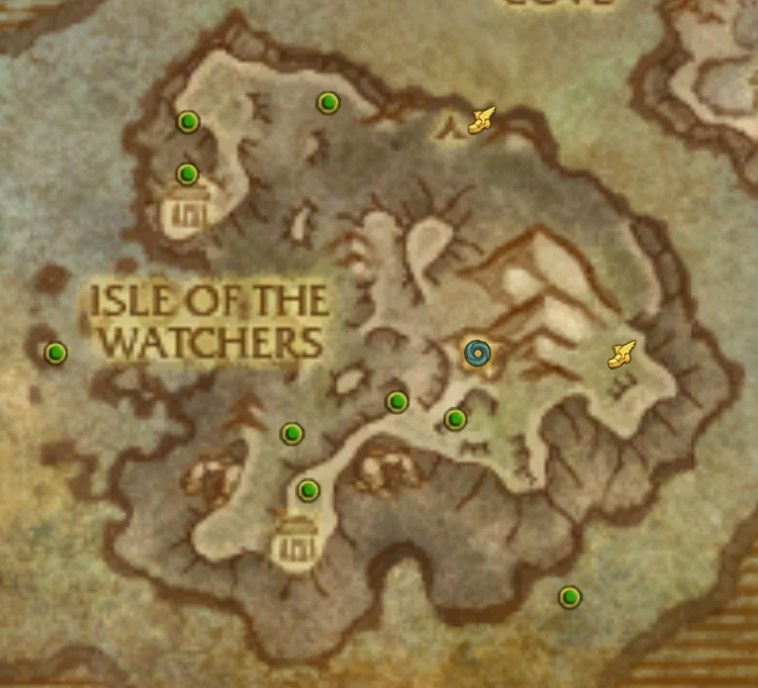
1. It's time to find Ratts. Head to the Pillar-Nest of Vos in Az-Káhet and look for the entrance to a cave. Upon entering, take the path to your right. You'll soon come across an NPC named Agaricus Festerbloom. The way forward is not obvious—you need to scale the rock wall right behind him. At the top, you'll see a series of holes. Count four holes from the left and take a leap of faith. You'll find yourself in a secret cavern with Ratts. Wait for her roleplay sequence to conclude, and then retrieve the Peculiar Gem that appears on the ground.
/way #2255 55.03 19.09 Cave Entrance, Pillar-nest Vosh
/way #2255 56.38 17.42 Hidden Cave
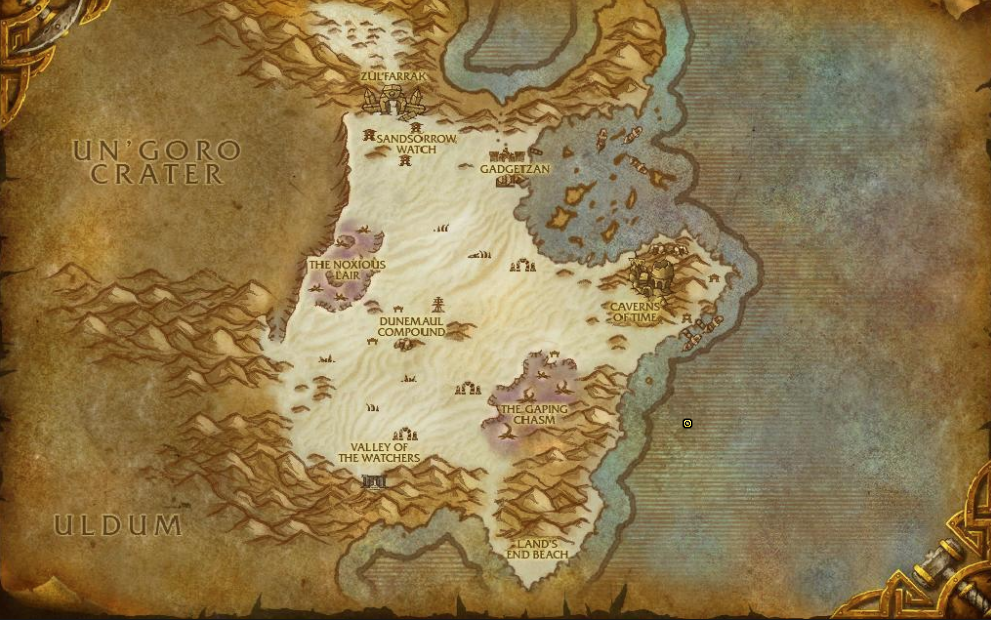
2. Next, you need to travel to Un'Goro Crater to retrieve the Inert Peculiar Key. It is located at coordinates /way 44.6, 8.0. Look for a hollow stump at that location and use your Torch of Pyrreth. This will instantly reveal the key for you to collect.
3. Once you have both the Peculiar Gem and the Inert Peculiar Key in your bags, right-click on the Inert Peculiar Key. This will consume both items and combine them into the final Peculiar Key.
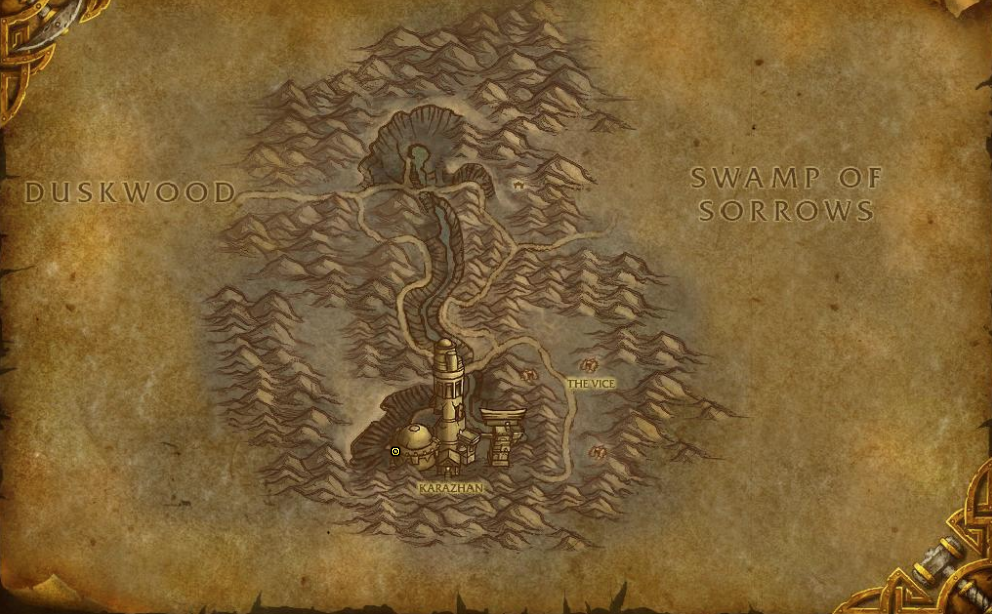
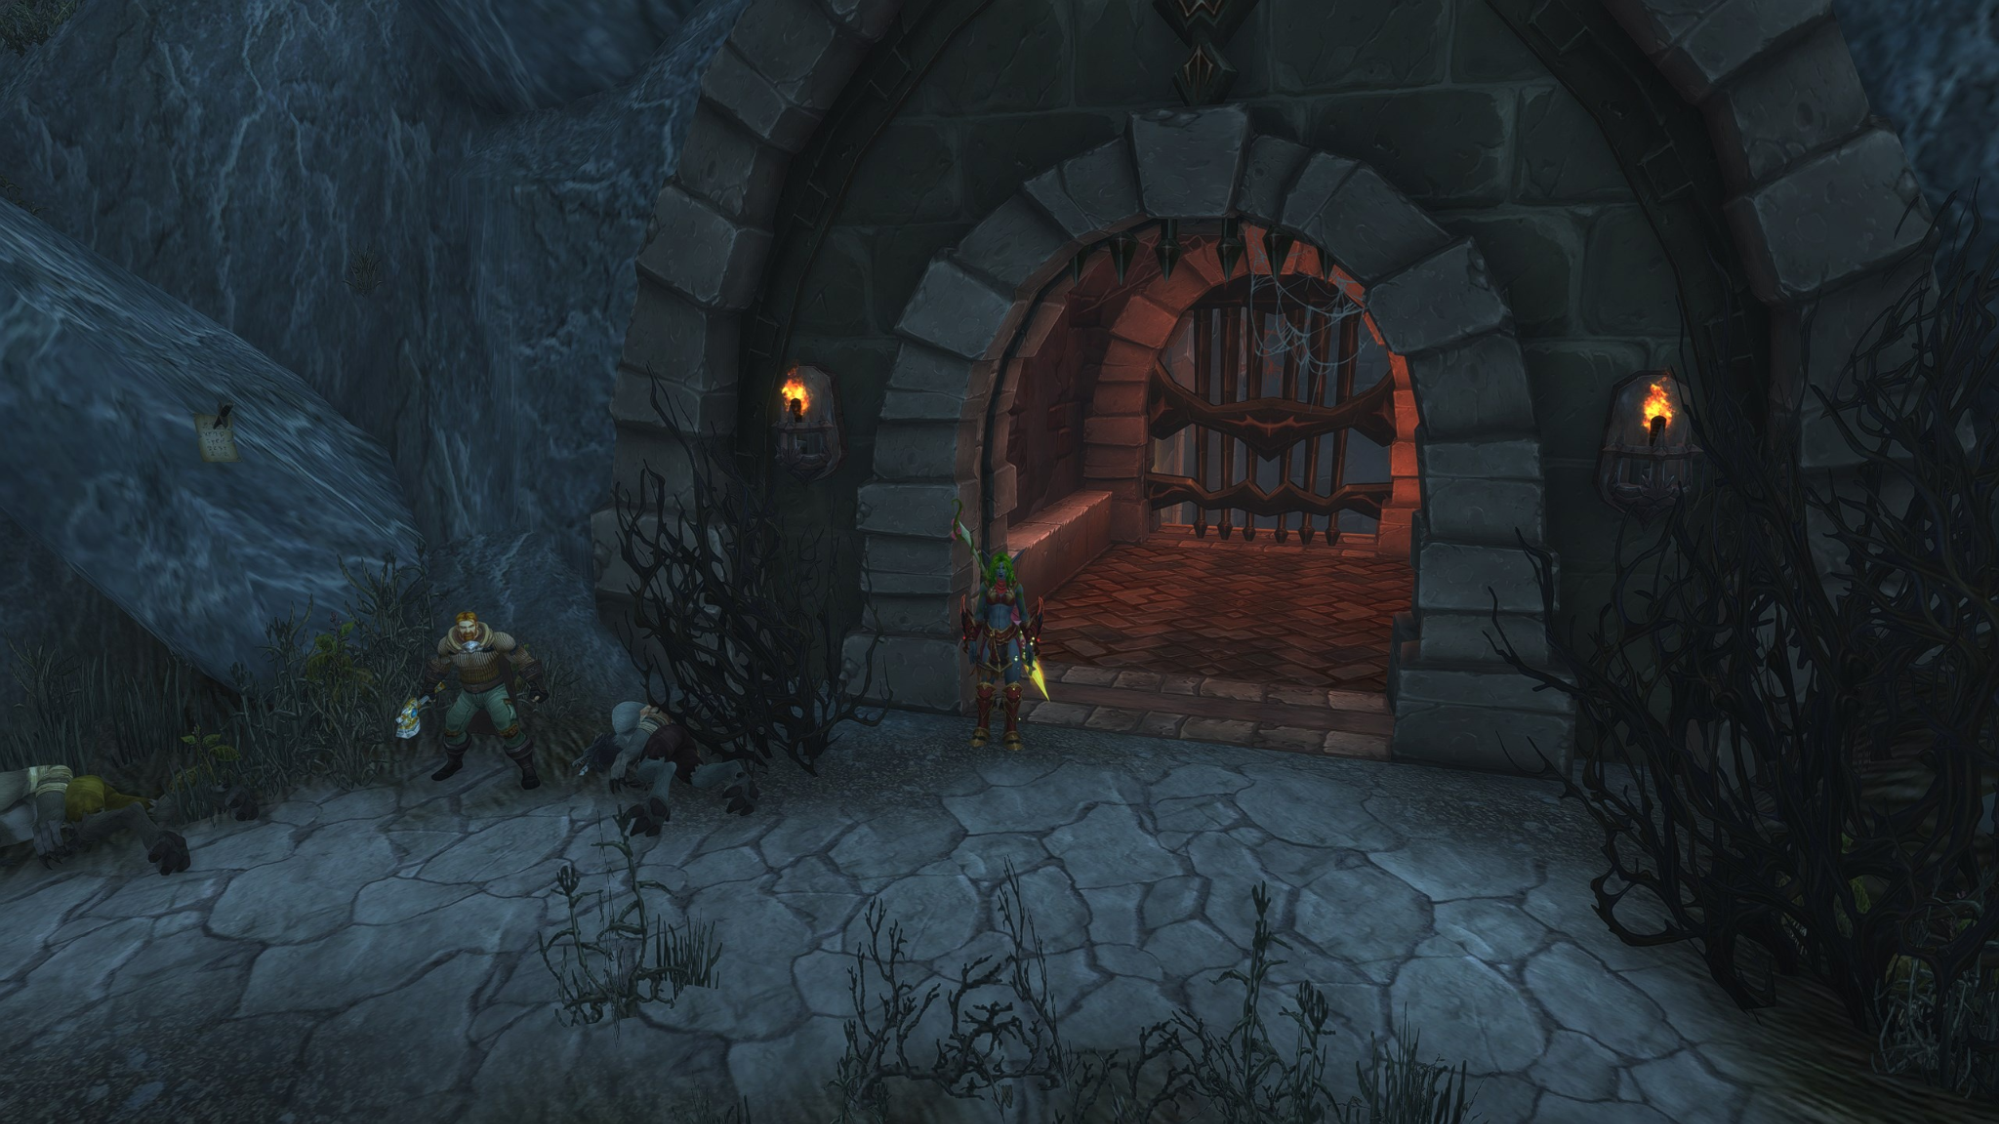
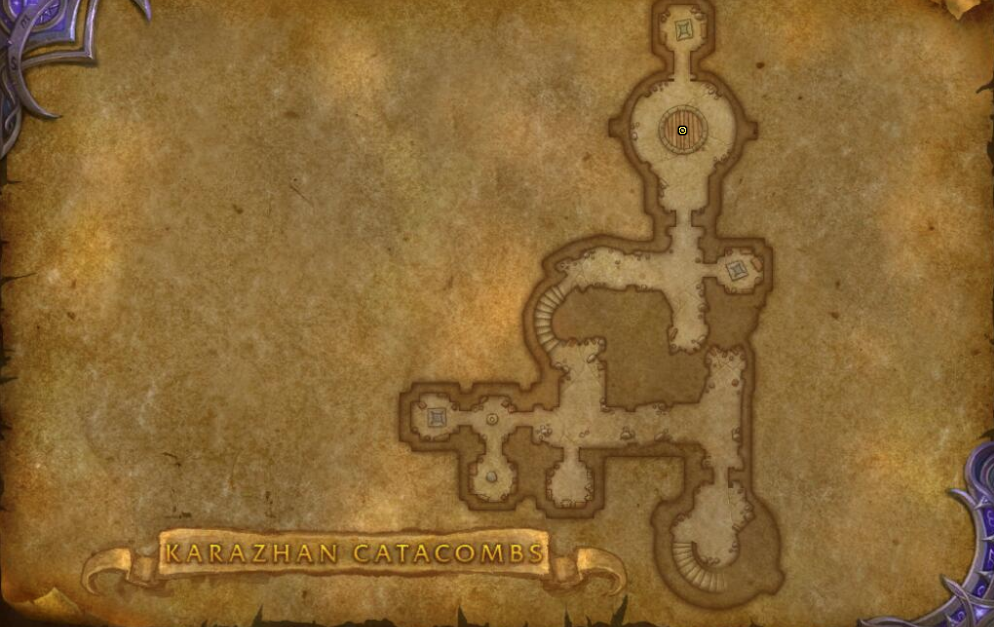
4. Head to Deadwind Pass to the entrance to the Karazhan Catacombs. Use Torch of Pyrreth to open the passage.
/way #42 46.70 69.06 Karazhan Catacombs
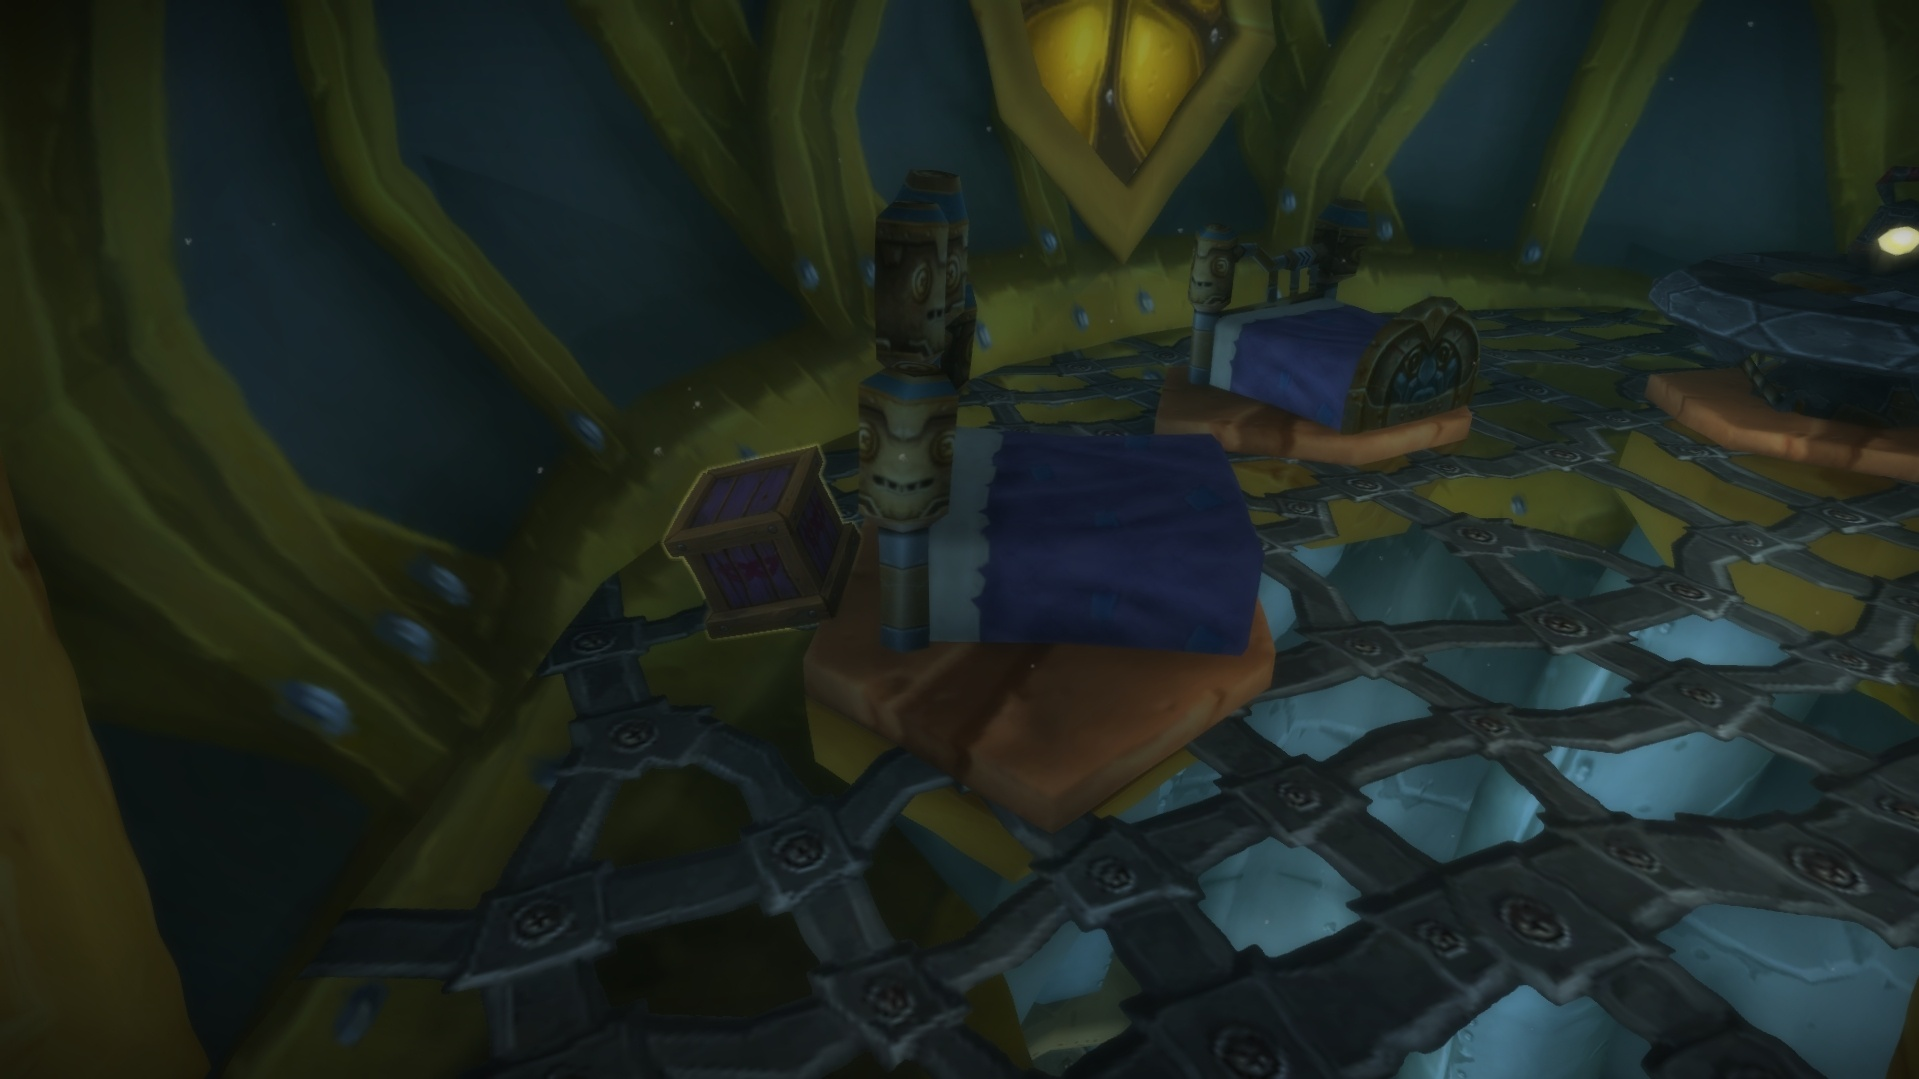
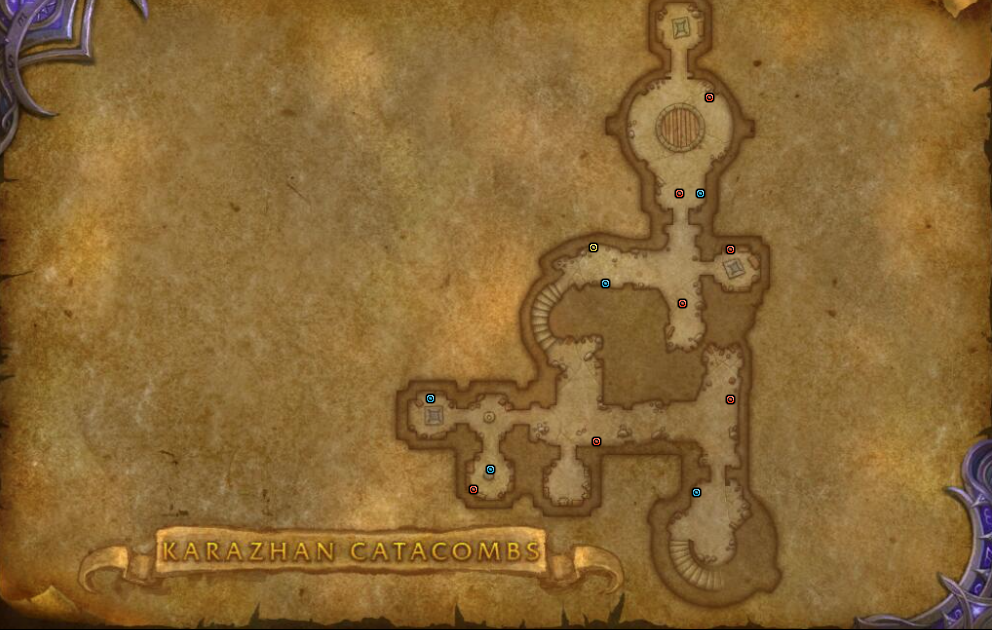
You can now enter Ratts Revenge, a unique, instanced version of the Karazhan Catacombs. Inside, you will discover numerous rooms filled with interactable objects that are crucial for the puzzle.
Be aware that some areas may be locked or inaccessible at first. This zone contains the majority of the clues needed for the remainder of the secret, and new clues will become available or reveal more information as you progress.
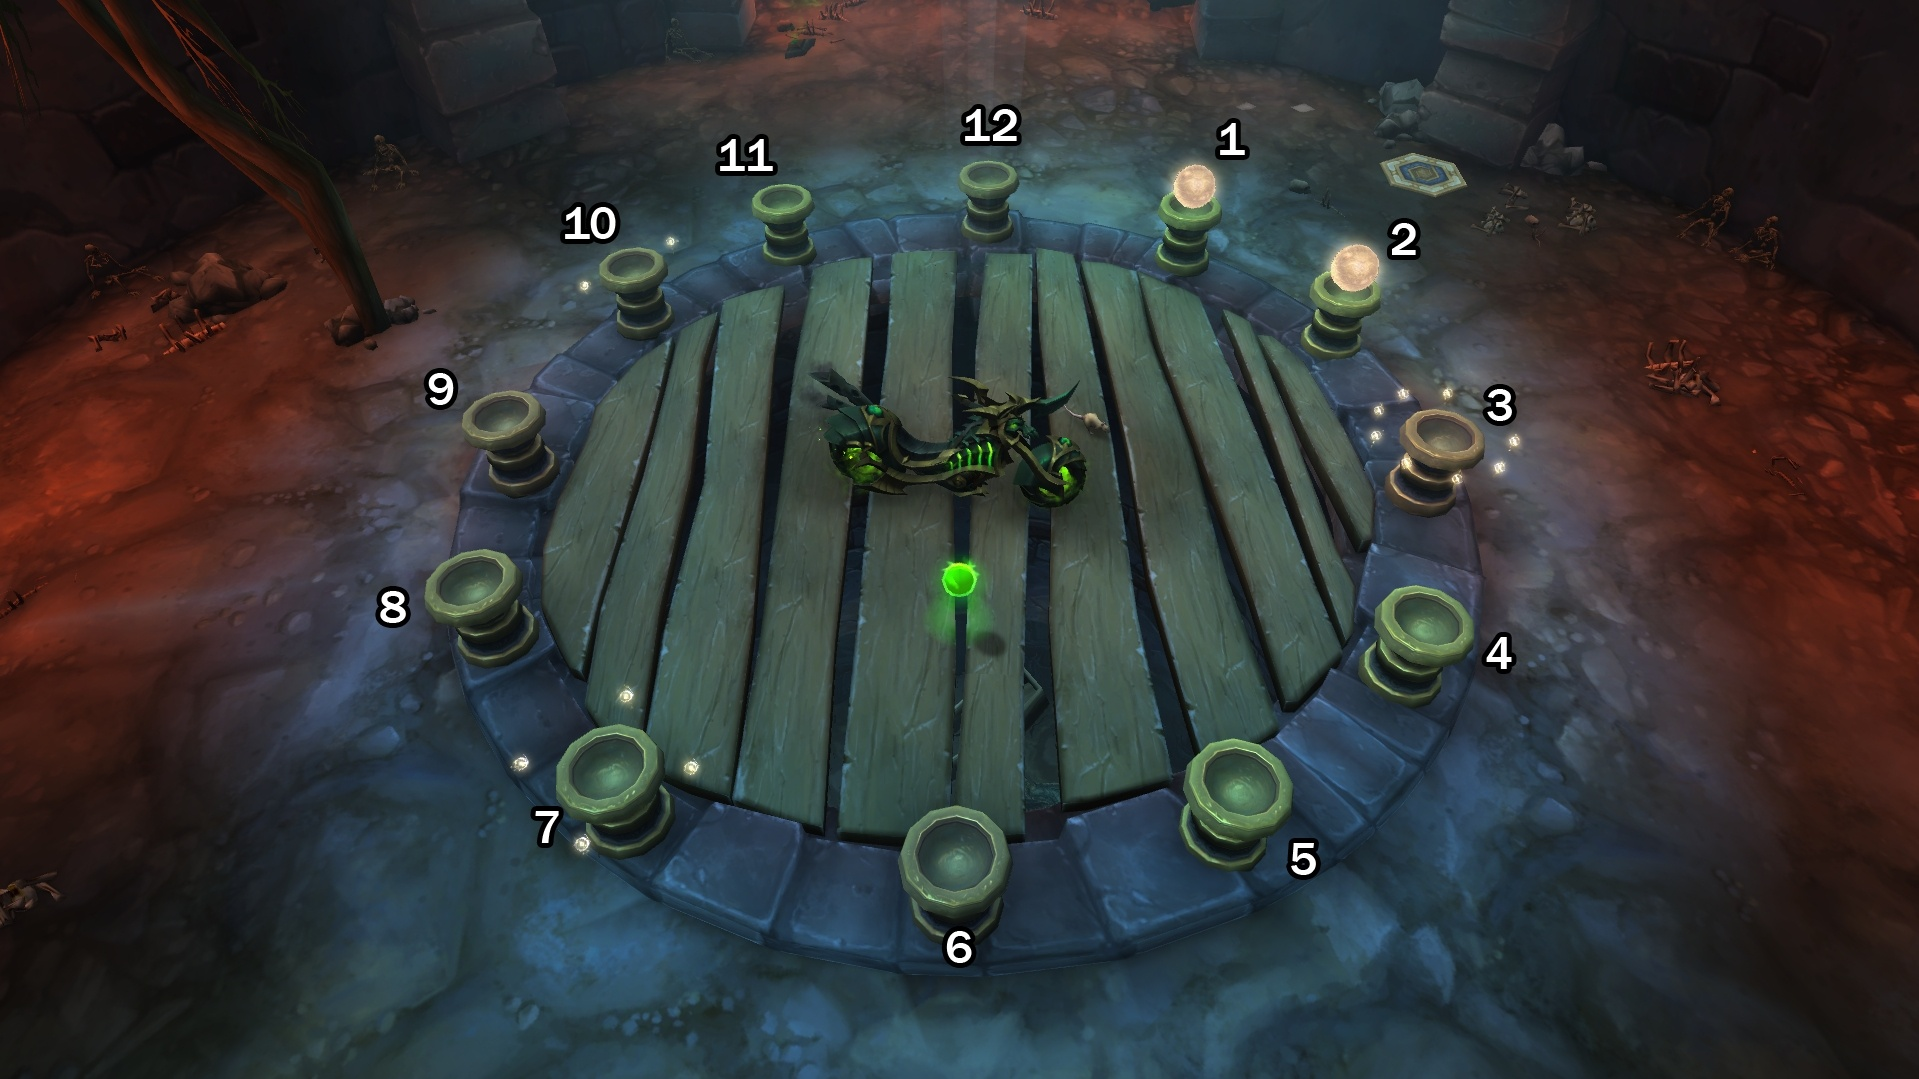
Track your progress in the circular room at the top-right of the map. It has 12 pedestals arranged around a model of the final reward, the Incognitro mount. A large orb on a pedestal means a step is done; smaller orbs mark sub-steps. Your progress is saved on your character, even if you log out or reset the instance.
To keep things simple, we'll refer to the pedestals like a clock, starting with 12 o'clock at the northernmost point.
For this step, you will use the Torch of Pyrreth to collect three stacks of The Light of Their Love buff at the following locations:
Troubleshooting:
Once you have all three stacks, the step is complete. A large titan orb will appear on the 1 o'clock pedestal in the Karazhan Catacombs, confirming your success.
First, travel to the Vale of Eternal Blossoms in Pandaria.
It is crucial that you are in the modern, Battle for Azeroth (BfA) version of the zone. The original Mists of Pandaria phase is known to cause issues with this secret. If you are in the wrong phase, speak to Zidormi to switch to the present timeline.
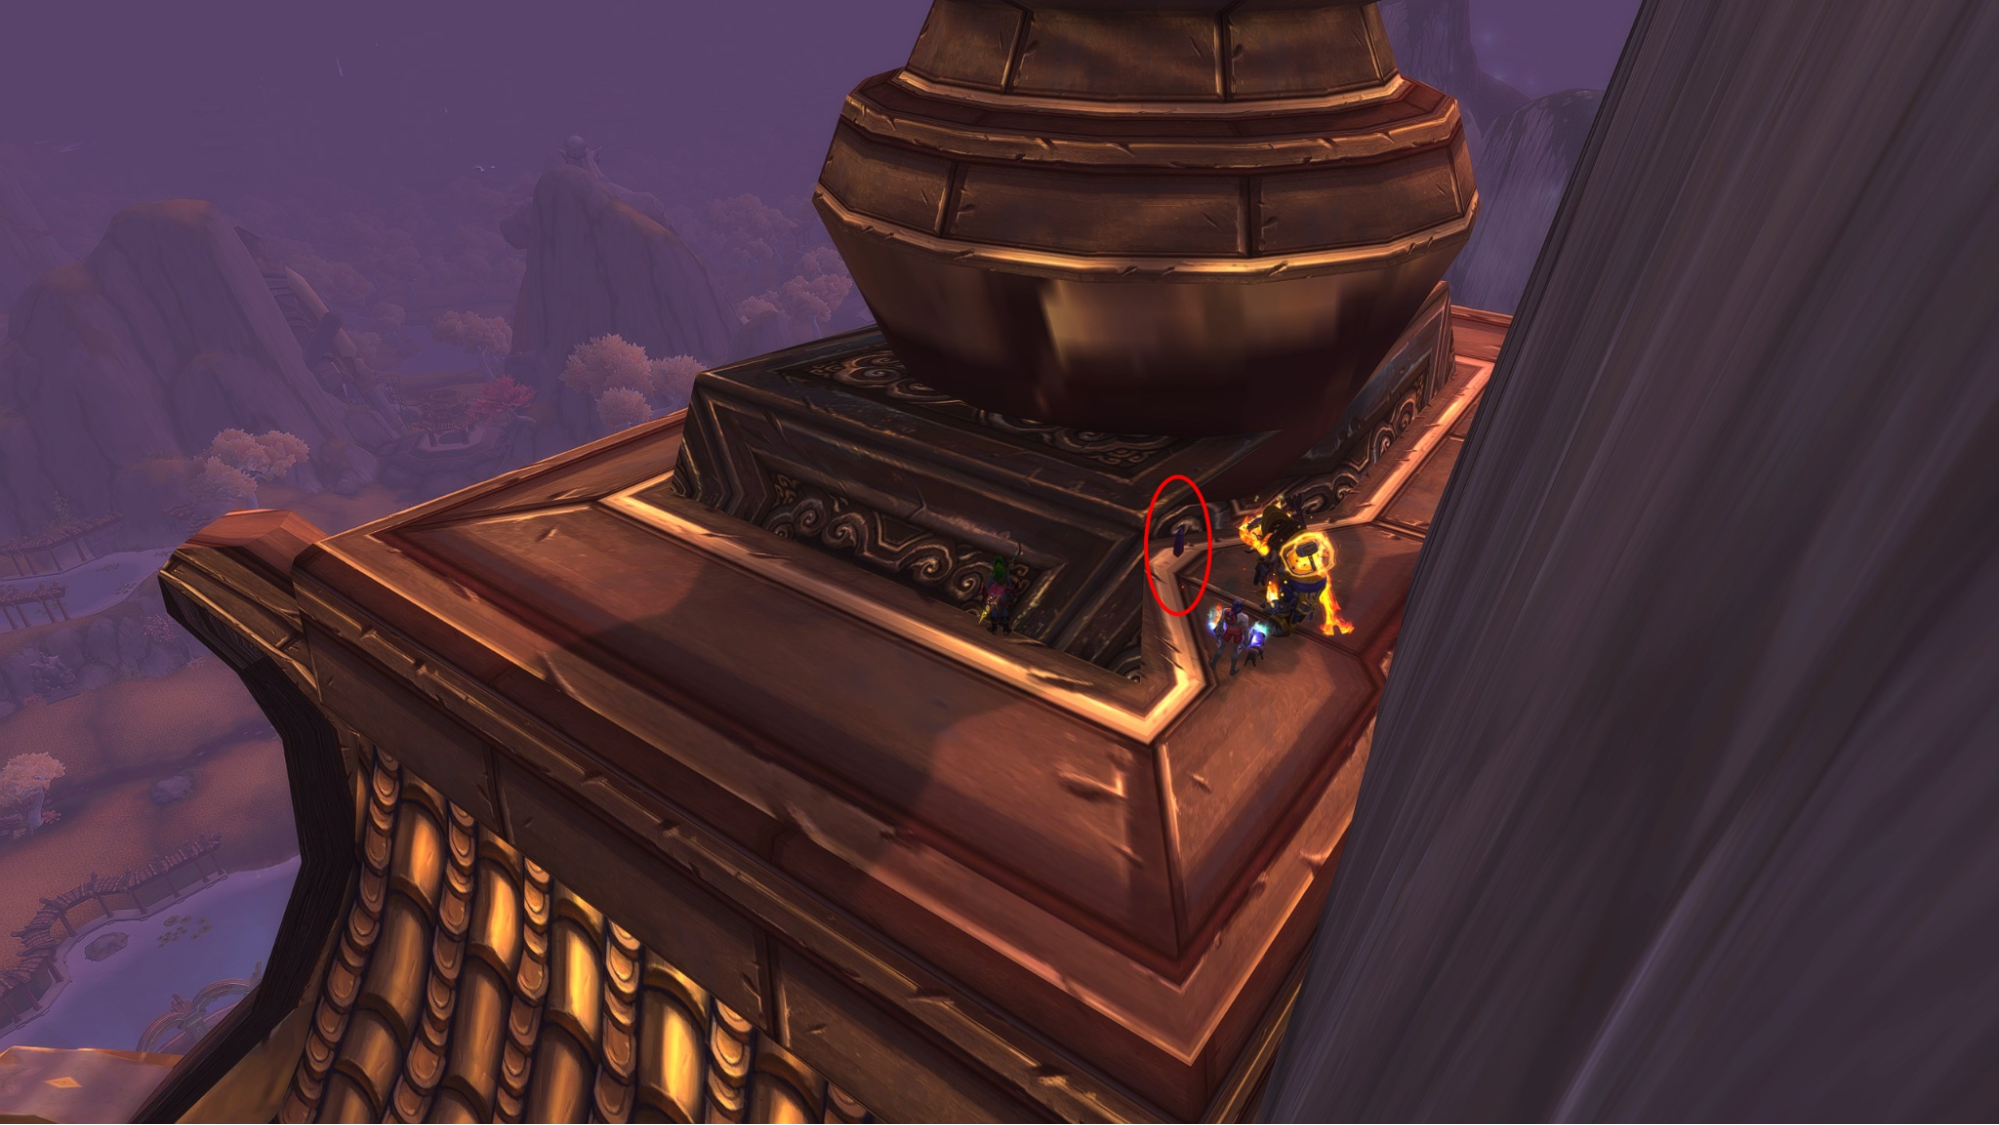
Go to the very top of the Mogu'shan Palace building (not the raid instance). On the cliffside, directly above the Seat of Knowledge, you will find a N'Zoth Obelisk.
You will need the following:
This will grant you the Key of Shadows. Be patient, as there can be a delay of 1 to 15 minutes before the key appears in your bags.
This reusable key opens two doors in the Karazhan Catacombs: 'Door 430' (the one with the red button) and the door to its left in the same room. Getting the key also immediately activates the second pedestal in your progress room.
Part 1: Preparation
Gather "Lucky" Items: Before you begin, purchase the following items.These include Lucky Horseshoe,, Lucky Tortollan Charm, Lucky Dragon's Claw, Lucky Rat's Tooth, Lucky Charm, Lucky Shirt, and Lucky Duck. You will need them for the final part of this step.
Part 2: Obtain the Goggles
Fish for the Key: Enter the newly unlocked Chamber Door room in the Karazhan Catacombs. Use your Fishing skill on the Astral Soup (in a bowl on a shelf) to fish up the Astral Key. This may take several attempts.
Get the Toy: Use the Astral Key to open the nearby Astral Chest. You will receive the Starry-Eyed Goggles. Learn the toy, then use it to gain the Starry-Eyed Goggles buff.
Part 3: Solve the Consoles
CRITICAL: Ensure all three of your "Lucky" items are in your bags before you attempt the final console.
/way #46 51.19 78.27 Astral Soup
/way #46 48.4 79.47 Astral Chest
/way #46 49.41 80.13 Ko'nani Code: 88224646
/way #46 42.83 70.71 Room 430 Code: 17112317
/way #46 64.58 48.31 Ruben Code: 52233
/way #46 49.88 64.98 Here #1 Code: 10638
/way #46 56.58 63.56 Here #2 Code: 5661
/way #46 66.39 15.96 Hear Code: 115
/way #46 67.96 83.96 Violence Code: 19019
/way #46 70.09 54.36 Handwritten Code: 5156
/way #46 68.43 24.71 Slots Code: 777
For this step, you will need to summon a Doomguard. You have two options:
Once you have one of these, travel to Uther's Tomb in the Western Plaguelands. Use the scroll or have your Warlock cast Ritual of Doom to summon a Doomguard inside the building.
/way #22 52.06 83.19 Uther's Tomb
While the Doomguard is alive and present, four Hidden Graffiti markings will become visible on the floor. Quickly click on any one of them to complete this step.
Part 1: Obtaining the Golden Muffin
You must defeat the Jeremy Feasel in a pet battle using a specific team to get the Golden Muffin.
Two Methods to Fight Jeremy:
After defeating him with the correct team, he will offer the quest Master of Secrets. Completing it rewards the Golden Muffin.
Part 2: Acquiring the Relic of Crystal Connections
/targetexact Pointless Treasure Salesman
/targetmarker 1
Part 1: Understanding the Mechanic
1. Stand near an altar with your Torch of Pyrreth active and its beam pointed at the altar.
2. A nearby player (or you) must contribute by having a matching item either active/used, worn as transmog, or simply in their bags.
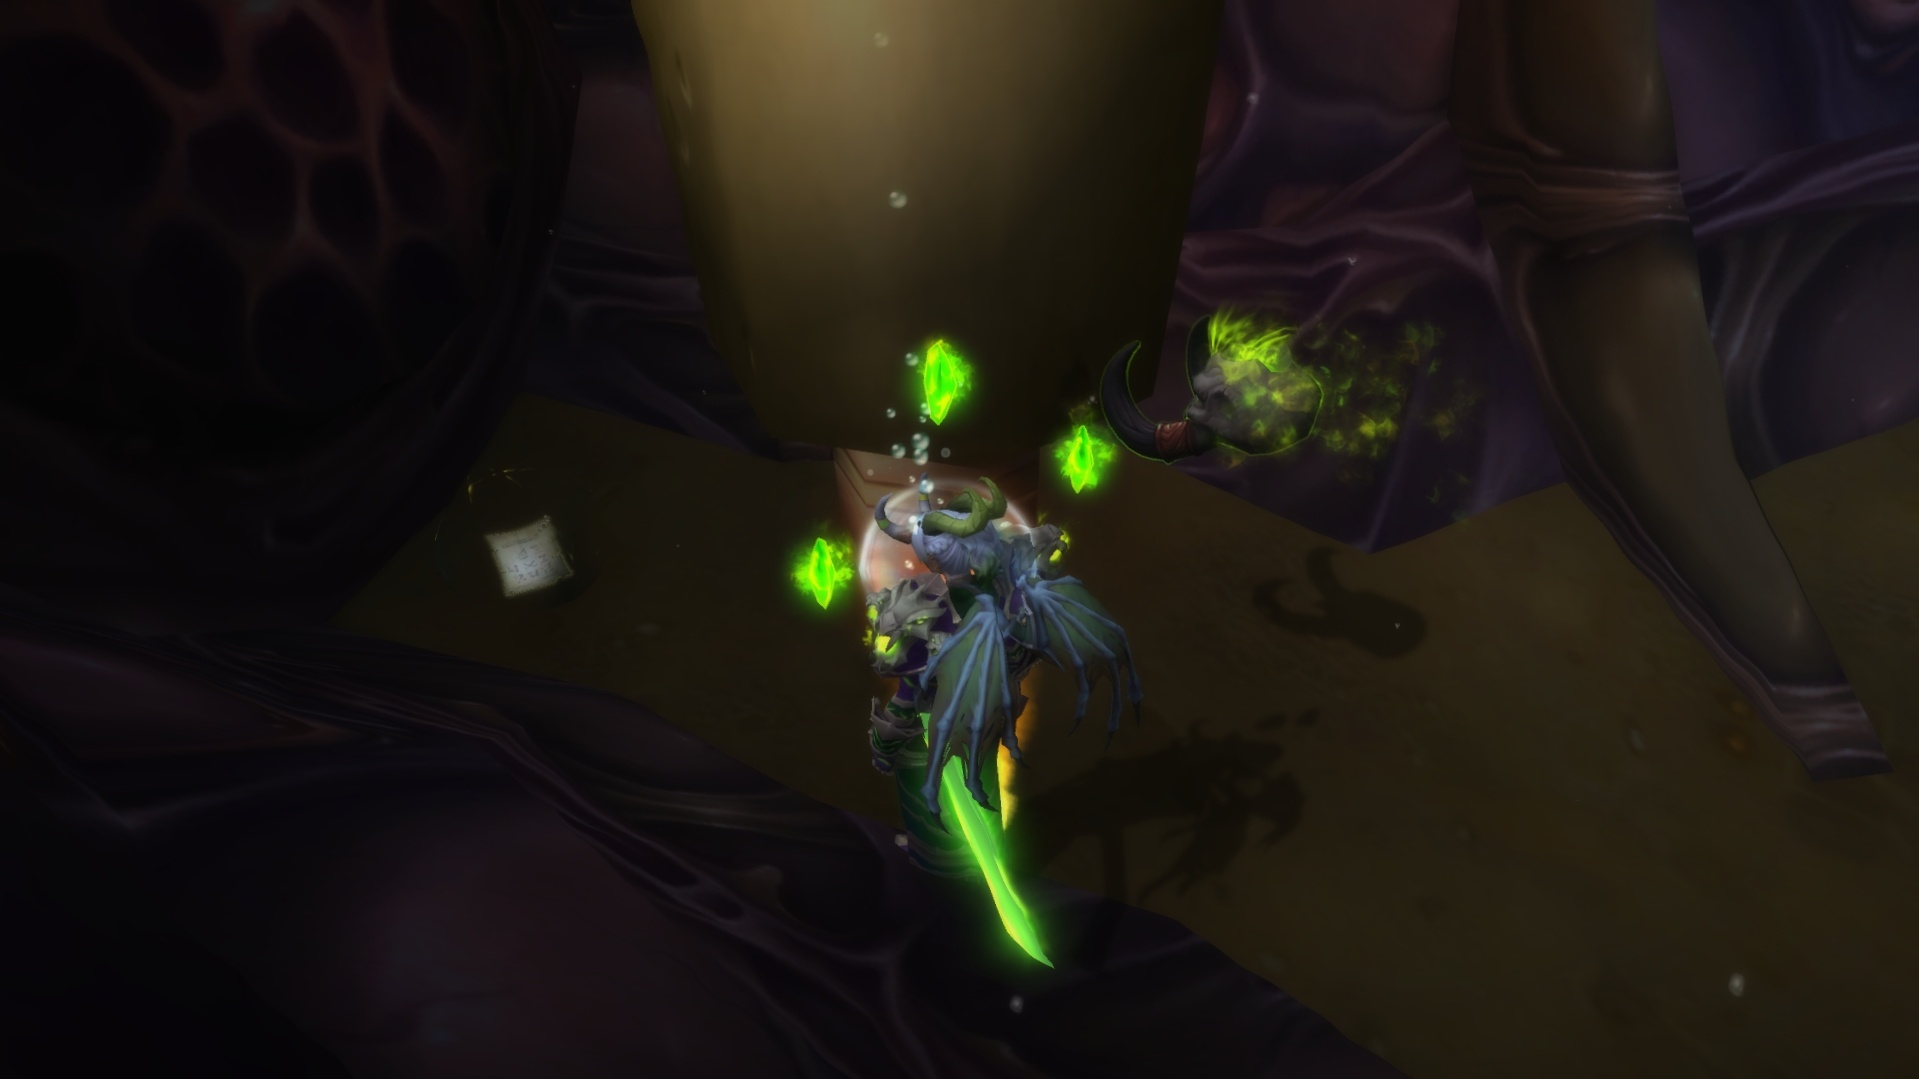
3. When enough correct items are present, the altar activates. You will see the Secrets of Azeroth visual ping above you and receive a personal chat message: "The spirit vanishes, pleased with your actions".
Part 2: The Altar Themes and Item Lists
Here are the five themes and examples of items that count for each.
Blood Shrine
Mount: Most mounts with Blood in the name
Pet: Most pets with Blood in the name
Toy: Throbbing Blood Orb
Corrupt Shrine
Mount: Most mounts with Corrupt in the name
Pet: Most pets with Corrupt in the name
Toy: Ring of Broken Promises or Accursed Tome of the Sargerei
Transmog: Any cloak with the same appearance as Cloak of Overwhelming Corruption
Lust Shrine
Pet: Sister of Temptation or Heartseeker Moth
Toy: Non-conjured items generated by Steamy Romance Novel Kit or certain "Steamy Romance" items
Transmog: Transmogged fully hidden (naked), or under the effects of Moroes Famous Polish.
Sin Shrine
Pet: Sinheart
Toy: Bondable Sinstone
Transmog: Any Venthyr Sinstone cloak transmog.
Void Shrine
Pet: Lesser Voidcaller, Voidwiggler, Sir Shady Mrrgglton Junior, Shadow, Void Shardling, or Mind Slurp
Toy: Shadescale, Shadowy Disguise or Void Totem
Transmog: Any cloak with the same appearance as Cloak of the Black Void
Part 3: Activating the Altars
Part 4: The Reward
Once you have received credit for all five altars, a Chest of Acquisition will spawn against the southern wall at /way #50 78.2, 47.7. Loot it to receive the Ancient Shaman Blood.
Obtaining this item completes the step and activates the sixth pedestal in the Karazhan Catacombs.
This is a three-part process: empowering your pet, running a dungeon, and solving a puzzle.
Part 1: Empowering the Fledgling Warden Owl
Part 2: The Vault of the Wardens
Part 3: The Sentry Puzzle
This puzzle requires you to solve a three-part code by counting rats and positioning statues on pressure plates.
Part 1: Setup and Access
Part 2: The Puzzle Loop (Repeat 3 Times)
You must complete the following sequence three times to unlock three locks.
Important: Do NOT count the Catacomb Rats.
Strategy: Kill ALL rats as you go (both types) to prevent them from accidentally stepping on pressure plates and to ensure they don't respawn until you solve a lock.>
Tip: Use the provided macro and WeakAura Enigma Machine Rat Kill Tracker
/target Rat
/run SetRaidTarget("target", 8)
/cleartarget [help]
/stopmacro [noexists][dead]
/ping [@target]
After unlocking the third lock, the vault to the north of the progress room will open, completing this step.
Part 3: Important Tips & Troubleshooting
This version is a clear, step-by-step finale.
The Final Step: Claiming Your Reward
Cave Entrance: /way #2255 55.03 19.09
Correct Hole: /way #2255 56.38 17.42
Open the chest to claim your Incognitro and earn the achievement Ratts Revenge!
At ConquestCapped, we offer a wide range of expert services, but our true passion and unmatched expertise lie in acquiring World of Warcraft's rarest and most awe-inspiring mounts. We are the premier choice for players who want to add those truly jaw-dropping prizes to their collection without the endless grind.
Whether you're a dedicated collector aiming for a complete set or a player fixated on one specific, elusive mount, our team is perfectly equipped for the task. We leverage professional-grade knowledge, top-tier gear, and proven strategies to ensure your desired mount is added to your collection with both speed and efficiency.