
Leveling in WoW Midnight has one job: get you to cap fast without arriving as a confused pile of half-learned habits. The expansion pushes you through its pacing on purpose — tight quest chains, forced travel breaks, sudden power jumps when key buttons come online. Do it clean, and you hit max level already in rhythm. Do it sloppy, and you spend the first week fixing your own leveling mistakes.
This Midnight Leveling Guide is a route you can actually follow: what to set up before you start, then what to do in each bracket so you don’t drift into dead quests or time-sink detours. It also lays out how leveling works in Midnight and which zones the expansion gives you — with blunt direction on when to move on, when to stay, and what to skip if you care about speed more than sightseeing. One rule: keep moving.
WoW Midnight leveling is more “on rails” than older expansions. The game points you at a main lane and it usually pays to stay there. But speed still comes from the little systems that sit on top of that lane — brackets, scaling rules, Warband perks, dungeon XP curves, and plain old preparation. Ignore those, and “linear leveling” still turns into slow leveling. Fast.
Leveling in Midnight looks simple on the surface: follow the campaign, move forward, hit cap. The reality is that a handful of small rules decide whether you cruise or crawl — where the game becomes linear, where old systems like Chromie Time stop being useful, when dungeons stop paying out, and why mains and alts shouldn’t be treated the same. These points are the “speed levers” that keep your run smooth and your time loss under control.
Leveling speed isn’t hidden in secret tricks. It’s in avoiding friction. Skip dead grinds, stop chasing outdated shortcuts, and build a route that doesn’t constantly break its own rhythm. Keep some spare gold for bags, basic consumables, and early upgrades — starting broke means stopping often, and stopping often is how “fast leveling” dies.
70–80 is the handoff bracket — the part where you stop using old timelines and start moving through The War Within content so you’re ready to step into Midnight cleanly. Treat it like a momentum phase: pick one lane, keep the chain intact, and don’t turn it into a tour of every side hub you see.
The simplest 70–80 rule: follow The War Within's main campaign without skipping chapters, and only grab side quests when they’re already sitting on your path. That keeps your XP consistent and your navigation brain-off — which matters more than people admit.
Picking a class for Midnight leveling based on raw speed is a short-term win and a long-term mistake. Leveling is the opening act, not the whole expansion, and the “fastest” choice can turn into a benchwarmer the moment you hit max level. The smarter question is simple: what content are you actually going to spam after the grind is over — Raids, Mythic+, PvP, solo play, or a bit of everything?
Start with the stuff you’ll feel every minute: playstyle and rotation. If a spec clicks for you, you pull faster, you die less, you waste fewer globals, and you don’t burn out. That matters more than theoretical speed. For a lot of players, that “natural” feel shows up on classes like Hunter, Paladin, Demon Hunter, or Warrior. If you’re leveling mostly solo, survivability is the next filter — self-heals and pets are real quality-of-life, not a luxury (Hunter, Warlock, Death Knight, Paladin).
Then look at movement and endgame value. Mobility makes the whole 10–90 stretch smoother because travel friction is the silent tax on every route (Demon Hunter, Monk, Druid, Evoker). Endgame usefulness matters because it decides how often you get invited, how flexible your role options are, and how easy it is to swap plans mid-season. The clean pick is the class you can play without fighting its buttons, that stays alive on its own, moves well, and still earns a spot when leveling is done.
Midnight leveling is built around the campaign’s zone chain. That’s the main lane: you move forward, the story keeps pushing you, and the game keeps feeding you objectives that are meant to be done in order instead of scattered. Speed comes from keeping that lane intact. The moment you start zig-zagging for “extra XP” you pay in travel time, downtime, and broken quest pacing.
The zones below aren’t just scenery — each one has a different kind of friction, and that friction decides how fast you reach 90!
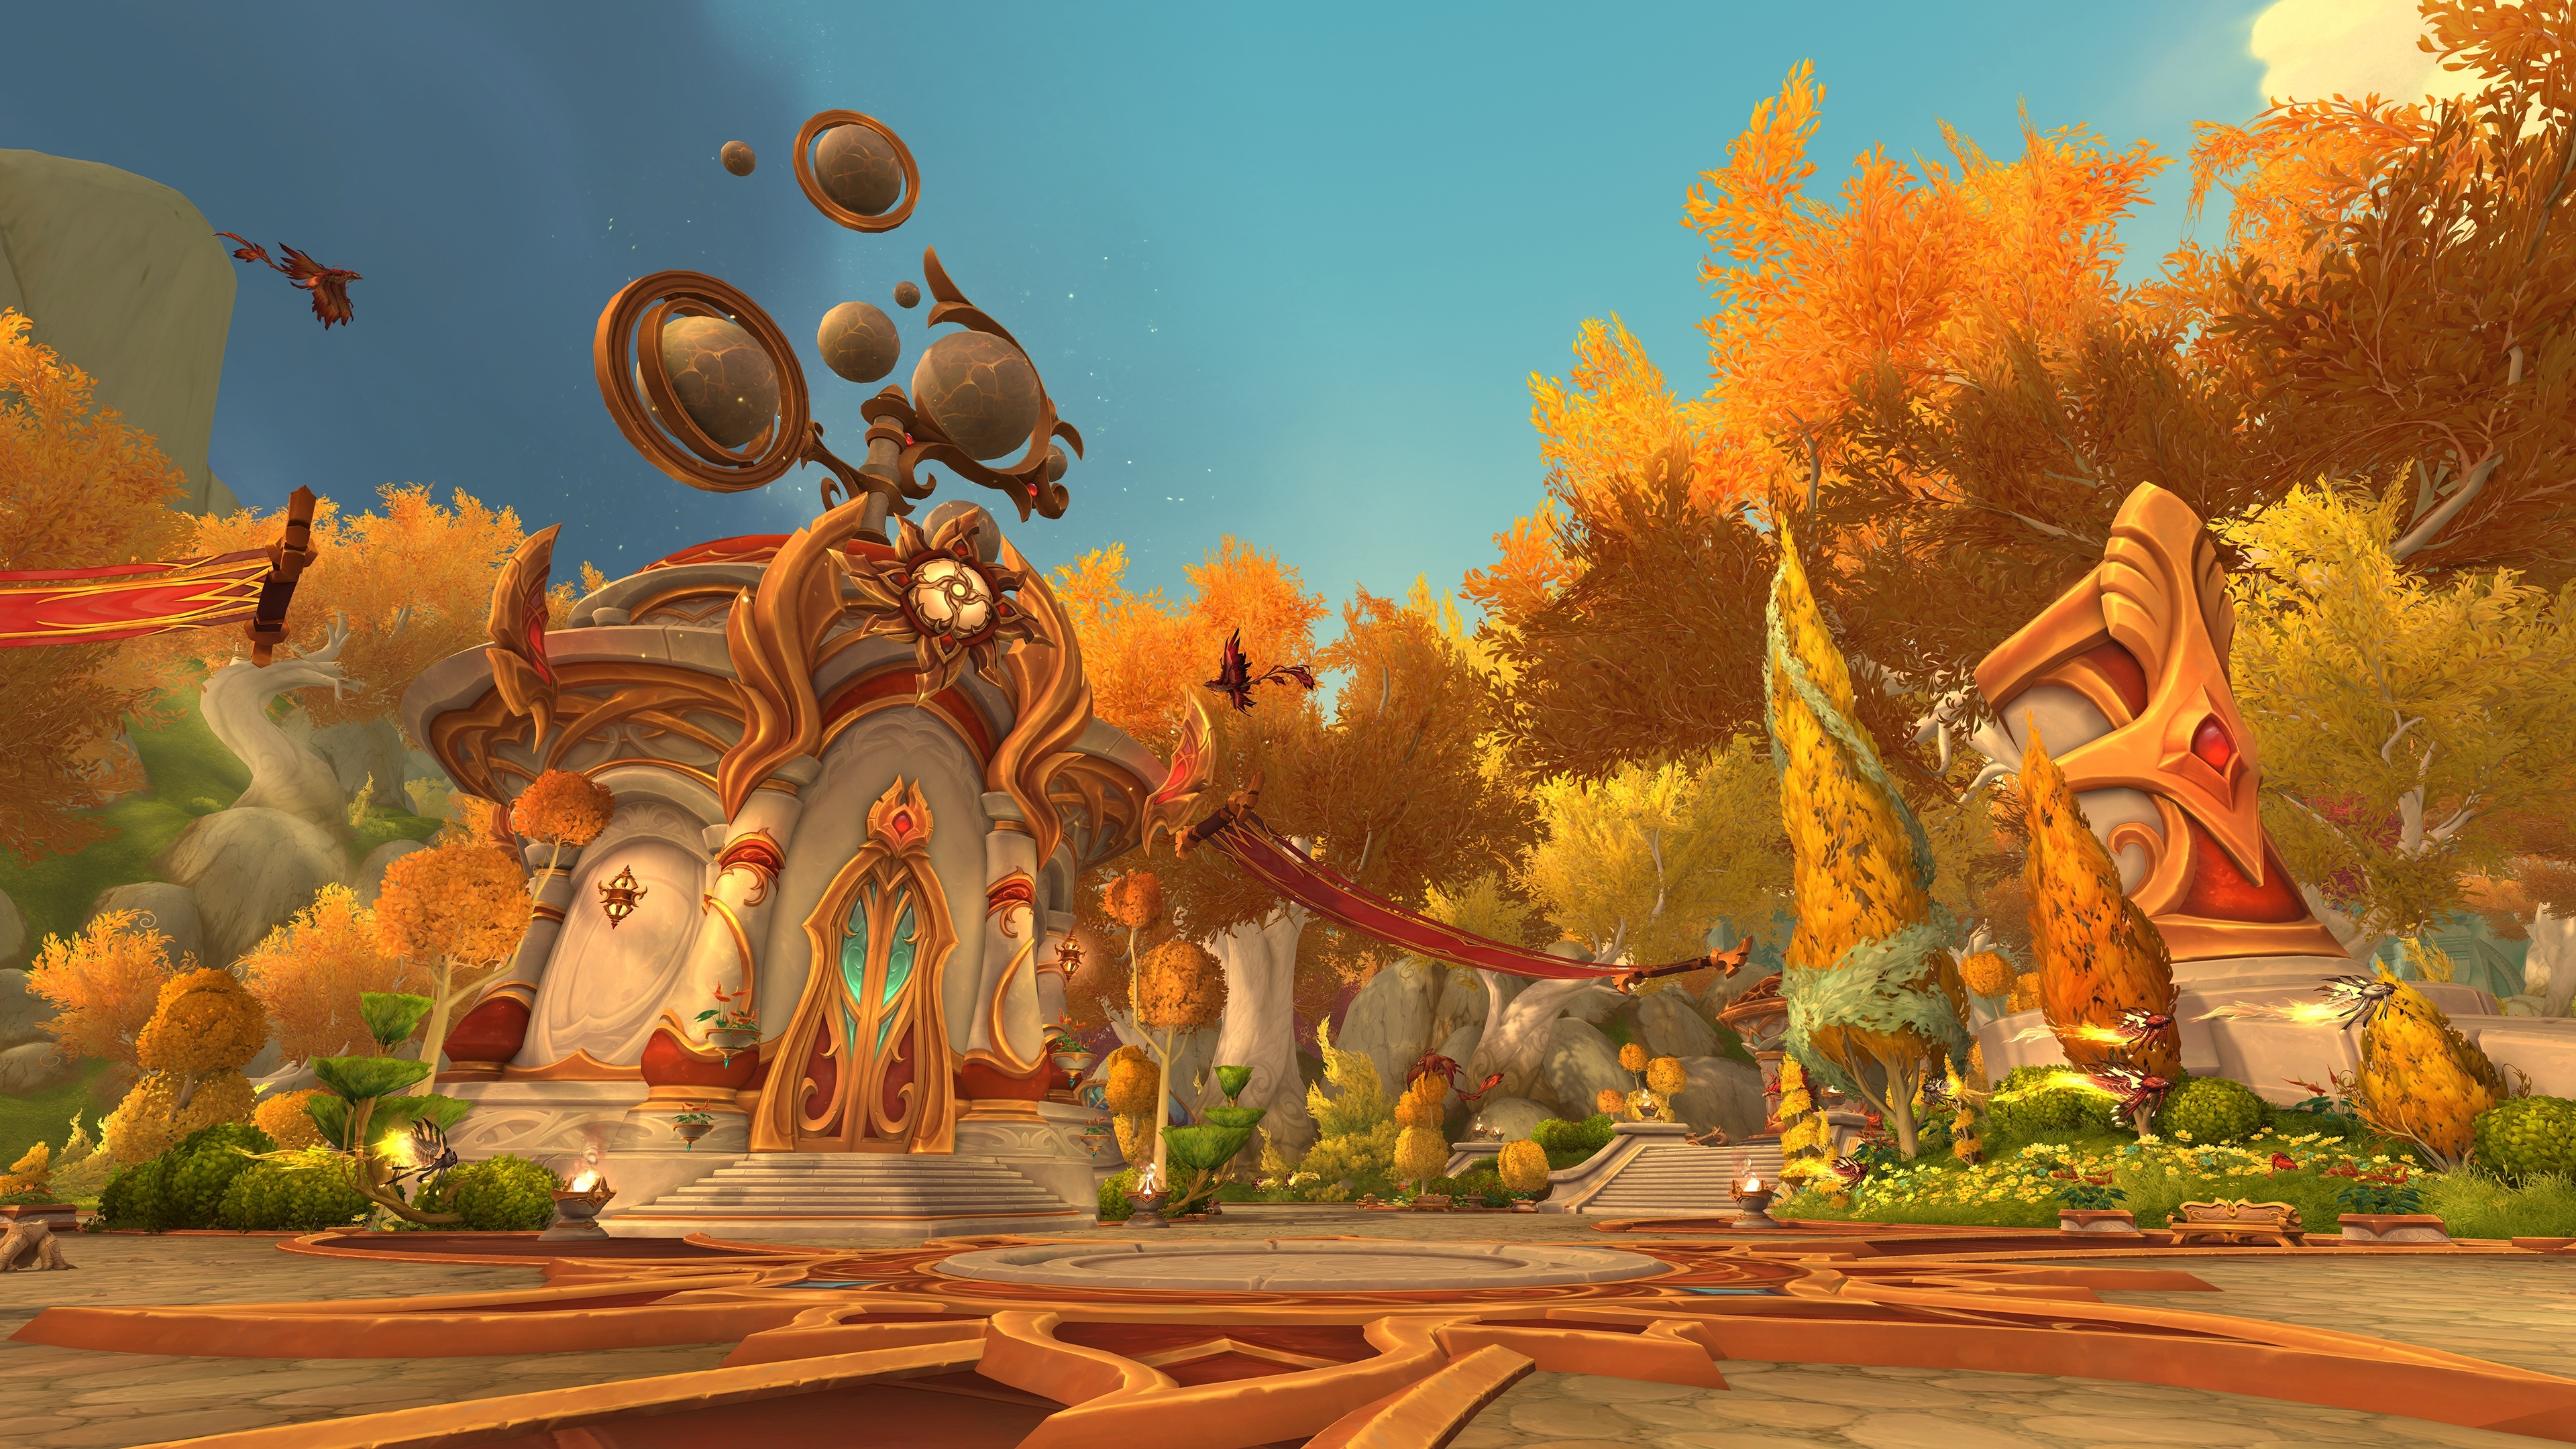
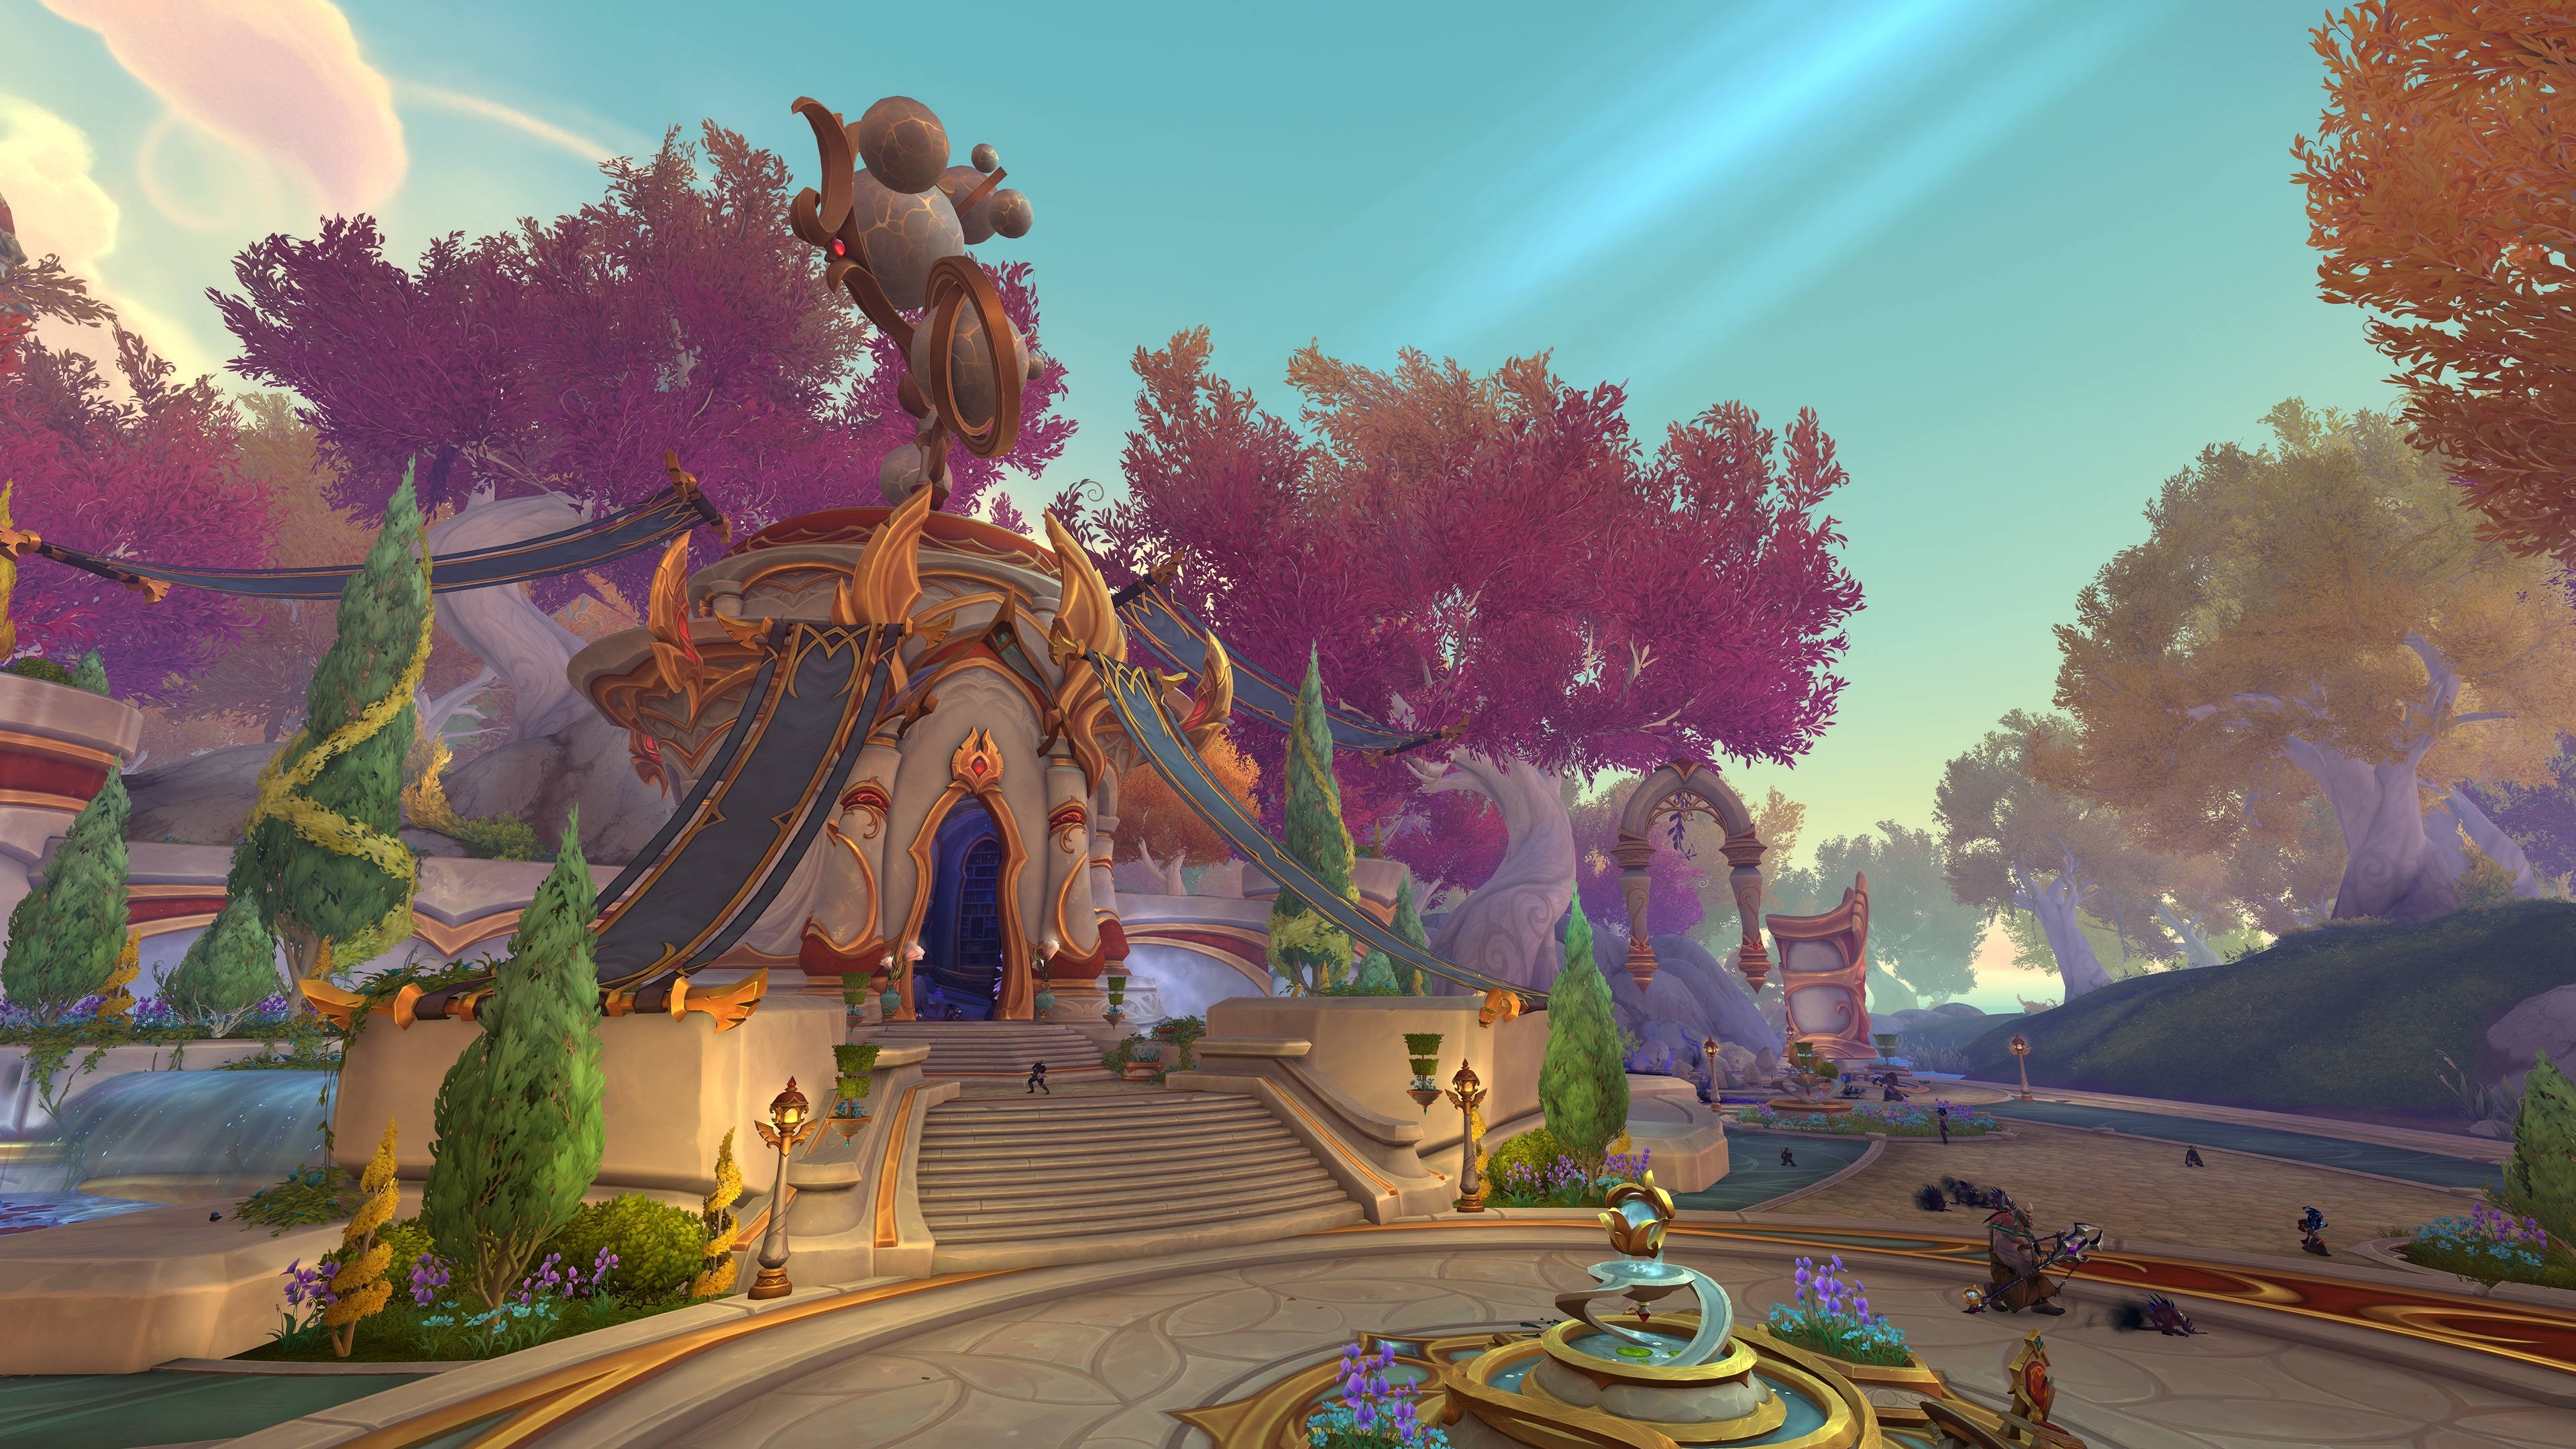
Eversong Woods is the campaign start, and it sets the rules early: how the zone chain flows, what the expansion wants you to notice, and how tightly it expects you to follow the main threads. This is where the “training wheels” sit, even if the fights don’t feel like training — the game introduces its key mechanics here and uses simple, readable quest beats to lock them in before it starts asking more from you later. Leveling value is consistency: strong hub-to-hub routing, quick objective clusters, and a lot of “do this nearby, turn in, get the next link” pacing that keeps you moving without long dead runs. Treat it like a tempo zone. Avoid long side loops, avoid wandering for Rares when you’re still building leveling momentum, and keep your bags and hearth situation clean so you don’t turn the opening stretch (80–90 starts here on the campaign route) into a stop-and-go mess.
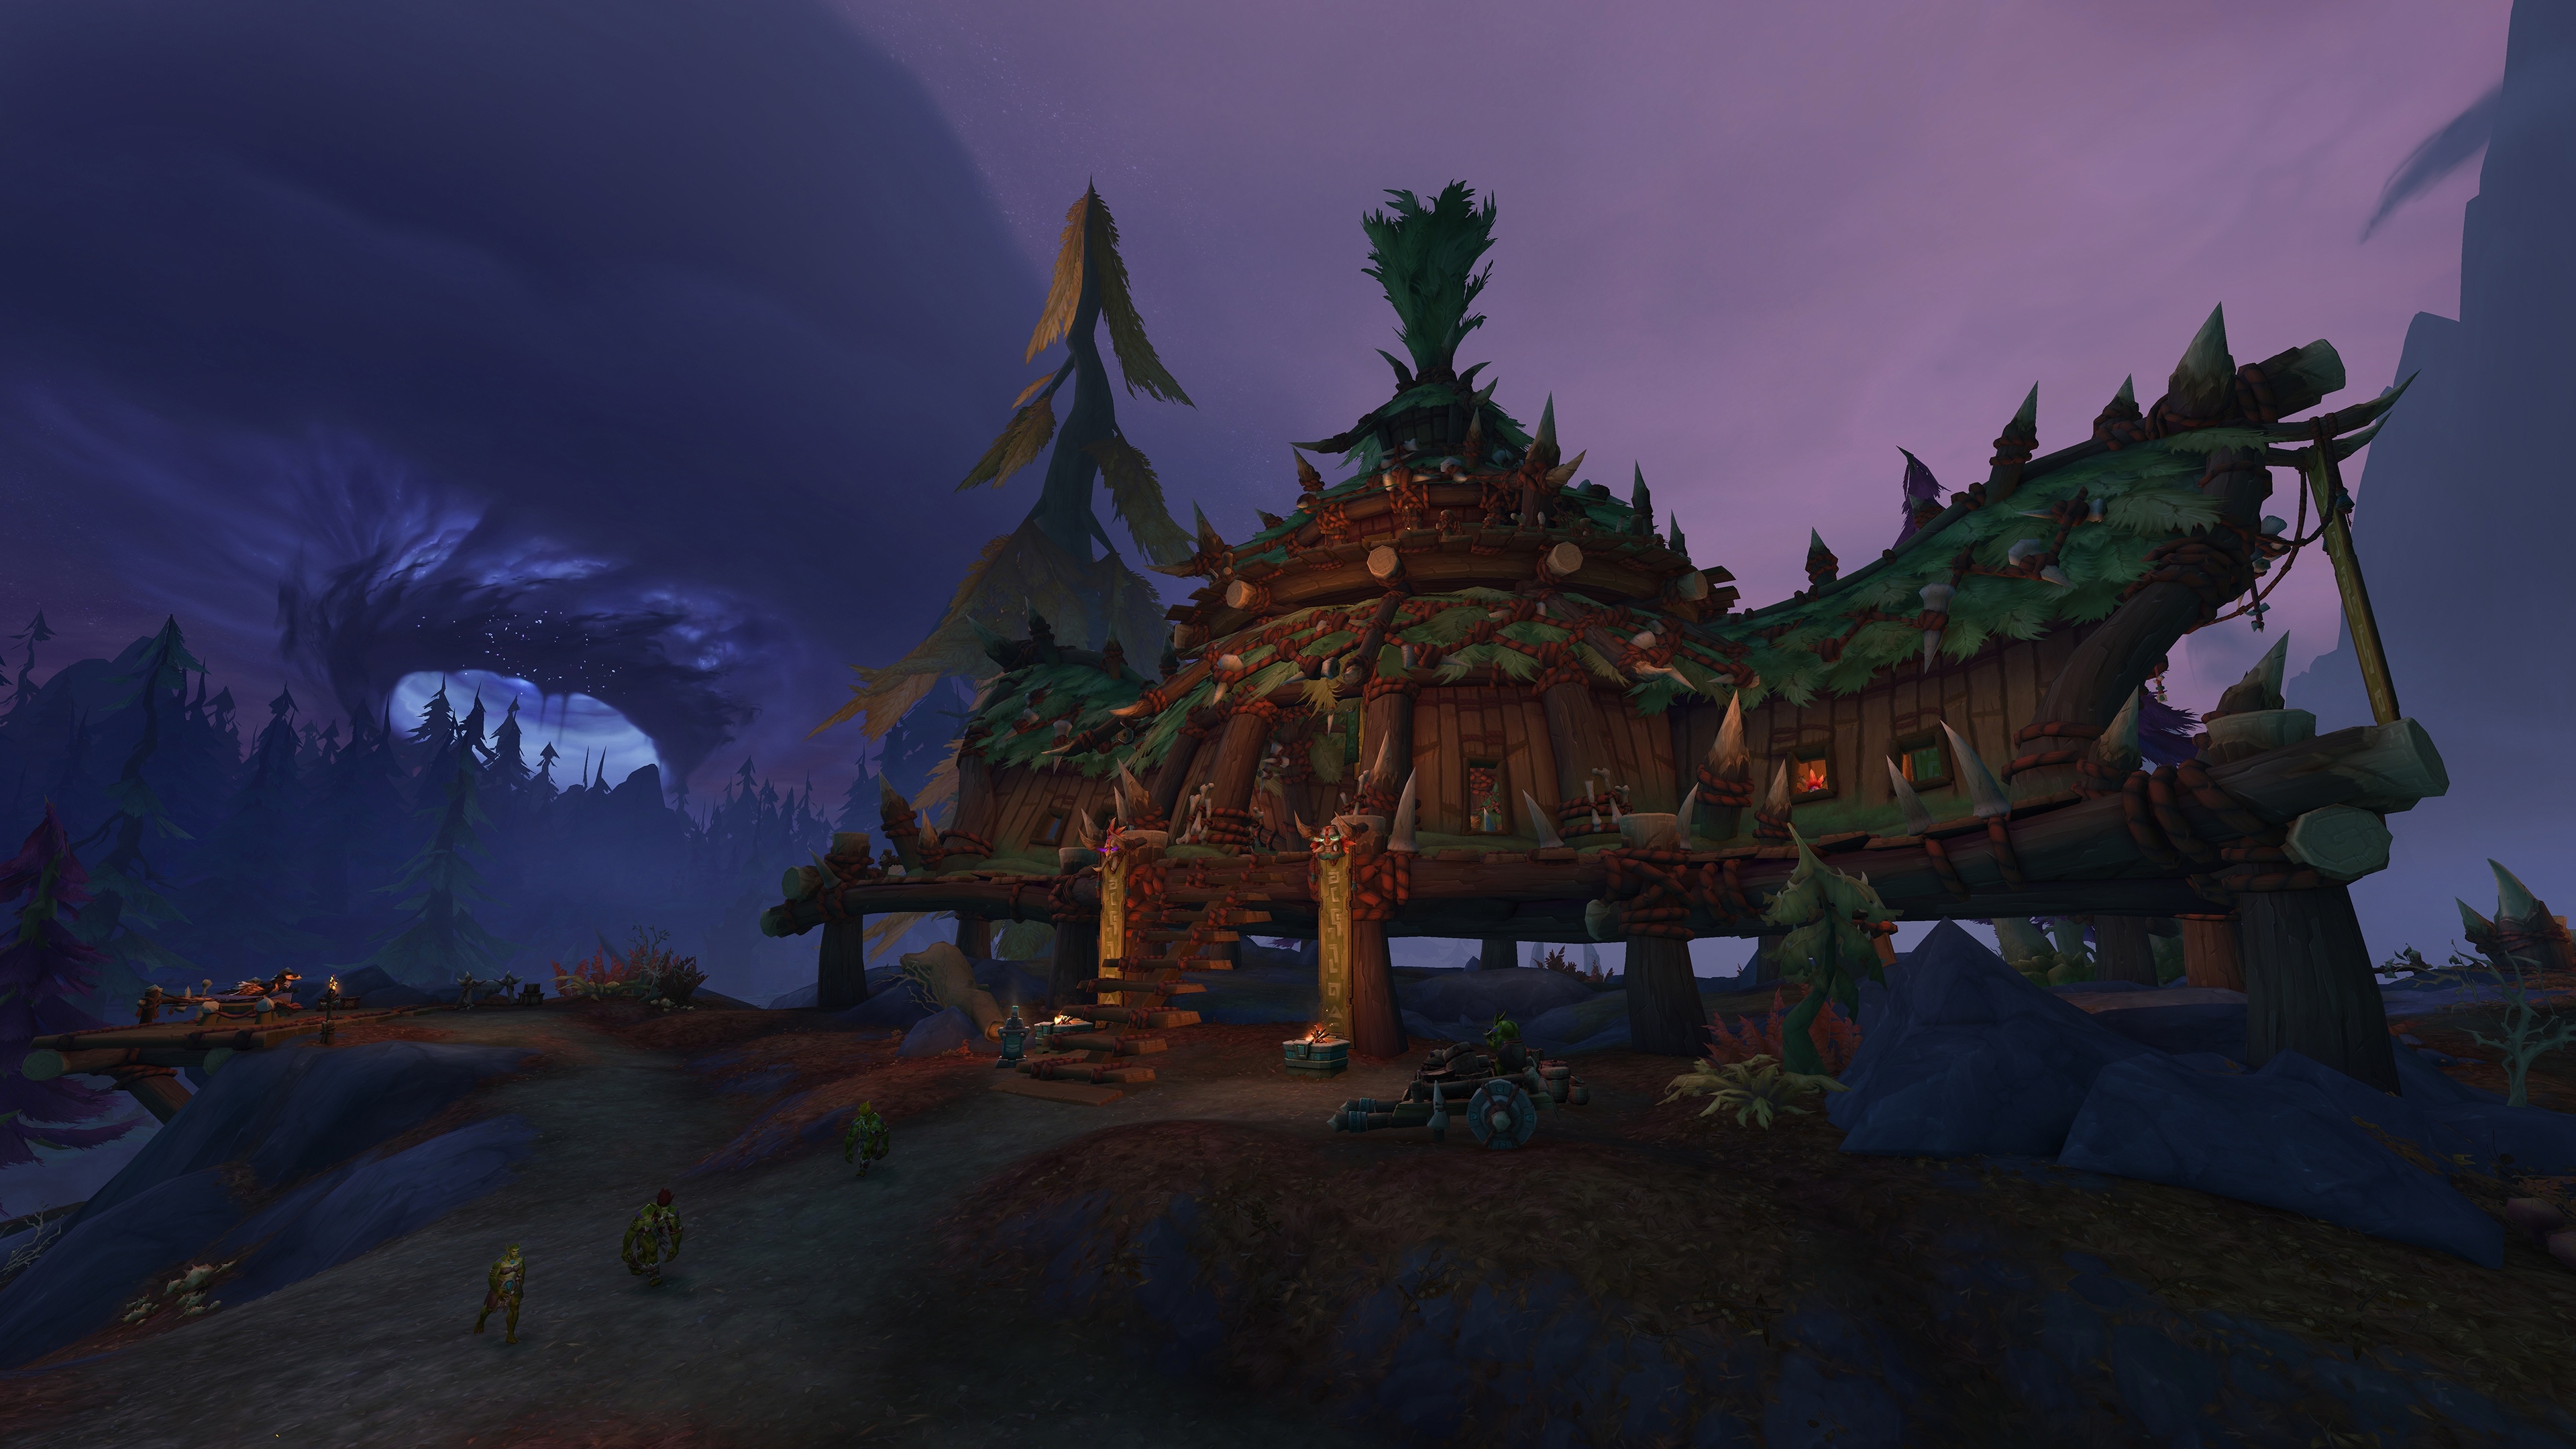

Zul’Aman is where leveling turns more combat-forward and more compact. The upside is quest density — more objectives per area, fewer “ride for two minutes to click one thing” moments, more pulls that chain into the next pull. That density is why it levels well: less time traveling, more time gaining XP. The downside is the same thing: if you play sloppy, density punishes you. Overpulls happen, patrols stack, you burn cooldowns to fix mistakes, and suddenly “fast zone” turns into corpse runs and drinking breaks. Keep your pulls deliberate, use the terrain instead of fighting it, and finish pockets completely before moving on. When the zone is built around troll-themed, ritual-flavored combat beats, the campaign usually strings objectives in tight loops — respect that loop, don’t break it, and you get a clean, fast middle stretch.


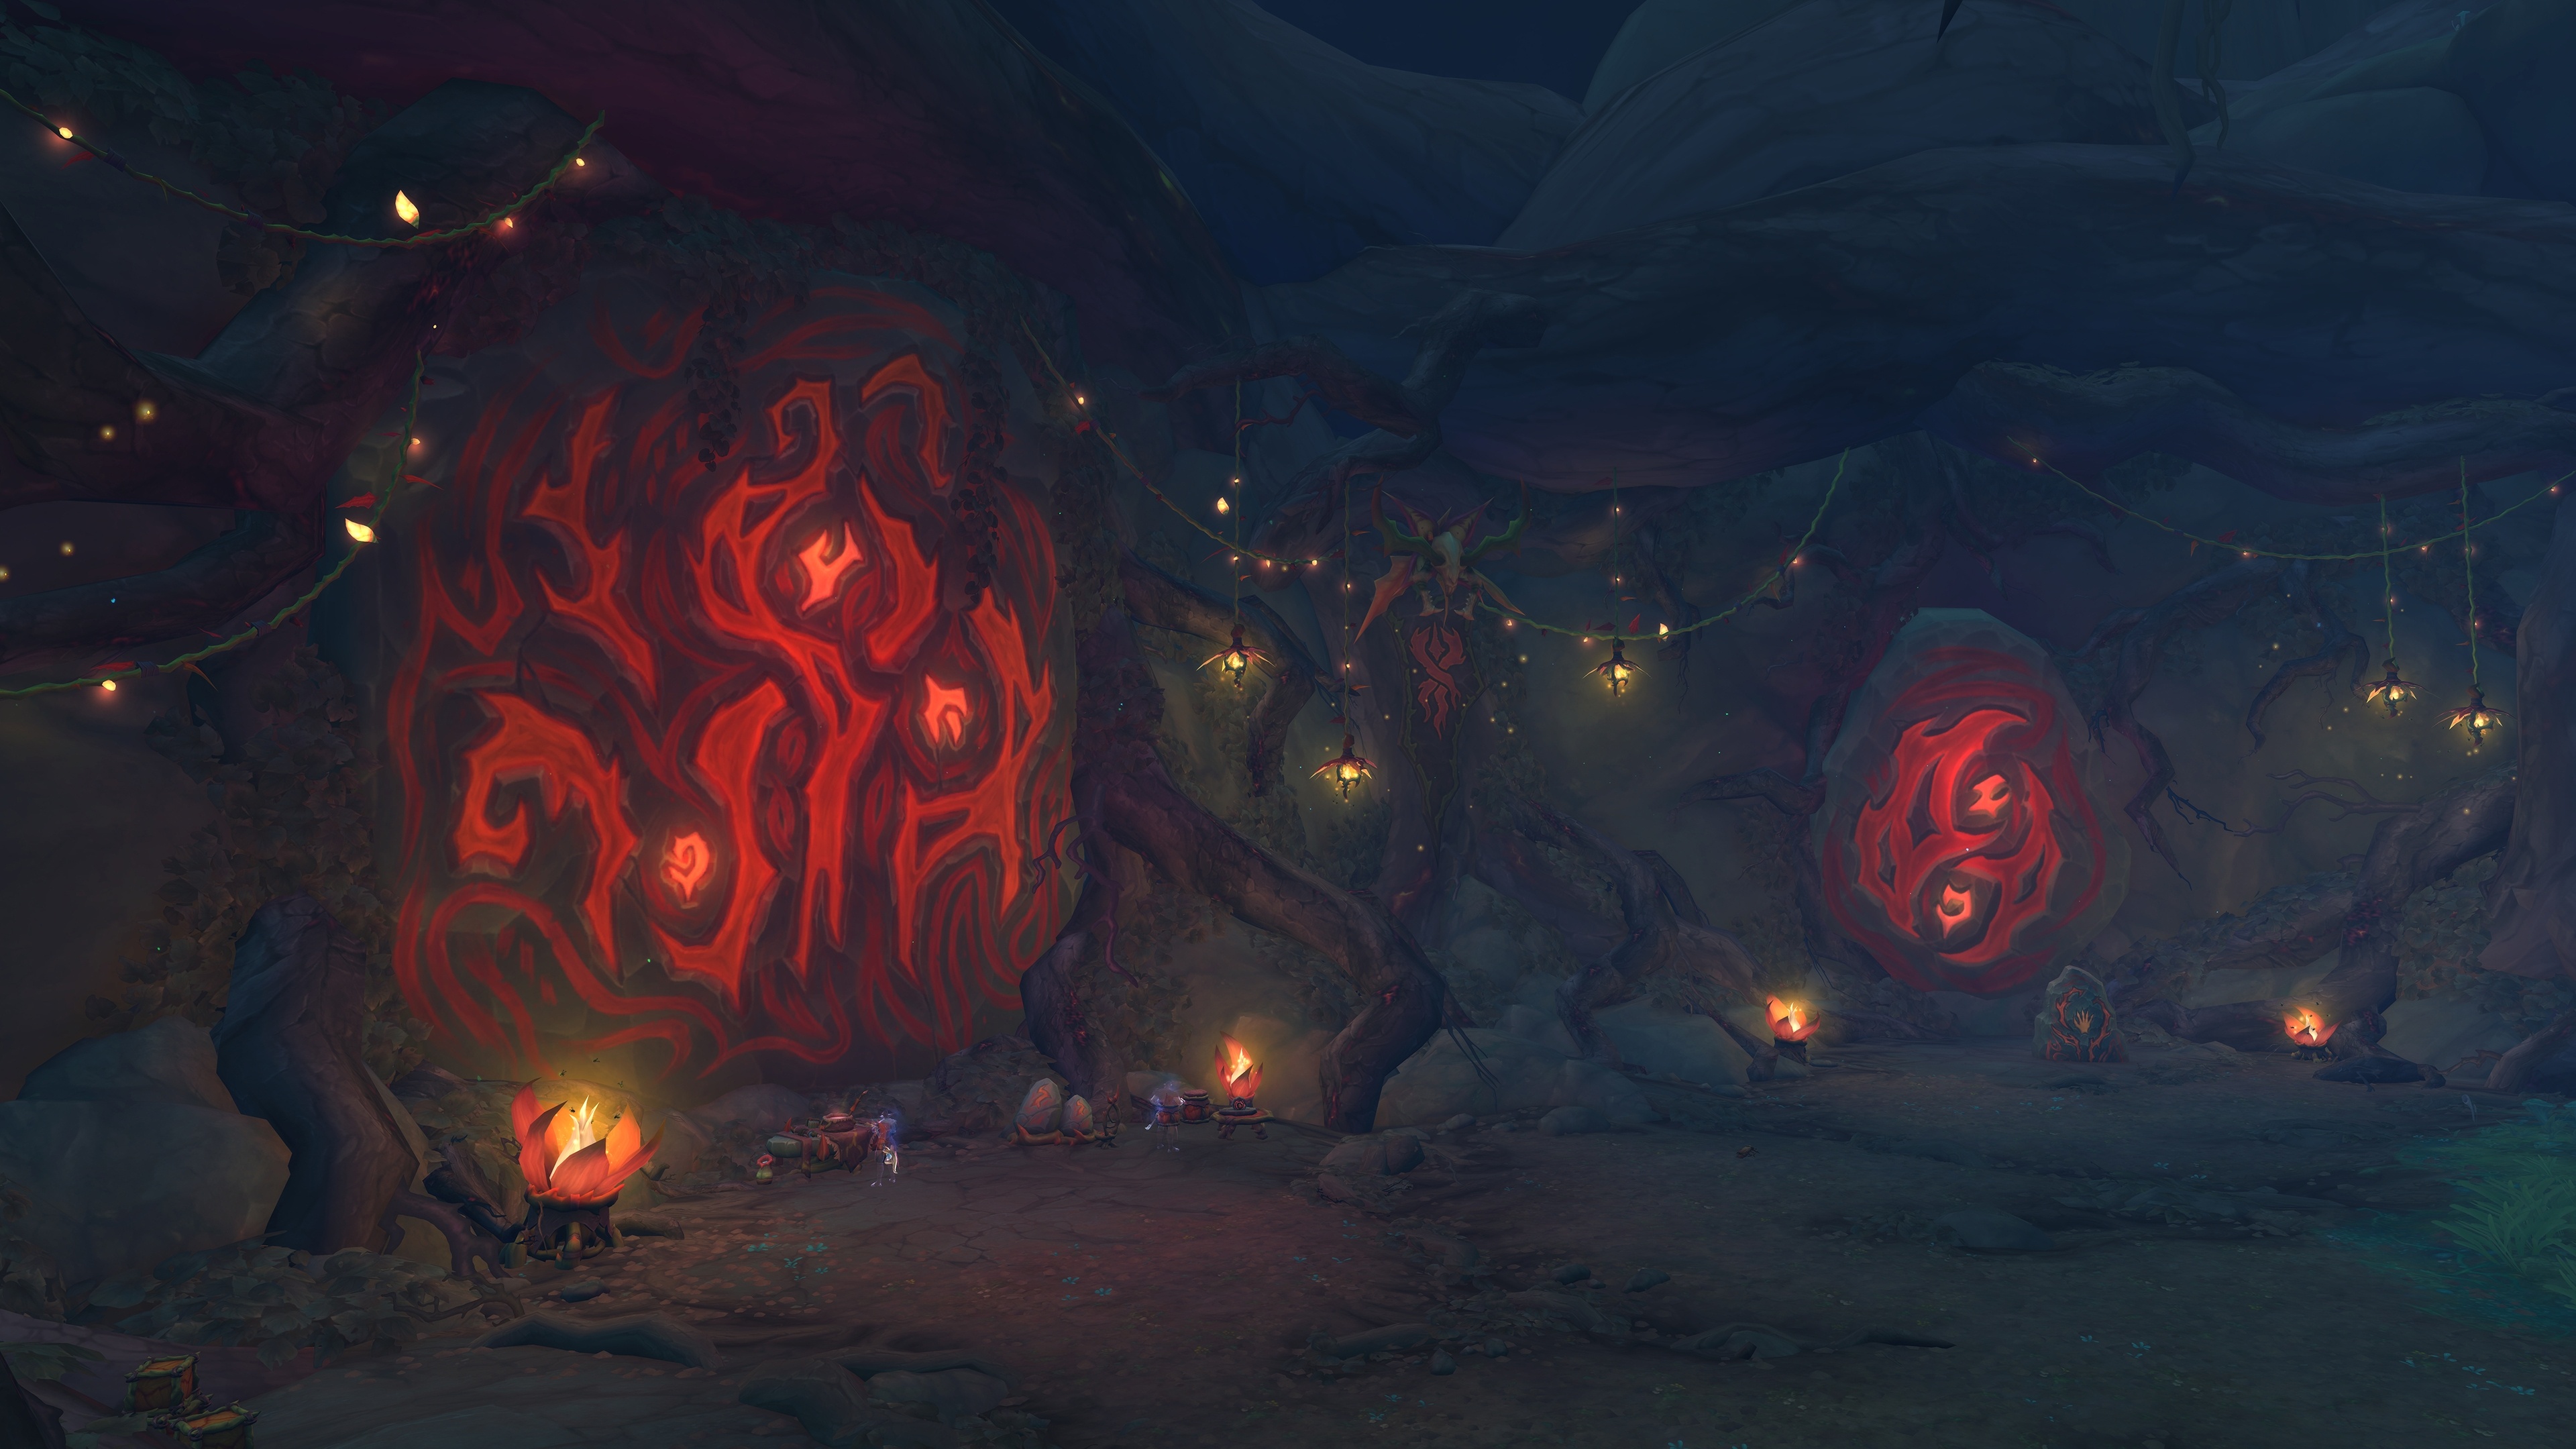
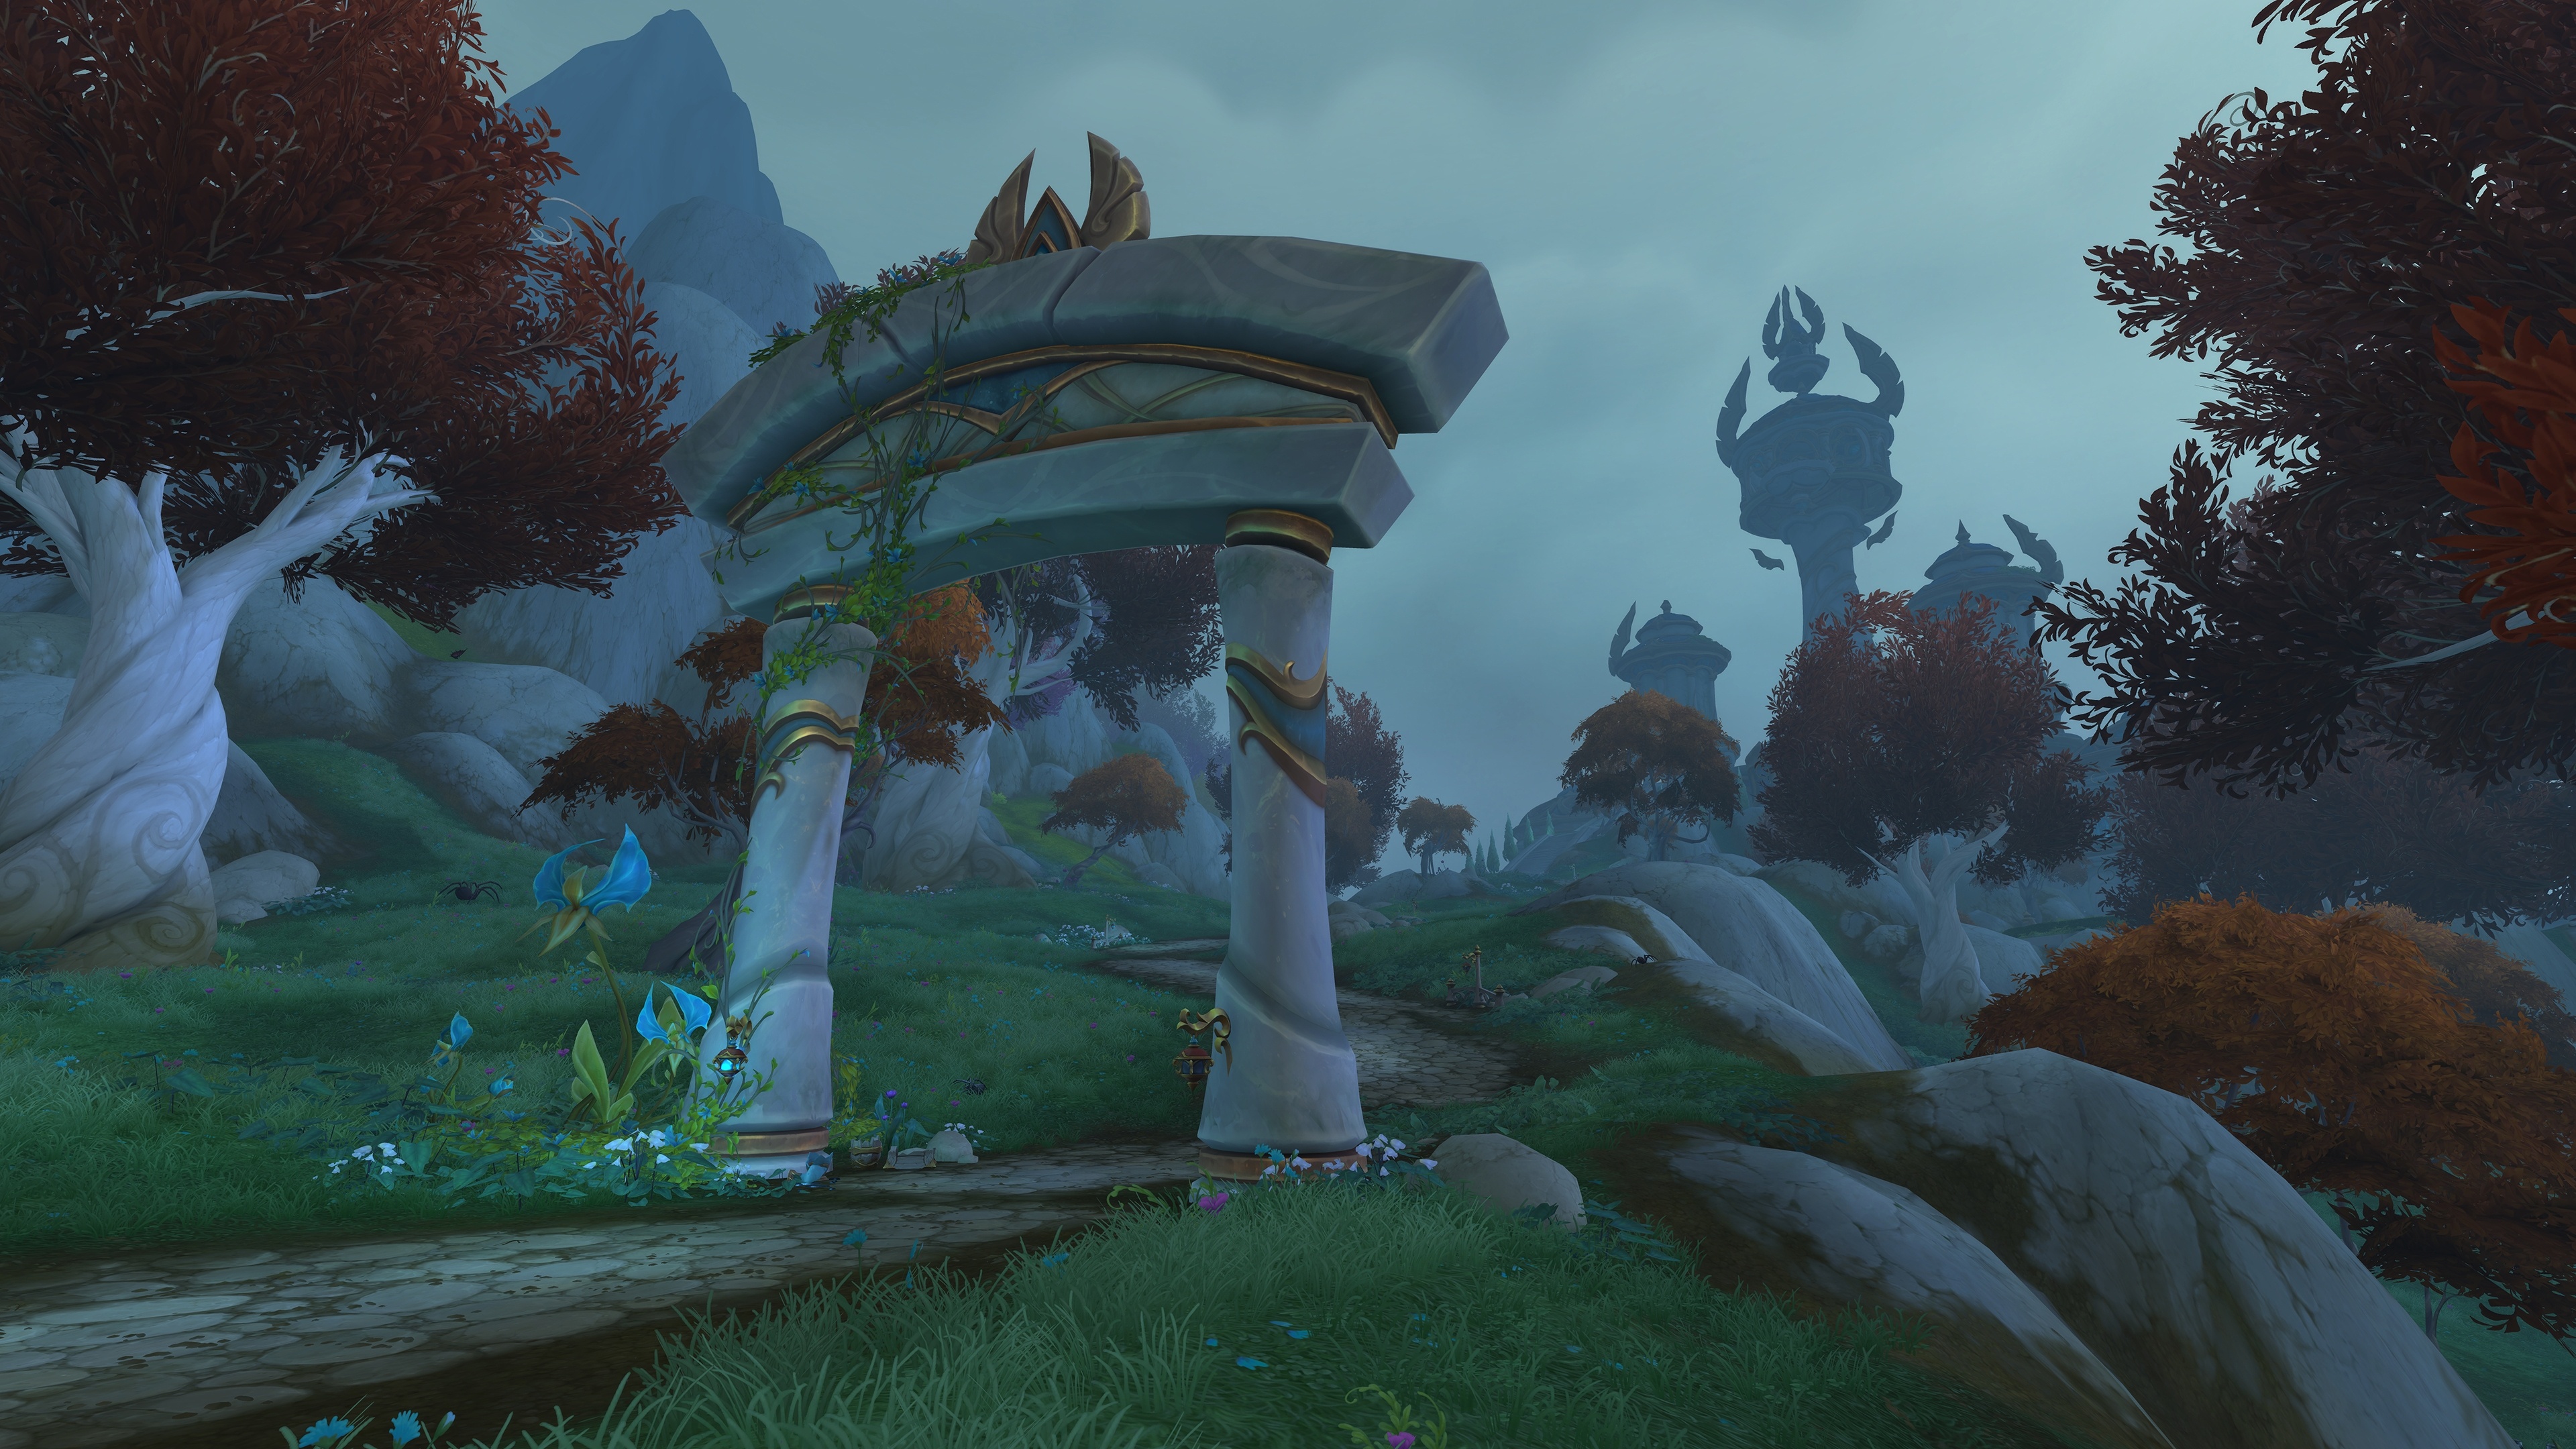
Harandar is the darker warning sign on the campaign map — connected to the main conflict, less friendly, less forgiving, and usually more interested in pressure than comfort. Zones like this tend to tax you in two places: survivability and routing. You can’t brute-force every pull while half-asleep, and you can’t afford to drift off the campaign thread chasing side markers, because the time-loss comes back twice: you waste minutes getting there, then you waste minutes getting back into the chain. The leveling win here is discipline: keep your build stable, keep your defensives and self-heals on a real plan, and don’t let “one more objective” drag you into extra fights that don’t advance the zone’s main sequence. Harandar matters because it’s the pivot — the point where the campaign starts pushing harder toward the endgame tone, and the habits you bring out of this zone are the same habits you’ll need when the game completely stops being polite (shocking for modern WoW, yes).

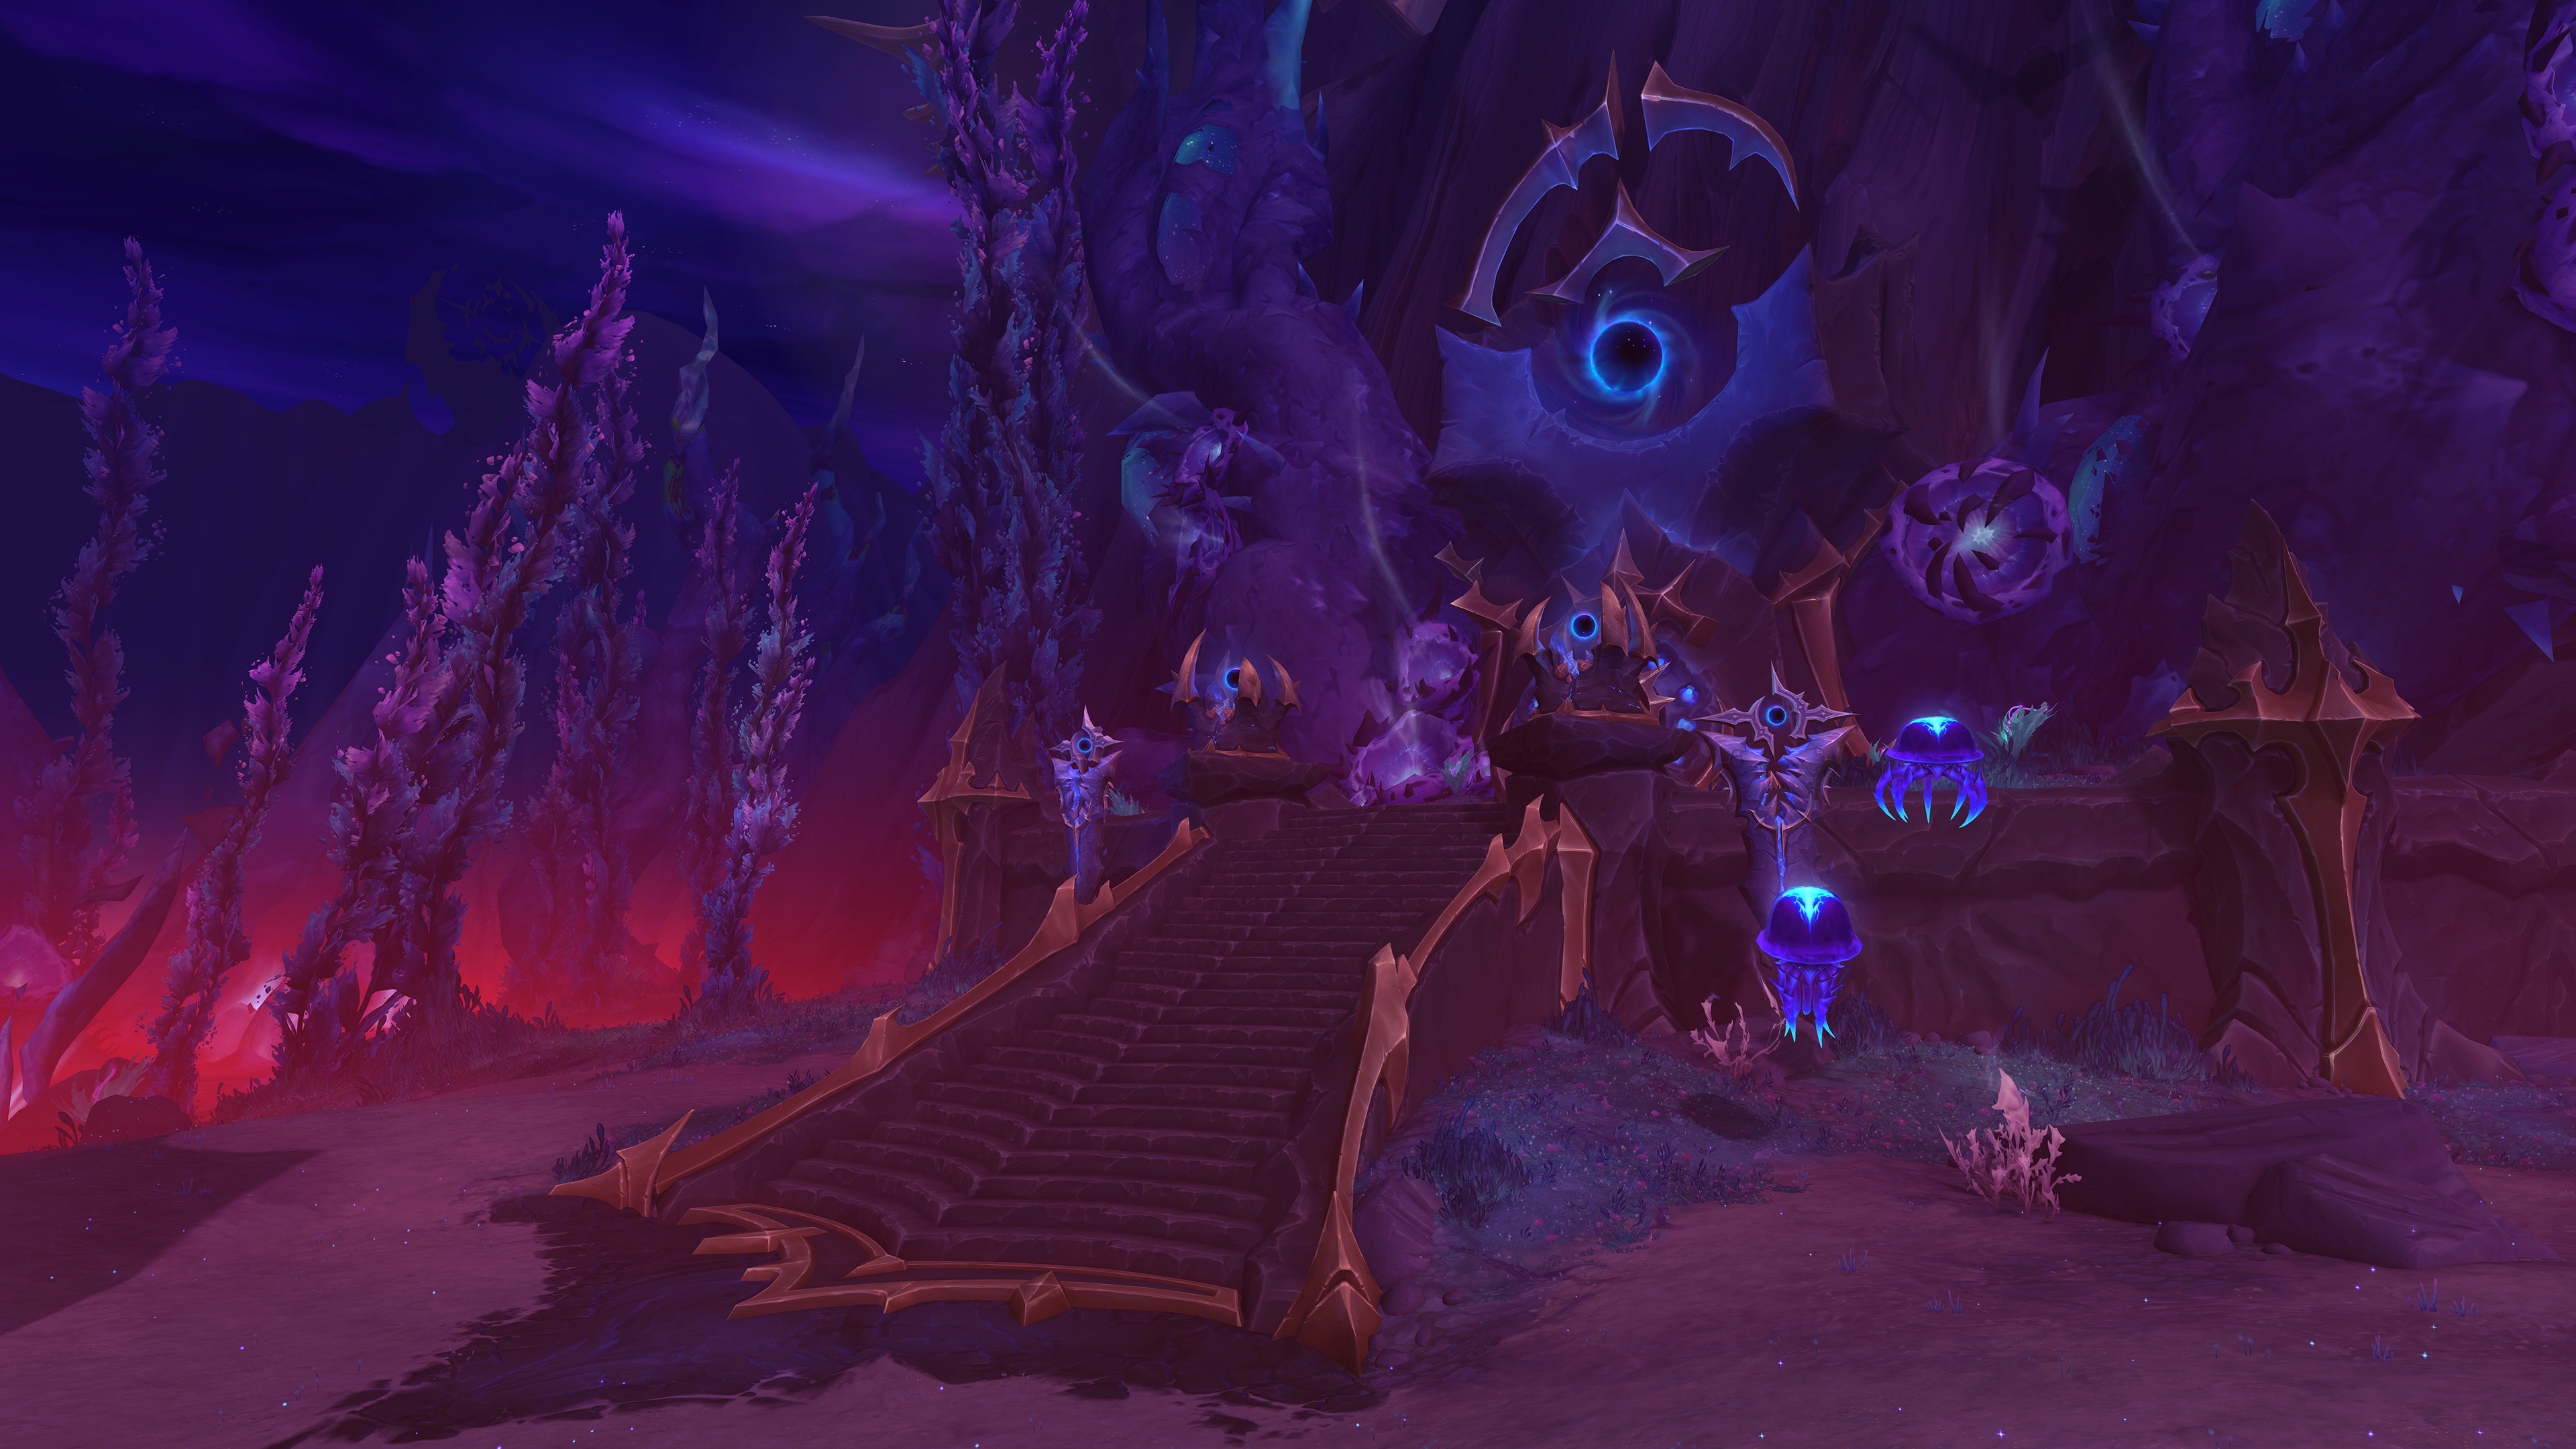
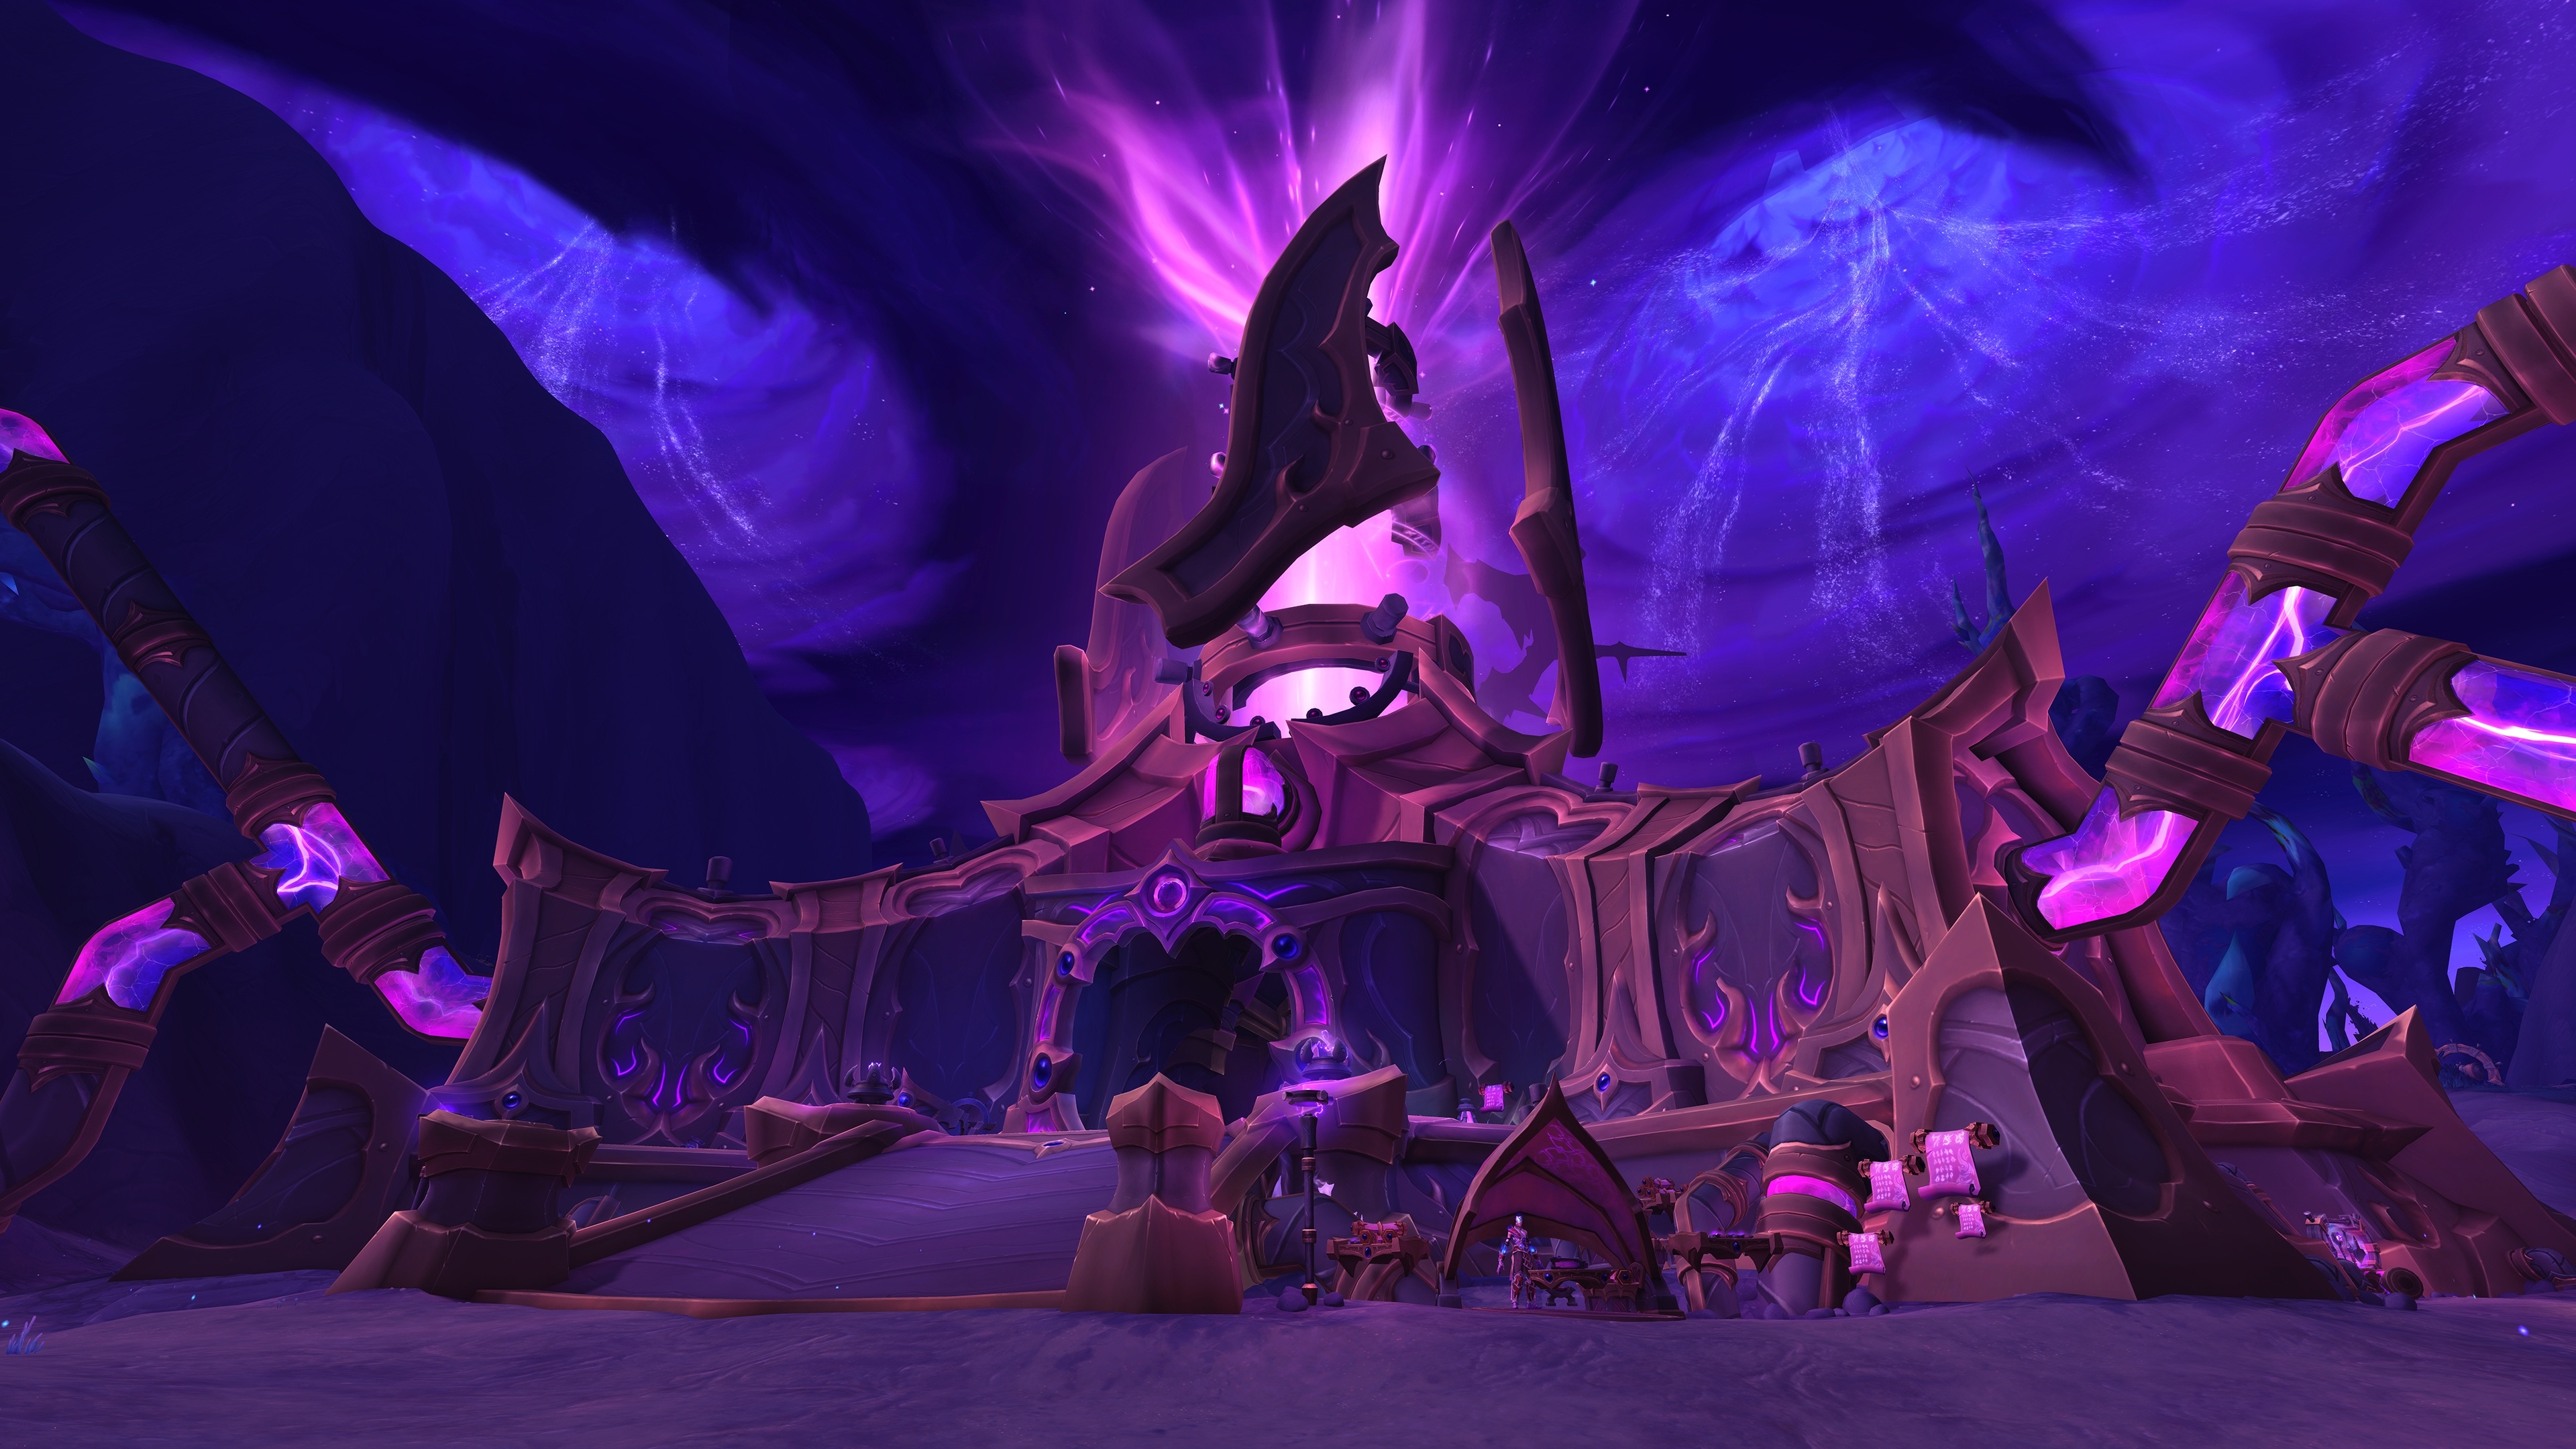
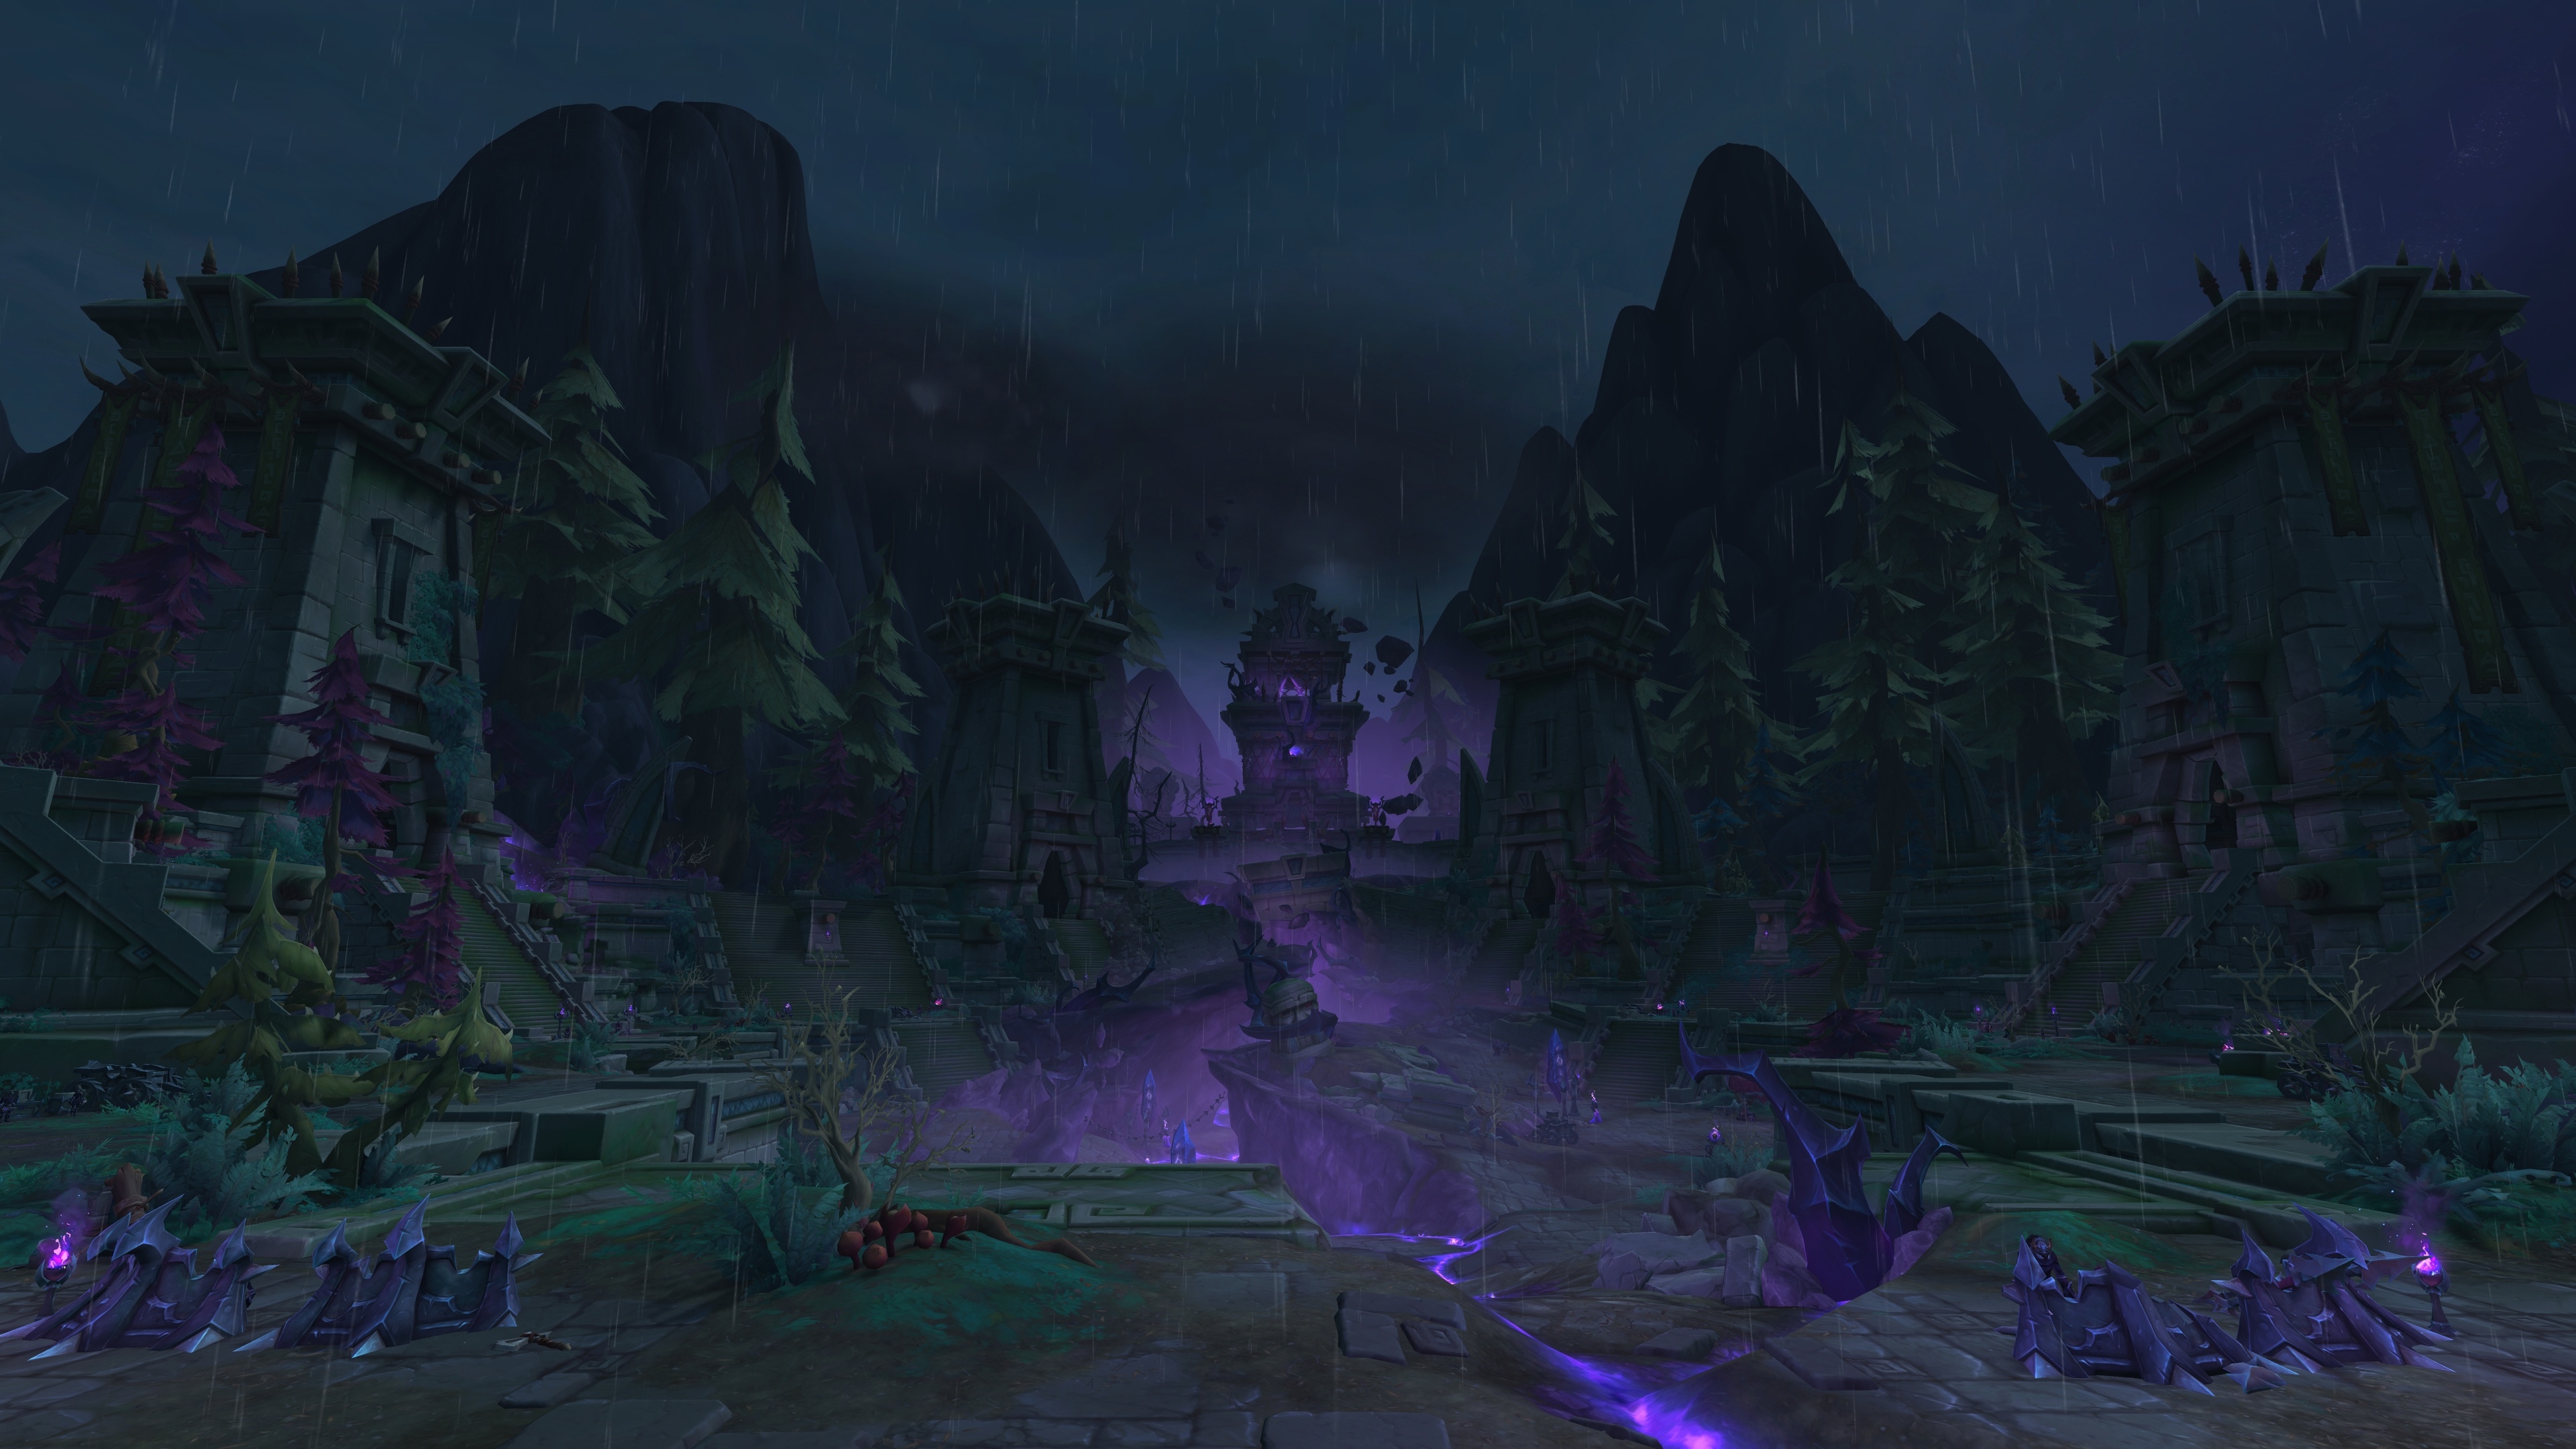
Voidstorm is the last campaign zone and it’s wired into endgame direction, which changes how it plays. Final zones are rarely about relaxed wandering; they’re about closing story threads, pointing you at what comes next, and moving you through bigger, heavier quest beats that feel like staging for max-level content. Leveling friction here usually comes from pressure: tougher pulls, more punishing mistakes, and more situations where you either play clean or you bleed time.
The smart approach is controlled aggression — pick fights that move the chain, skip fights and side quests that don’t, and treat deaths as the real enemy, because every wipe is XP tempo thrown into the fire. Voidstorm’s importance is simple: it’s the handoff zone. Finish it with your route intact and your character feels fully ready at cap; stumble through it and you arrive at endgame already behind.
Dungeons are the “reset button” for leveling tempo in Midnight. When a zone chain starts dragging you into long rides, scattered objectives, or slow hub work, a good dungeon run snaps the pace back into something predictable: steady pulls, constant combat, no travel tax, and a clean XP payout at the end.
| Dungeon | Recommended Level | Why It Works for Leveling |
|---|---|---|
| Windrunner Spire | 81+ | Wing-style layout with a clear forward path, quick pulls, and very little “where do we go?” downtime. |
| Murder Row | 83+ | Fast pacing with minimal puzzle friction; good for repeat runs when you want consistent XP per queue. |
| Voidscar Arena | 85+ | Wave-based structure makes runs predictable; strong choice when you want steady XP without routing decisions. |
| Den of Nalorakk (Optional) | 86+ | More of a “change of scenery” dungeon; solid XP from density, but usually picked for variety rather than pure speed. |
Windrunner Spire is built like a straight push: you enter, you keep climbing, you keep pulling. That matters for leveling because the fastest dungeon runs are the ones where the group never argues about direction, never backtracks, and never stalls between packs. The Spire as a place is tied to Windrunner history and “sisters meetings,” with the undead threat already cleared out and something new rising inside the tower — which is a nice way of saying the theme is focused and the route is deliberate. The practical leveling angle is simple: treat it as a rhythm dungeon. Chain pulls, save cooldowns for the moments when the group is already moving, and don’t waste time “over-clearing” side packs unless your tank is intentionally farming XP density.
Murder Row is the opposite vibe: street-level trouble in Silvermoon, smugglers, shadowy deals, and a run that players describe as having clean pacing with no annoying puzzles getting in the way. That’s why it’s strong for leveling spam: repeatability comes from low friction. You queue, you run, you leave, you queue again — no gimmick that slows the second or third run. One recurring note from beta feedback is that the first half plays like you’re cutting through compromised locals (guards and scared mages), then the dungeon escalates into heavier demonic presence later on — so expect the difficulty to spike as you go deeper, and save some defensives for the back half instead of blowing everything early just because the opening packs feel easy.
Voidscar Arena is basically “combat on a timer,” even when the game doesn’t show you a timer: you’re there to fight waves for someone’s amusement, which makes the run feel more like an arena scenario than a classic hallway crawl. That structure is gold for leveling because it removes routing decisions and replaces them with a loop the group can execute on autopilot. Wave dungeons reward simple discipline: stack mobs tightly, frontload AoE, and keep interrupts/defensives for the waves that actually threaten wipes. If your goal is predictable XP per run (not sightseeing, not story beats), this is the dungeon that behaves the most consistently from run to run.
Den of Nalorakk sits in Zul’Aman and leans into “trial” structure — dream-flavored challenges built around proving yourself to Nalorakk. That theme usually translates into a run that’s less about speedrunning a straight corridor and more about clearing the dungeon the way it expects, which is why it lands as “optional” for pure power leveling: it can be great XP if the group is strong, but it’s not always the fastest XP per minute if the run includes more scripted beats.

If you want to level extremely fast when the Midnight expansion launches, preparation is key. The leveling campaign features several bottlenecks, most notably a 15 to 20-minute introductory questline at the Sunwell where mounting is completely disabled. This segment is filled with single-target named mob kills, which is a recipe for disaster on launch day when hundreds of players are competing for tags.
To get ahead of the pack and maintain momentum, you need a specific set of items that allow you to move faster than the game normally permits, bypass travel restrictions, and optimize your gear for movement speed rather than raw damage. By preparing these items now, you can skip tedious travel segments, ignore slowing mechanics, and navigate indoor areas instantly, saving precious minutes that add up to a significant lead over the general population!
The first essential item is Gidwin's Hearthstone, a quest item from the Eastern Plaguelands that has never been relevant for speed leveling until now. During the "Arator's Journey" campaign in Midnight, you will be required to travel from the Sunwell all the way to Light's Hope Chapel, a trip that takes about three minutes of uninterrupted flight even with skyriding. If you have Gidwin's Hearthstone, you can teleport there instantly, skipping the travel entirely. To get this, start the quest chain with Fiona in the southern part of Eastern Plaguelands and progress until the final quest, "Journey's End". Crucially, do not turn this final quest in; keep the item in your bags. While you are there, interact with Fiona's Caravan to unlock "Argus' Journal," which provides a free 2% experience buff while in the zone. Although minor, it is free experience you get simply by acquiring the Hearthstone.
Because the Sunwell intro scenario disables mounts, you must stock up on standard speed leveling consumables like Gunshoes and Goblin Gliders. Gunshoes attach to your feet and propel you forward at high speed, while Gliders allow you to traverse vertical terrain quickly. These are critical for the initial 20-minute segment of the expansion. Without them, you will be stuck running at normal foot speed, likely getting trapped behind waves of other players waiting for quest mobs to respawn. Having a healthy stock of these allows you to blitz through the intro and exit the bottleneck zone before the masses arrive.
The Cracked Radinax Control Gem is an item from Legion (Argus) that provides a massive speed boost, but it is normally limited by the "Unique" tag, meaning you can only carry one at a time. However, with the introduction of the Trader’s Gilded Brutosaur, you can now exploit this limitation by mailing tons of gems to yourself in advance. Use the gem's three charges, summon your mailbox, delete the empty item, and loot a fresh one to keep moving. This item is particularly broken for a specific quest in the Sunwell intro where you must run up a beach while being slowed by Void energy; the Radinax completely ignores this slow effect. You should also farm the Oddly-Shaped Horn from the Mushan in Pandaria as a backup, but avoid the Tuft of Yak Fur, as it was nerfed to only work in Pandaria.
Obtained from the rare spawn Cinderfall on the Timeless Isle, the Falling Flame launches your character a massive distance across the map. While it has a restrictive one-hour cooldown, it is invaluable for specific, long-distance skips where you cannot fly, likely during the Silvermoon intro sequence. Unlike in Dragonflight, where it was mandatory to skip roleplay, here it serves as a potent optimization tool. If you are serious about speed, farming this now allows you to shave off significant travel time in one or two key moments of the 80-90 grind.
This is a Dragonflight Engineering tinker that must be socketed into Engineering bracers (The War Within bracers work as well) and is perhaps the most important "secret" item for this expansion. Unlike Gunshoes or the Radinax, Shadowflame Rockets can be used indoors. This distinction is massive for the Midnight campaign, which features segments like the Arator storyline where you must run deep into the Paladin Order Hall beneath Light's Hope Chapel and then backtrack out. The rockets allow you to blast out of these deep indoor areas instantly, saving 20-30 seconds of running. You should learn basic War Within Engineering to reduce the chance of the item backfiring, as a failure deals damage and knocks you down. Note that it shares a cooldown with potions and breaks if you jump or take damage.
For your gear, damage is secondary to speed. You should replace your current embellishments with two Prismatic Null Stones, ideally crafted on a ring or necklace since you won't replace jewelry until level 90. These stones amplify the effect of the Elusive Blasphemite gem. By socketing an Elusive Blasphemite and ensuring you have one of every unique gem color in your gear (including an Amber Stamina gem), you gain a flat 10% passive movement speed buff. The two Prismatic Null Stone add another 5%, giving you a permanent 15% move speed increase. This passive bonus is far more valuable for leveling efficiency than any minor damage increase from other embellishments.
Your trinket slots should be optimized for burst damage to clear mobs instantly. You want the Perfidious Projector (from Nexus-King Salhadaar) for high upfront single-target damage and the Chaotic Nethergate (from Delves) for uncapped AoE damage. The strategy is to create a macro to swap between these two on-use trinkets after every combat drop. This bypasses the 2-minute cooldown, leaving you only with the short 30-second internal cooldown on swaps. For your passive slot, use Screams of a Forgotten Sky, which deals high initial damage and causes an explosion on enemy death, making it excellent for chaining mob kills while leveling.
Finally, do not forget to purchase the Guild Battle Standard of Coordination from your capital city vendors. These banners provide a boost to experience, honor, and reputation from killing monsters within a large radius. To use them effectively without cluttering your bars, create a macro that automatically places the best available banner that is off cooldown and bind it to a common key. Press this button whenever you are about to kill a large group of mobs to ensure you are constantly receiving the bonus XP throughout the entire leveling process.