
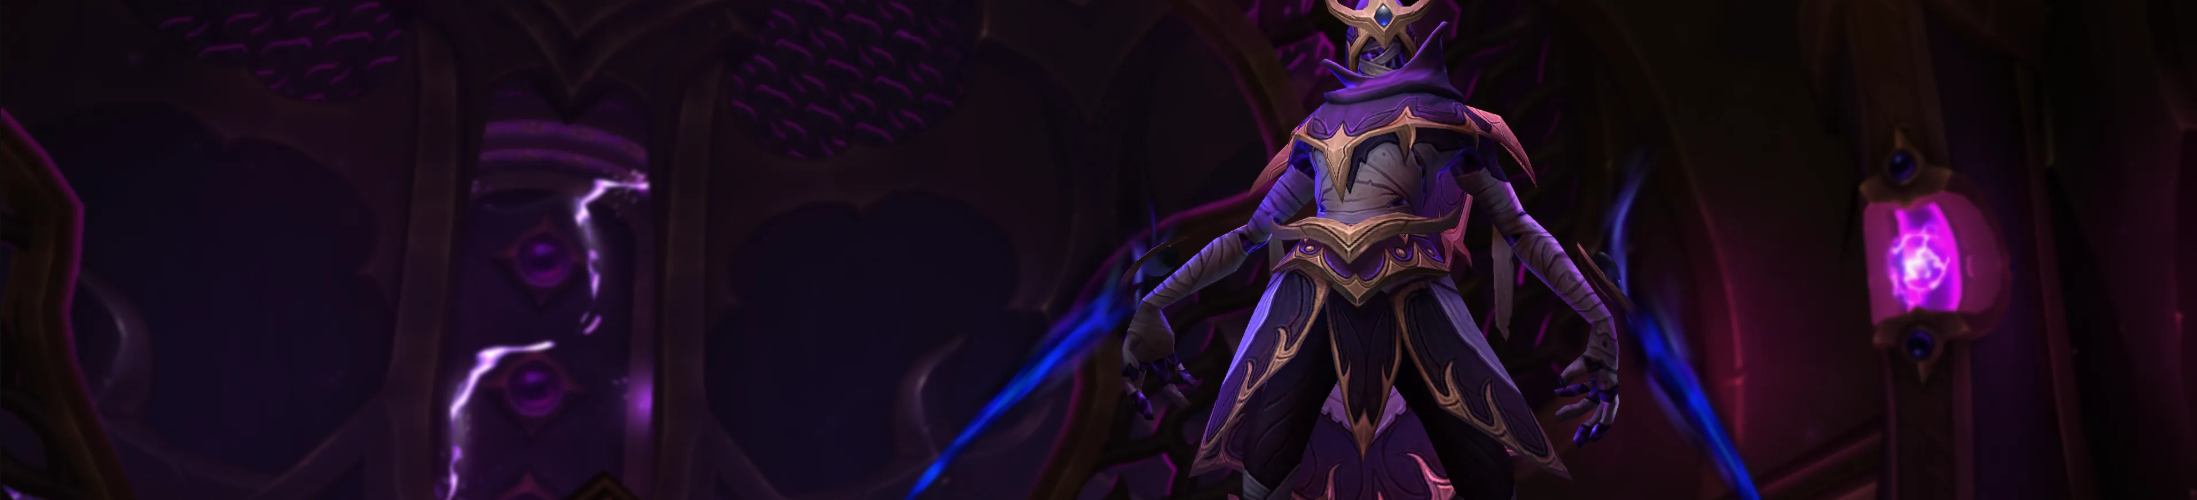
Ky’veza is a crucible. One tight arena, rising pressure, and a boss that punishes hesitation. Your job is simple: keep Brann alive, read the patterns early, and turn chaos into clean, repeatable moves. Stay calm, place with purpose, recover fast. No filler, no detours — just the rhythm that wins.
This guide keeps it clear and actionable: how to read her tells and park dangers where they won’t clip you or Brann; how to ride out clone phases without panic; which Brann setup and small UI tweaks buy you visibility; when a Shrieking Quartz actually pays off; and what rewards and practical limits to expect. The goal is steady clears, shorter pulls, and Ky’veza on farm.
If you learn faster by watching the pattern lock into place, this is your shortcut to a calm, repeatable Ky'veza clear. The video run follows the same fundamentals from this guide: tiny, disciplined repositioning to stay clean through incoming patterns, smarter ground-effect placement that keeps your arena playable (and Brann out of trouble), steady camera control during the “read-and-react” moments, and confident tracking through pressure windows so dangerous casts never get the time they need to snowball.
The walkthrough shows where to anchor the fight, when to give up a step versus when to hold your ground, how to build a clean “safe space” layout after Brann drops his circle, the exact rhythm for handling repeats on both “?” and “??”, and how to keep the arena readable when multiple mechanics overlap. You also get a practical look at the small visibility wins (camera discipline and tidy positioning) that turn the messy shuffle moments from panic into routine.
Nexus-Princess Ky’veza is found in the Voidrazor Sanctuary delve and, like Zekvir and the Underpin, offers just two tiers: “?” (Blizzard’s recommendation: ilvl 678+) and “??” (no official ilvl requirement or recommendation).
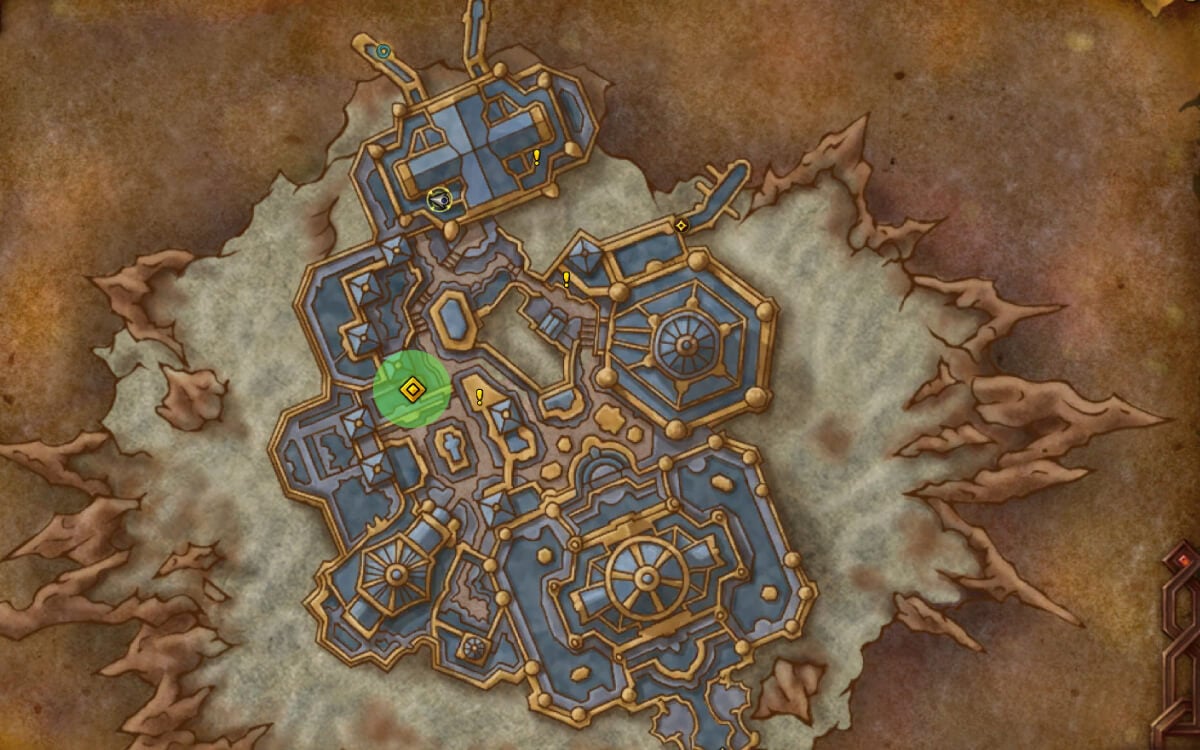
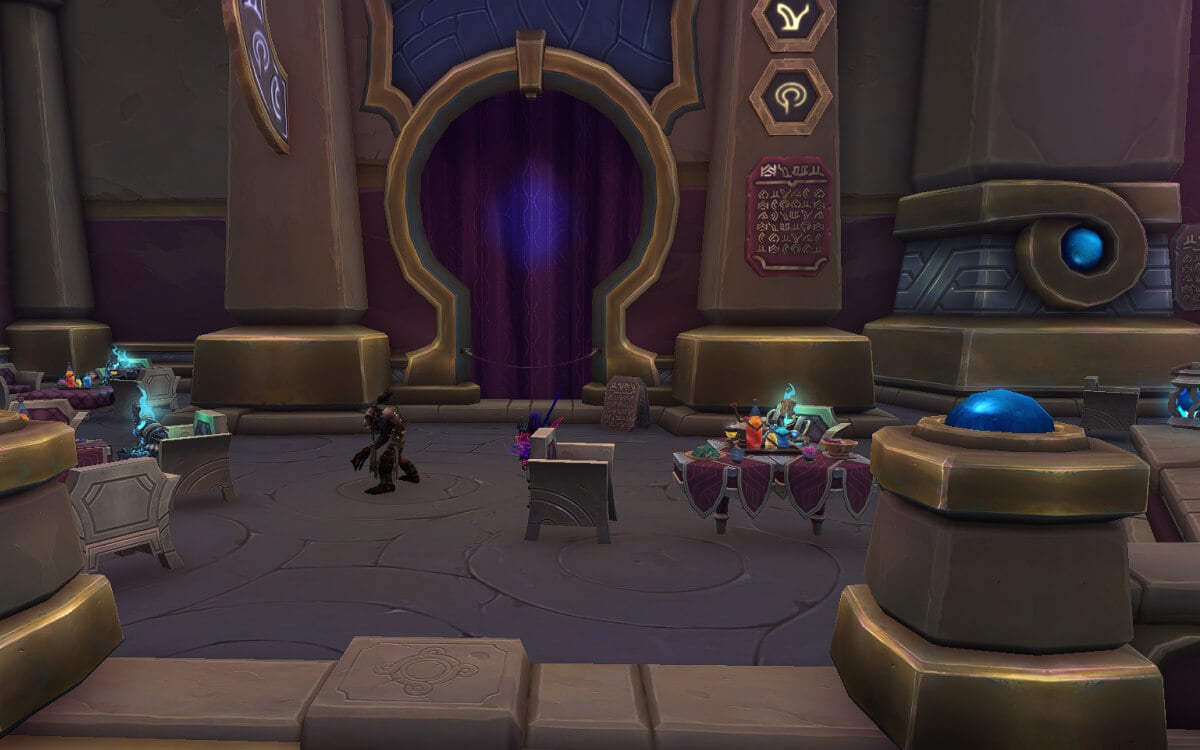
The arena is in Tazavesh; the entrance is tucked behind drapes at /way 38.91 51.82, and the fight can be done solo or in a group.
Access to Nexus-Princess Ky’veza is gated by your Delve progress: Tier “?” unlocks after clearing Tier 7 with lives remaining; “??” unlocks after clearing Tier 10 with lives remaining. The kit is the same across both tiers, but “??” amplifies the numbers and density — more dagger pulses, six phantoms on Dark Massacre, and a faster Invoke the Shadows shuffle — so mistakes that are survivable on “?” become wipes on “??”.
Outside the lair, Ky’veza can invade any Tier 8+ delve, or you can spawn her after the checkpoint with a Shrieking Quartz to force a Delver’s Bounty drop at 50% HP; note this bounty is weekly-limited and locked behind Delver’s Journey Rank 2 before it can drop. Use the bounty in the same run for an end-chest upgrade.
As previously mentioned, if you’ve cleared a Tier 8 delve, you may already have met Nexus-Princess Ky’veza as she can randomly appear in any Tier 8 or higher run. If you have, you’ve sampled several of her mechanics and her pacing. That cameo means basics won’t surprise you as you progress through Delves.
Below, we break down her kit for both “?” and “??” and the cleanest answers to each pattern. Because the core mechanics are shared, we present the baseline in “?” and call out only escalations in “??”.
Pushing “?” ? Read both: lock the fundamentals, then note what tightens.
This is the easier difficulty — but it’s still a precision test. Nexus-Princess Ky’veza is mechanically dense, and nearly any slip can delete you. Treat each ability as its own mini-check, keep the arena readable, and give yourself time to react. The notes below expand the patterns and the safest answers.
Master these answers on “?” to build muscle memory: controlled micro-steps for daggers, triangle neutralization for rifts, deliberate pivots for charges, and calm tracking for the shuffle. Clean repetitions now make “??” feel like a faster remix instead of a different fight.
The “??” version mirrors the “?” baseline but tightens every screw: she has noticeably more health, her melee hits much harder, and the timings are compressed. All core abilities are upgraded as follows.
That’s the shape of “??”: tighter timings, denser overlaps, and harsher punished mistakes.
Generally speaking: keep the arena readable, move in measured beats, and make the boss come to you instead of chasing patterns. Treat each mechanic as a short drill — micro-steps for daggers, triangle control for rifts, planted feet and pivots for charges, and calm tracking for the shuffle. Run these the same way every pull and your clears get boring — in the good way.
Unless you're comfortable doing the Delve as a tank yourself, set Brann to Damage by default for faster kills; swap to Healer only if survivability is your current bottleneck (learning pulls, frequent chip on you/Brann, or late-fight collapses).
For the Combat Curio, use either Hatarang or Nether Overlay Matrix — keep the one you can press on cooldown without breaking movement; a quick A/B test over a few pulls usually makes the winner obvious.
Prefer firing combat curios in stable, non-clone windows; if a cast risks scuffing rift placement or footwork, skip it — mechanics first. For the Utility Curio, Audio Amplification Crystal is the safe, maintenance-free pick; Battered Aegis is fine if — and only if — you swap it off between attempts to avoid the reduced-damage penalty (forget once and your next pull is weaker). Bind Brann’s curio to a comfortable key, track its uptime, and re-evaluate roles only if the failure mode changes. This setup keeps Brann alive, preserves uptime, and delivers steady damage for both of you without adding moving parts.
Defeating Nexus-Princess Ky’veza in Season 3 is a straight climb of shiny milestones. It’s a tight, high-pressure duel where clean execution converts directly into prestige. Clear her path once and you start flipping a chain of rewards that look good, feel earned, and mark you as someone who kept their cool under a void storm.
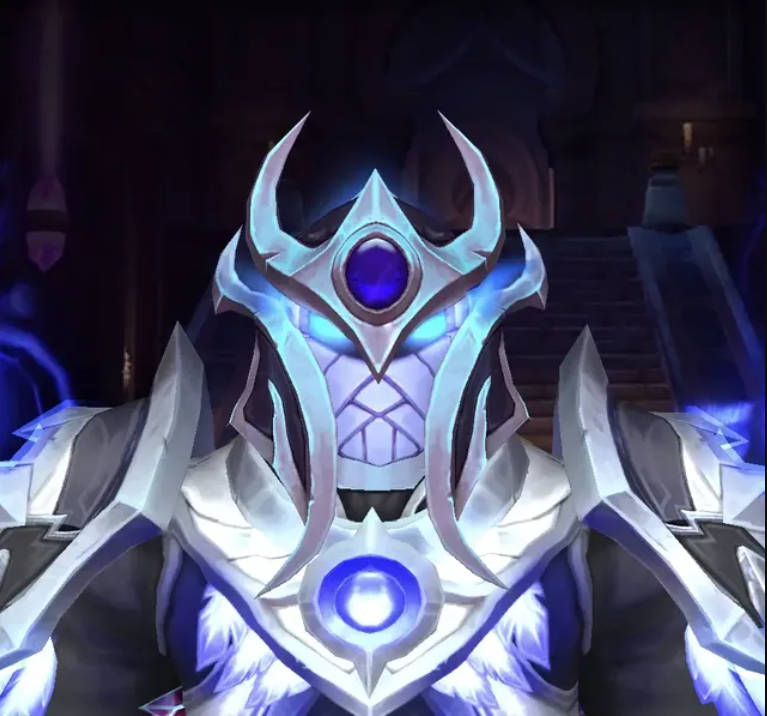
First rung: My Stab-Happy Nemesis — any clear in her lair — grants the Hal’hadar’s Phasebound Visor transmog, a crisp, void-touched crown. It’s an instant, visible keepsake that slots into shadow, purple, and monochrome outfits without fuss, turning even your city idles into a small flex.
Step up to “??” and Pruning the Princess drops the "Contract Killer" title — short, sharp, perfectly on brand for a fight that punishes hesitation. It’s the kind of tag that quietly raises eyebrows in keys, raids, and social hubs alike.
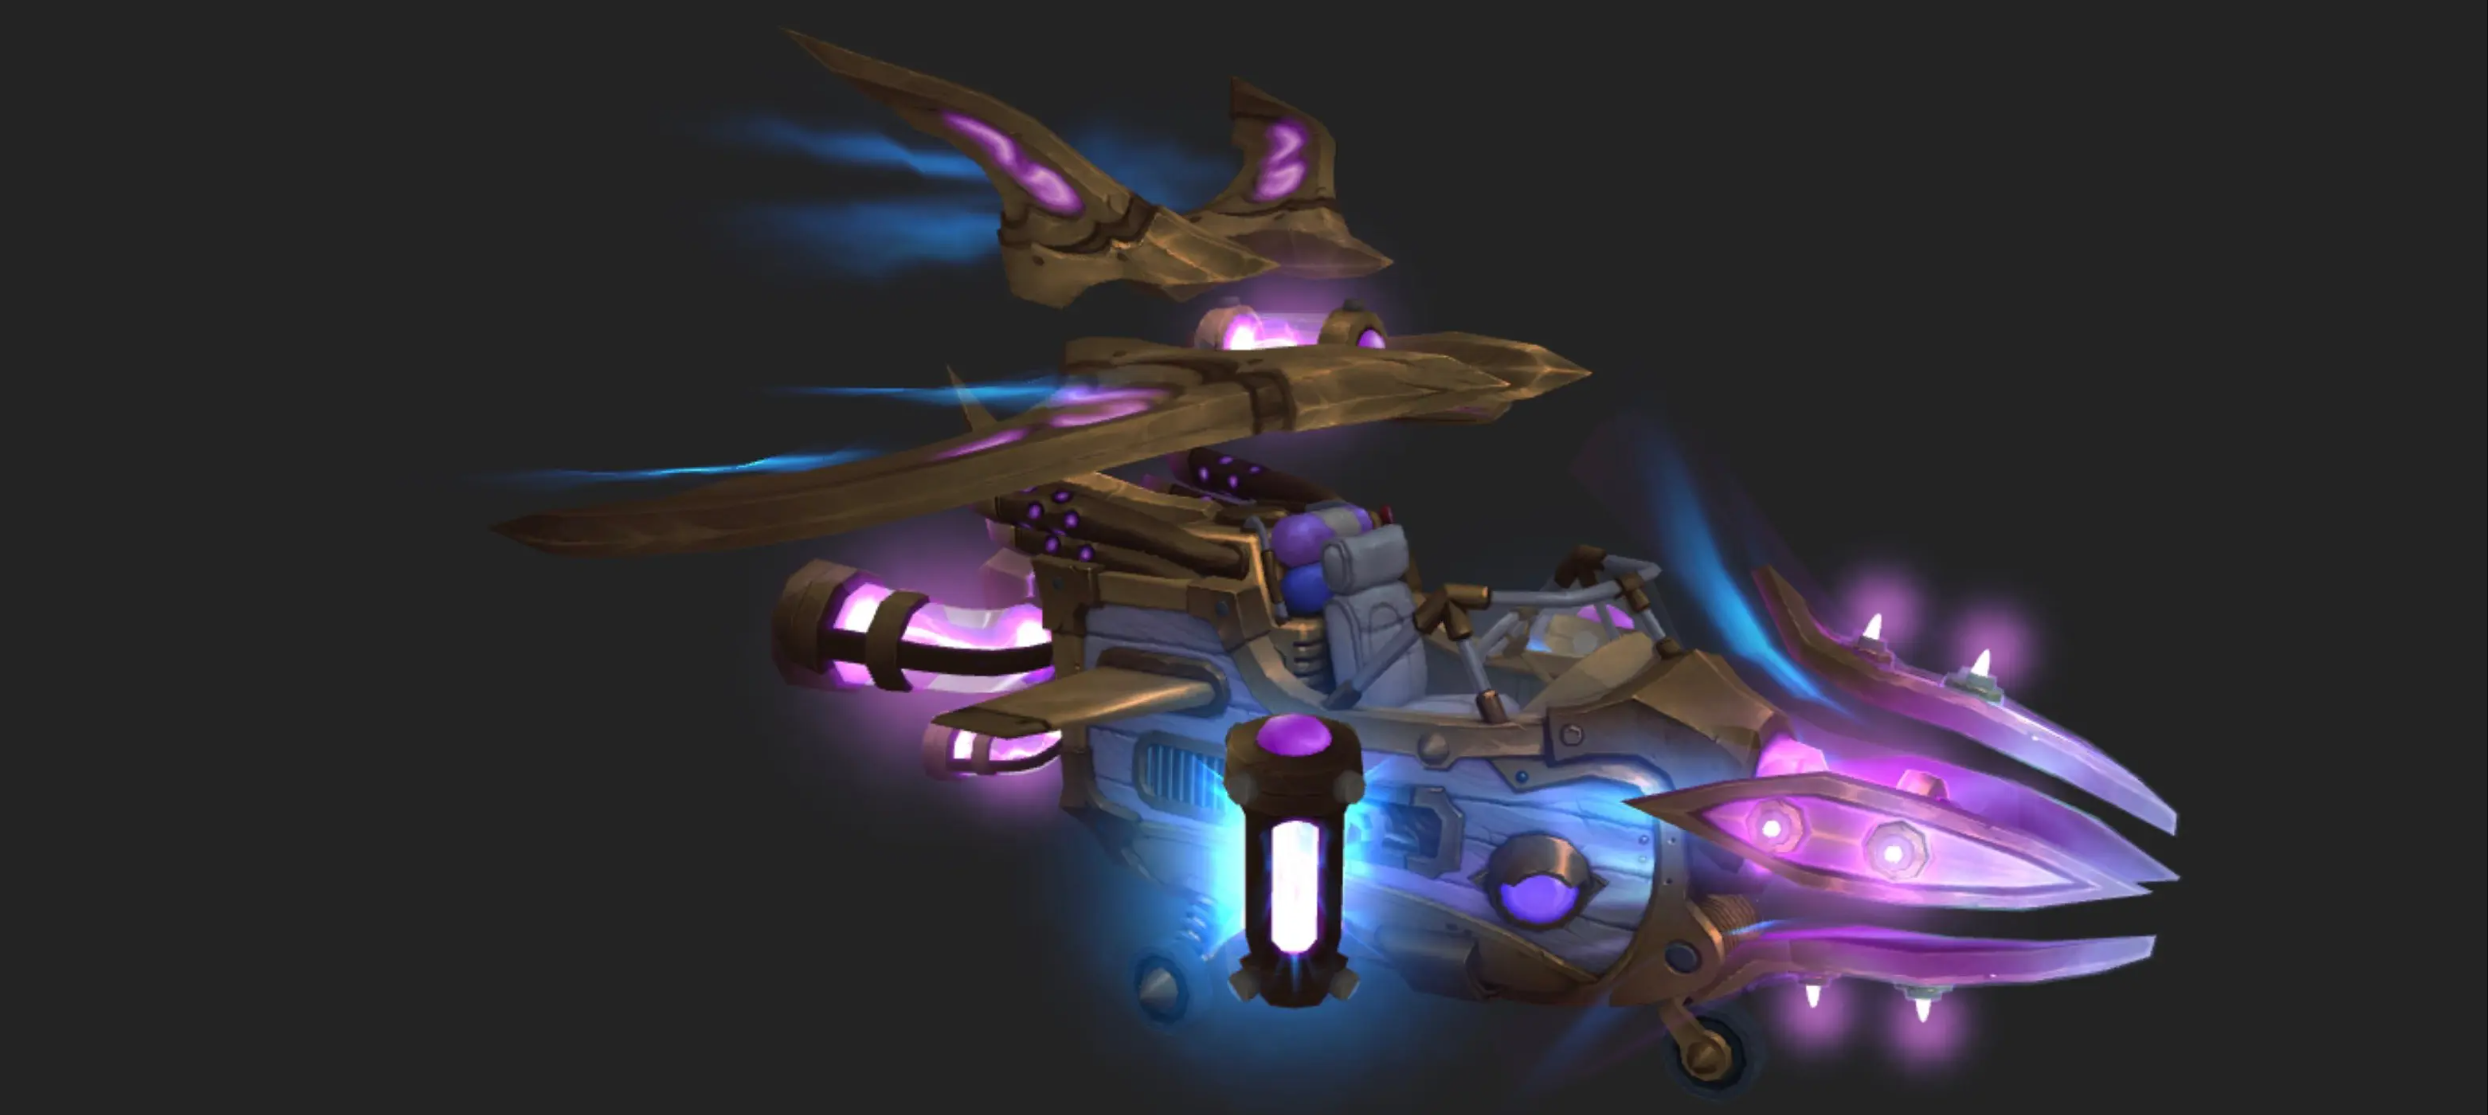
Go full legend with Let Me Solo Her: Nexus-Princess Ky’veza (a solo kill on “??”) to unlock the Delver’s Mana-Skimmer Schematic: Hyperdrive, a void-kissed customization that makes your skimmer look like it chews through reality.
And as a finishing flourish, the seasonal Ky’veza quest awards the Etheric Victory toy, a tidy bit of celebratory emanating void flair that punctuates your clears with extra style. It’s the cherry on top of a run that already feels like a highlight reel.
All of the above Rewards are season-bound — claim them before the next Delves season turns the page. In case you're still struggling with Ky'veza even with the knowledge our guide has provided you, don't worry, our PROs can help you out: