
The Mage Tower is a control check disguised as a survival fight. On Guardian Druid, this challenge is not won by brute force alone. You are constantly trading space, timing, and cooldowns to keep the arena stable while pushing both phases forward. Every mistake compounds, but every clean cycle gives you control back. If you stay calm, respect the sequence, and avoid wasting tools, the fight becomes far more manageable.
This guide breaks the encounter into clear checkpoints so each mechanic has a purpose and a response. You’ll learn how to manage Variss without losing control of the platform, how to handle adds and knockbacks without breaking your rhythm, and how to enter Kruul with the cooldown plan you need to survive. The goal is not to improvise through chaos, but to reduce the fight into repeatable actions that lead to a clean kill.
If you learn best by watching the fight unfold in real time, this video is the fastest way to understand its rhythm. Our creator Poizy shows a clean, repeatable clear built around control rather than a lucky pull. You’ll see the Bear Form opener, the first interrupts, the early step-outs at five Aura of Decay stacks, and the positioning that keeps Prophet Velen safe without letting damage on Inquisitor Variss stall.
The walkthrough also shows how to keep the arena readable in both phases, from gathering Nether Horrors cleanly in the middle to placing Highlord Kruul’s puddles around the perimeter so knockbacks, adds, and movement stay manageable instead of spiraling out of control.
The Guardian Druid Mage Tower challenge is The Highlord’s Return — a focused, two-phase scenario built around control, damage pacing, and clean defensive planning. It tests far more than raw toughness: you must stabilize the arena, protect your allies, and still push the encounter fast enough that the fight does not spiral out of control.
You fight alongside Prophet Velen and Kor’vas Bloodthorn. Their survival is non-negotiable: if either dies, the attempt ends immediately. In practice, that means every knockback, add wave, and positioning mistake has to be handled before it cascades into a wipe.
For Guardian Druid, the win condition is simple to state and strict to execute: keep both allies alive, control the platform, and pace your cooldowns so Phase 2 never gets ahead of you. The rest of this guide turns that brief into a repeatable route through both phases.
In Midnight, the Mage Tower is no longer locked to the old item-level-120 Timewalking ilvl cap. It is now a maximum-level-only challenge, and the encounter has been rebalanced for the modern game. Your gear, enchants, sockets, and overall setup still matter, but the goal is no longer to assemble a museum-piece legacy kit from older expansions.
That changes how you should prepare. Instead of chasing outdated Timewalking tricks, focus on a strong current-level setup with proper enchants, consumables, and clean itemization. Build a sensible modern gear set, enter with your full setup finished, and treat the fight as a mechanics-and-execution challenge rather than a legacy gearing puzzle. Good preparation helps, but the clear still comes from controlling the script.
CgGA8cL7tpvige+kkmGM9zUPWDAAAAAAAAAAAgZmxsNzMMzmZbMjZZZAMjRT0MzsxMzMLjZGAAAAAADbzA22mZwY2GATNzysMzMDAgNMzAssNDGMWwAMzMzCM
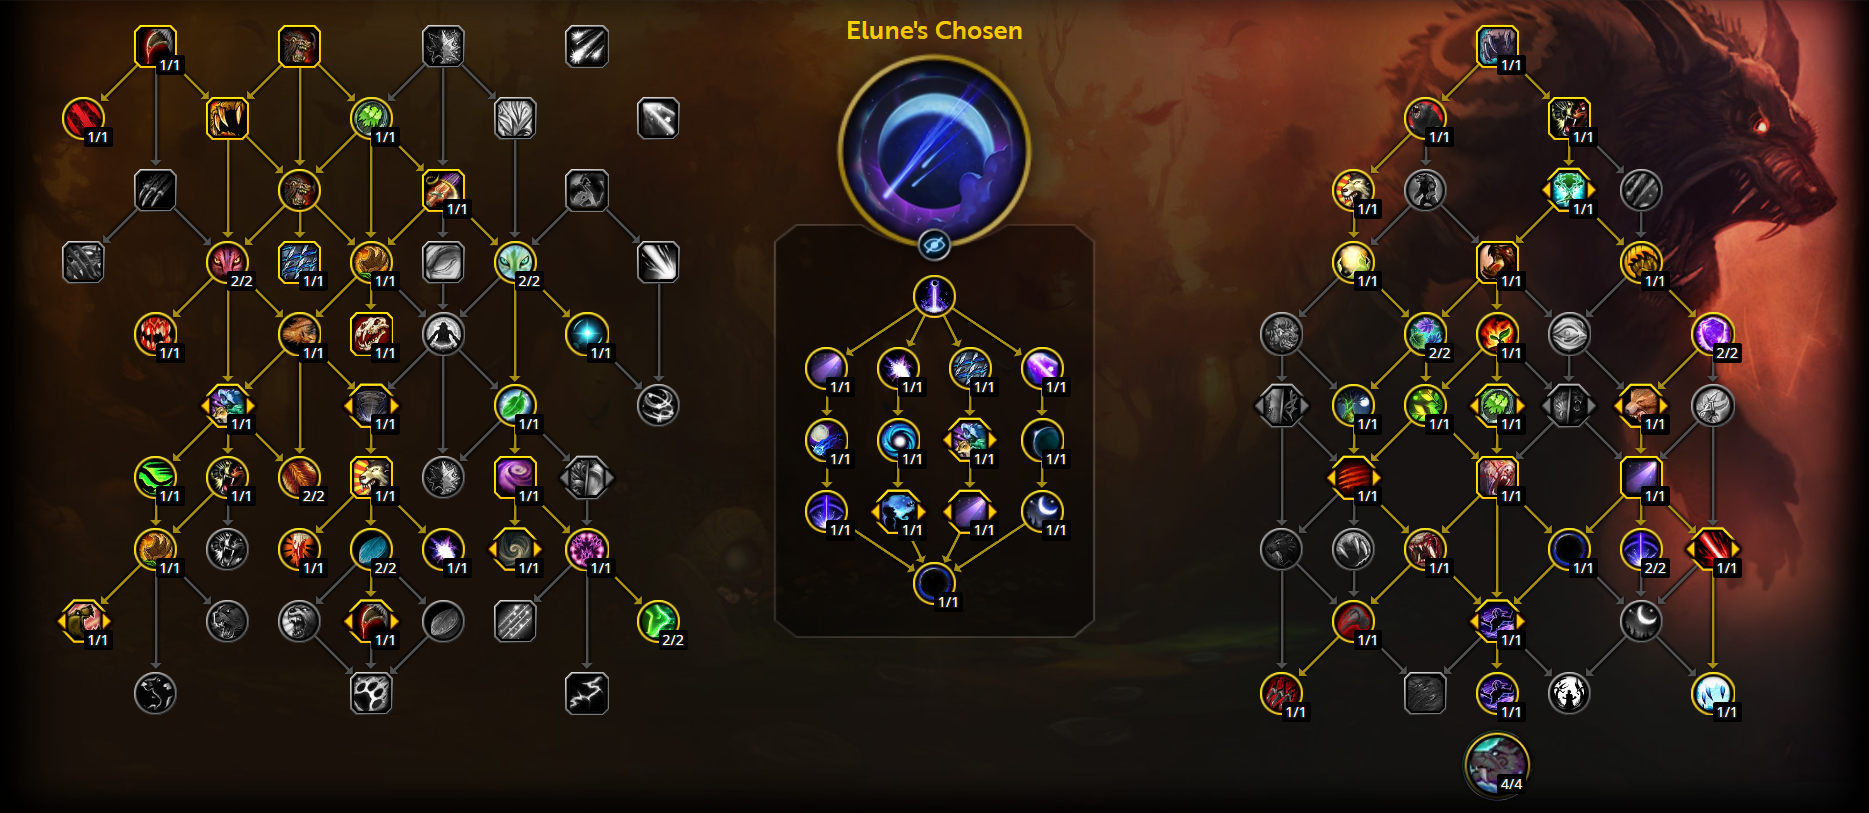
Above is the best Mage Tower talent setup for Guardian Druid. This build is aimed at the Midnight's version of the challenge, where controlled boss damage, clean add handling, and disciplined cooldown usage matter more than old Timewalking gimmicks. Its job is simple: help you push Phase 1 cleanly, keep the platform stable, and still enter Highlord Kruul with enough control to finish the fight.
This setup is built to make the encounter more repeatable rather than more flashy. It leans into a stronger damage profile for Inquisitor Variss so the arena does not get overcrowded, while still preserving the utility and defensive tools you need for interrupts, knockbacks, add waves, and Annihilate planning in Phase 2. Import the talent string, save it as a dedicated layout, and treat it as a challenge-specific setup rather than a general-purpose build.
In Midnight's Mage Tower, Guardian Druid benefits more from a finished current-level setup than from chasing outdated legacy tricks. As a rule, higher item level (up to 220-226) will usually beat secondary stats outside of jewelry and trinkets; when two pieces are close, use a simple and reliable priority:
That does not mean you need a hyper-specialized set. A well-prepared loadout is enough: proper enchants, sensible gems, your standard consumables, and every realistic upgrade already applied before you zone in. The goal is to remove avoidable weakness.
In practice, consistency matters more than tiny stat shuffles. Use your best current gear, finish the slots that can be finished, and let execution do the rest. For Guardian Druid, Mage Tower clears are decided far more by platform control, orb timing, and defensive planning.
Use the recommendations below to round out your setup before you enter the tower:
These are the consumables worth using. The goal here is simple: enter fully prepared, stabilize the opener, and give yourself the smoothest path through Phase 1 before the arena starts to collapse. Keep your long-duration buffs active before the pull, then use your combat potion in a real damage window — usually the opener on Inquisitor Variss, since this build is specifically trying to win the fight by pushing Phase 1 cleanly and on time.
| Type | Best |
|---|---|
| Health Potion | Silvermoon Health Potion |
| Drums | Void-Touched Drums |
| Weapon Oil | Thalassian Phoenix Oil |
| Combat Potion | Light's Potential |
| Augment Rune | Void-Touched Augment Rune |
| Flask | Flask of the Blood Knights |
| Food | Harandar Celebration / Silvermoon Parade |
Use current Midnight enchants and gems, not leftover legacy tech. Apply the full package once, save it as your Mage Tower loadout, and let execution do the rest.
| Type | Best |
|---|---|
| Head Enchant | Enchant Helm - Hex Of Leeching |
| Shoulder Enchant | Enchant Shoulders - Silvermoon's Mending |
| Chest Enchant | Enchant Chest - Mark Of The Worldsoul |
| Leg Armor Kit | Forest Hunter's Armor Kit |
| Boot Enchant | Enchant Boots - Shaladrassil's Roots |
| Ring Enchant | Enchant Ring - Silvermoon's Alacrity |
| Weapon Enchant | Enchant Weapon - Acuity Of The Ren'dorei |
| Meta Gem | Indecipherable Eversong Diamond |
| Secondary Gem | Flawless Versatile Peridot / Flawless Deadly Peridot |
This challenge no longer needs a legacy-gimmick trinket chasing. Use your best current-level gear, finish every realistic upgrade before you zone in, and favor trinkets that add damage without making the encounter clumsier. For Guardian Druid, that means low-friction passive options first, with more awkward on-use choices reserved for players who are comfortable threading them into the opener and into their Annihilate plan.
| Type | Best |
|---|---|
| Preferred Raid Trinket | Gaze Of The Alnseer |
| Preferred Passive Dungeon Trinket | Heart Of Wind |
| Alternative Passive Trinket | Solarflare Prism |
| Aggressive On-Use Option | Algeth'ar Puzzle Box |
| Crafted Weapon Embellishment | Darkmoon Sigil: Hunt |
| Crafted Armor Embellishment | Arcanoweave Lining |
Here we go — to the meat of the guide! This is the clean, repeatable route through the Mage Tower as a Guardian Druid: how to control the opener, when to leave the boss, and how to keep the platform stable before the fight snowballs. The goal is not to brute-force the scenario, but to reduce it into small, repeatable decisions that keep both phases under control.
Below you’ll find a phase-by-phase plan: where to stand, when to step out, which casts matter most, and how to line up damage and defensives so Variss dies before the arena collapses and Kruul does not outlast your cooldown map. We’ll also cover the recovery lines that save imperfect pulls — because this challenge is rarely won by perfection, but often by keeping the script intact after something goes wrong.
The opener is about rhythm, not greed. Do not sit in Bear Form before the pull; shift in right as combat starts so you keep the free Rage. Let Inquisitor Variss come to you and drop Aura of Decay under you, then begin your opener and work in short damage cycles. In this route, you leave the puddle at 5 stacks — not 4 — and reset before the next stack clips you on the way out.
Your real interrupt priority is Drain Life. Stop it every time with Skull Bash when possible; if you are outside the puddle and your kick is awkward, utility such as Typhoon can cover it. Mind Rend is real damage, but it is not the cast that usually kills the run. Each time you step away from Variss, use Frenzied Regeneration to top back up, smooth the transition, and re-enter on your terms instead of panic-kiting.
Notable Enemies & Abilities
This is the execution check. As Variss gets low, stop overcommitting your next major damage window and prepare to carry it into Variss’s death transition. When Variss falls, Highlord Kruul effectively opens by either jumping first or casting Annihilate first, so go in ready for either sequence instead of expecting a fixed opener.
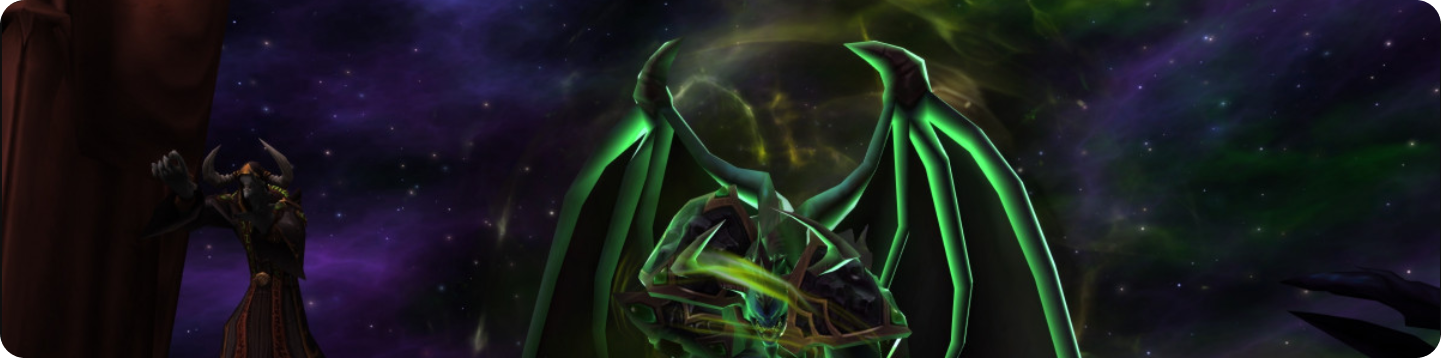
Phase 2 starts when Inquisitor Variss dies. Nether Horrors and Smoldering Infernals continue, but Tormenting Eyes do not. Kruul adds the real failure points of the fight: Annihilate, Netherstomp, Twisted Reflection, and the moving purple beams. The phase feels hectic only if you let those mechanics overlap without a plan.
Handling Kruul’s Abilities
Positioning, Adds, and Hazards
The win condition is: keep Twisted Reflection on a real interrupt, spend defensives on schedule for Annihilate, place Netherstomp puddles around the edge, and never let add waves reach Velen for free. If that script holds, Kruul dies before the arena does.
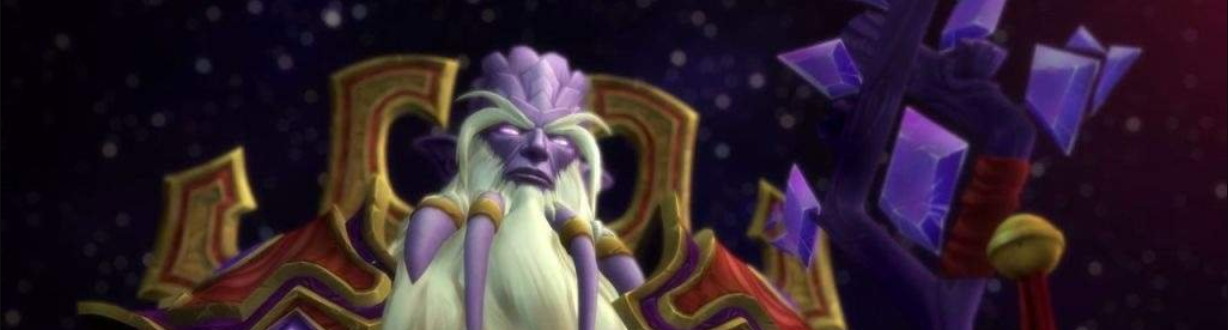
Prophet Velen stays with you from pull to kill, and his Holy Wards set the rhythm of the encounter. He places one roughly every 30 seconds, and each remains available for a long enough window that you can carry multiple Wards into Phase 2. That is the default plan: save all or almost all of them for Kruul unless spending one in Phase 1 clearly saves the attempt.
Those Holy Wards are your reset button. Triggering one heals you, removes dangerous debuffs, interrupts enemies, and briefly disorients the field so you can recover. In Phase 1, that can rescue a bad add wave or a missed Drain Life answer. In Phase 2, it buys the time that turns an impossible overlap into a survivable one.
Protect Velen at all costs. Keep the fight centered on you, peel every Nether Horror off him immediately, and never path hazards straight through his position. If you can always see where Velen is standing, Ward usage becomes cleaner and surprise wipes become much rarer.
Stay composed and keep the script intact. Respect knockbacks, spend Wards with intent, and treat each phase like a sequence instead of a panic test. Once the rhythm clicks, the encounter collapses quickly — and the Fel Werebear is yours.
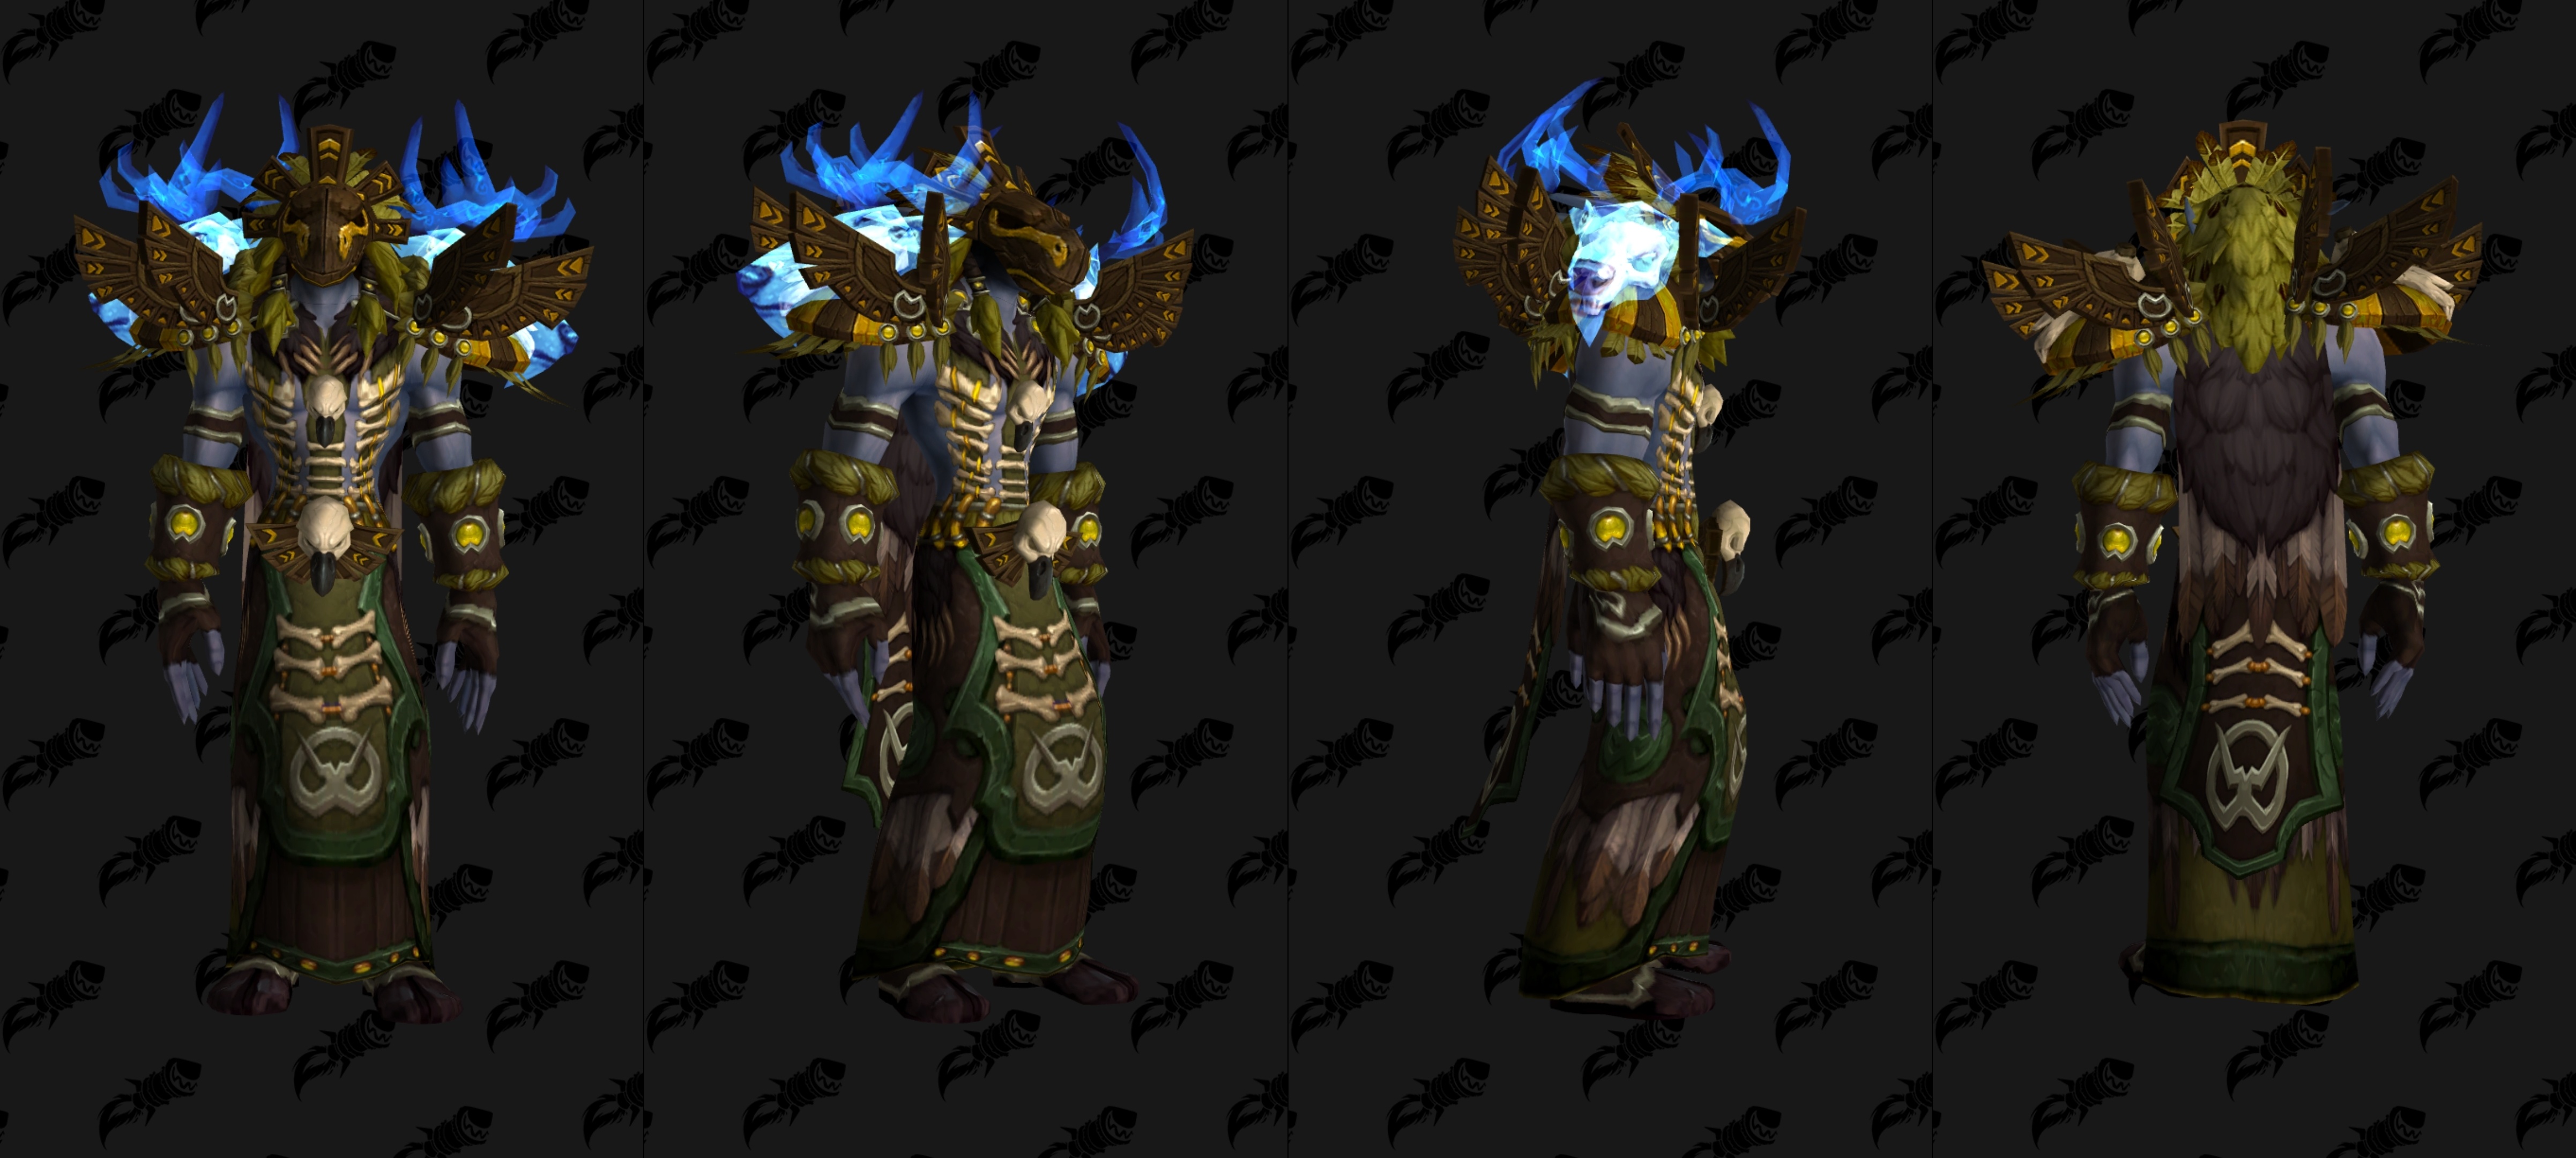
Clearing a Mage Tower challenge awards a Legion-themed class transmog set, and for Druids that means a recolored version of Stormheart Raiment. If this is your first Druid Mage Tower clear, that set is part of the reward package straight away.
The Set is your class reward; the bear is your Guardian reward. Together they make this challenge feel unusually complete: one clear gives you a full cosmetic payoff, not just a single trophy item. The armor set carries the familiar Tomb of Sargeras silhouette, while the bear form is the part most players remember and actually chase after.
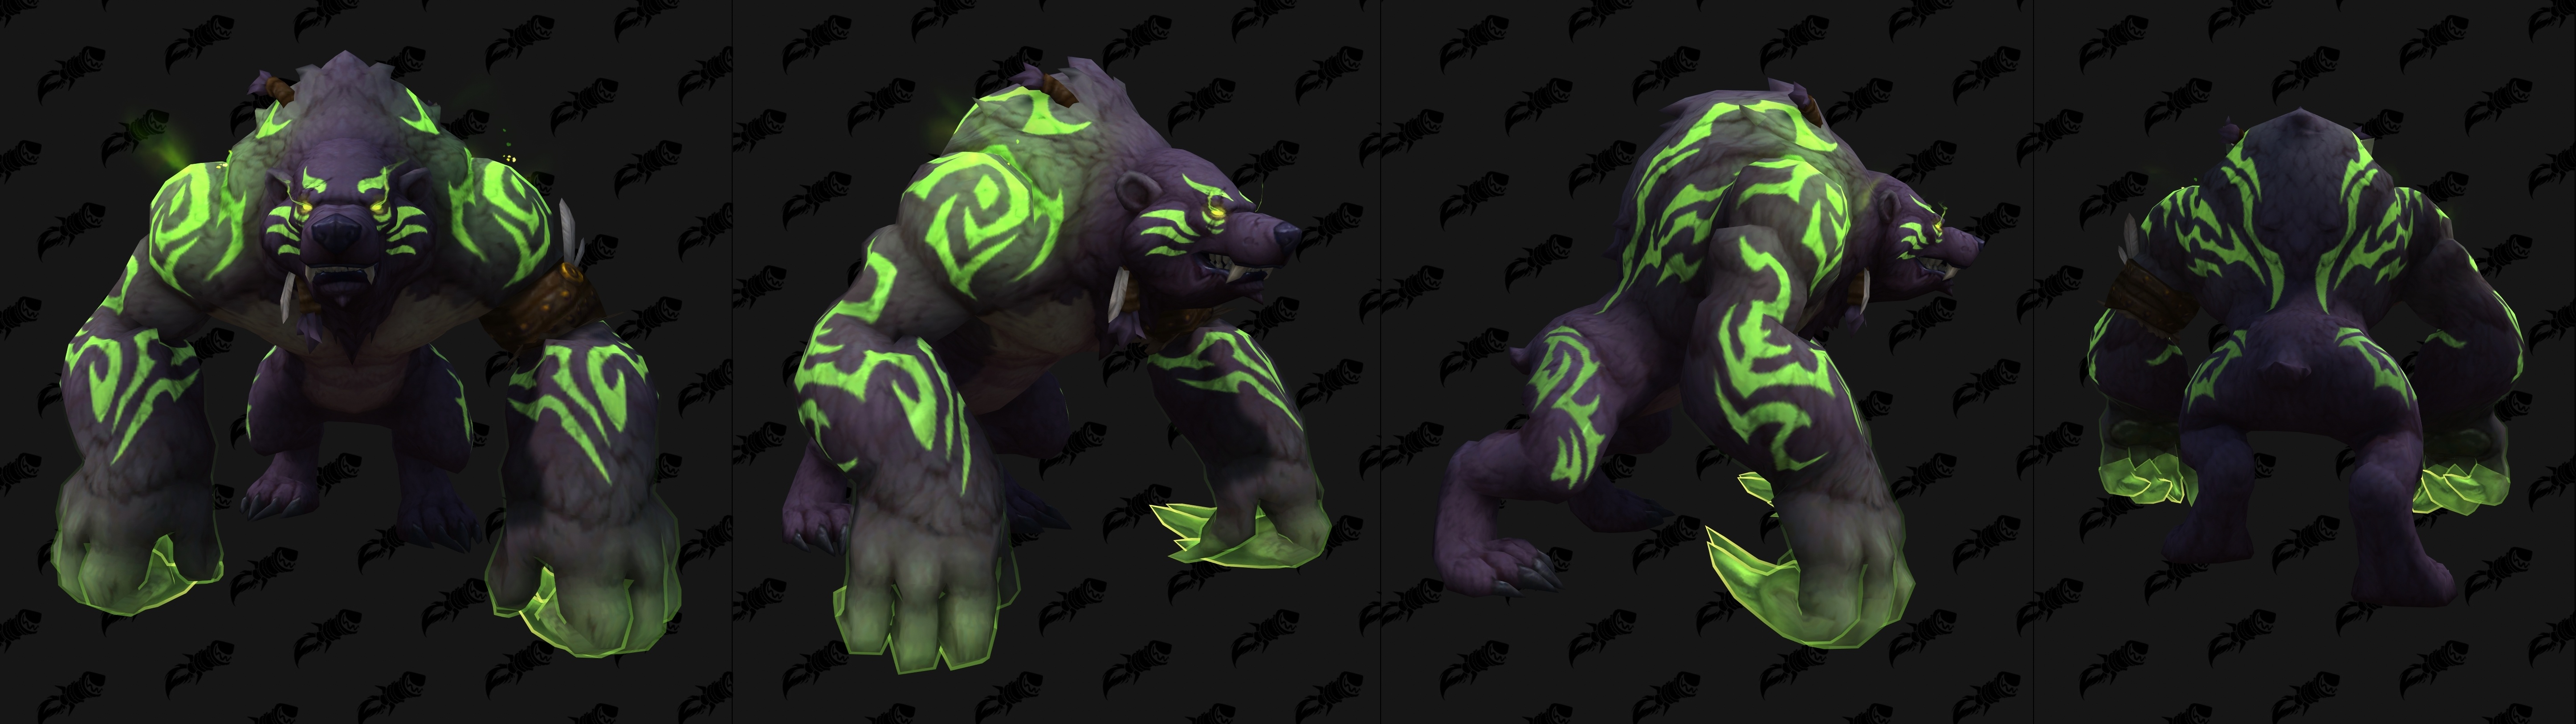
Then comes the headline: the Guardian Druid’s exclusive Mage Tower form. Completing The Highlord’s Return unlocks the Fel Werebear, a fel-infused werebear appearance built specifically as the modern reward for this challenge. It is the form that remains the defining cosmetic reason why many players still return to the encounter.
And for many players, it is still one of the most recognizable bear forms in the game, not because it is simply rare, but because it is tied to a mechanics-heavy solo challenge that still demands clean execution, which is even more the case in Midnight's harder Mage Tower challenge.
By now you’ve got the full kit: an optimized Guardian Druid talent setup, a modern consumable and enchant package, and a clear route through both phases of the encounter. You know how to pace defensives into Annihilate, how to keep Twisted Reflection locked down, when to move out of Netherstomp, and how to keep add waves from turning Prophet Velen into the real victim of the fight. Most importantly, you understand what the challenge actually asks of you: keep the platform stable, spend Holy Wards with intent, and never let panic rewrite the script.
That said, the Guardian Druid Mage Tower is still one of the sharper solo checks in the game and got even harder in Midnight. The mechanics punish hesitation, mistakes stack quickly, and even good pulls can collapse if one knockback, one missed interrupt, or one sloppy orb forces the phase off-script. If you are running out of patience — or just want the rewards secured — our PROs can step in and finish the challenge for you, so you still walk away with the Druid set recolor and the Fel Werebear: