

Your first DMZ runs in Modern Warfare 4 decide how fast the mode opens up. Players who spent the Early Access week in Hajin from October 20 found that the biggest losses didn't come from enemy squads but from small FOB mistakes: cash sold past the bank cap, valuables sold that turned out to be upgrade ingredients, a stash full of unopened kits. Below, you'll find what to set up at the Forward Operating Base before you deploy, how to pack a loadout you can afford to lose, how to move through Hajin without drawing every squad on the map, how to get out alive, and the ten mistakes that cost new players the most.
The Forward Operating Base is where DMZ is won or lost between matches. Spend your first five to ten runs earning DMZ XP to open the 3D Printer, Vendor and Gunsmith, and use that time to set the base up properly.
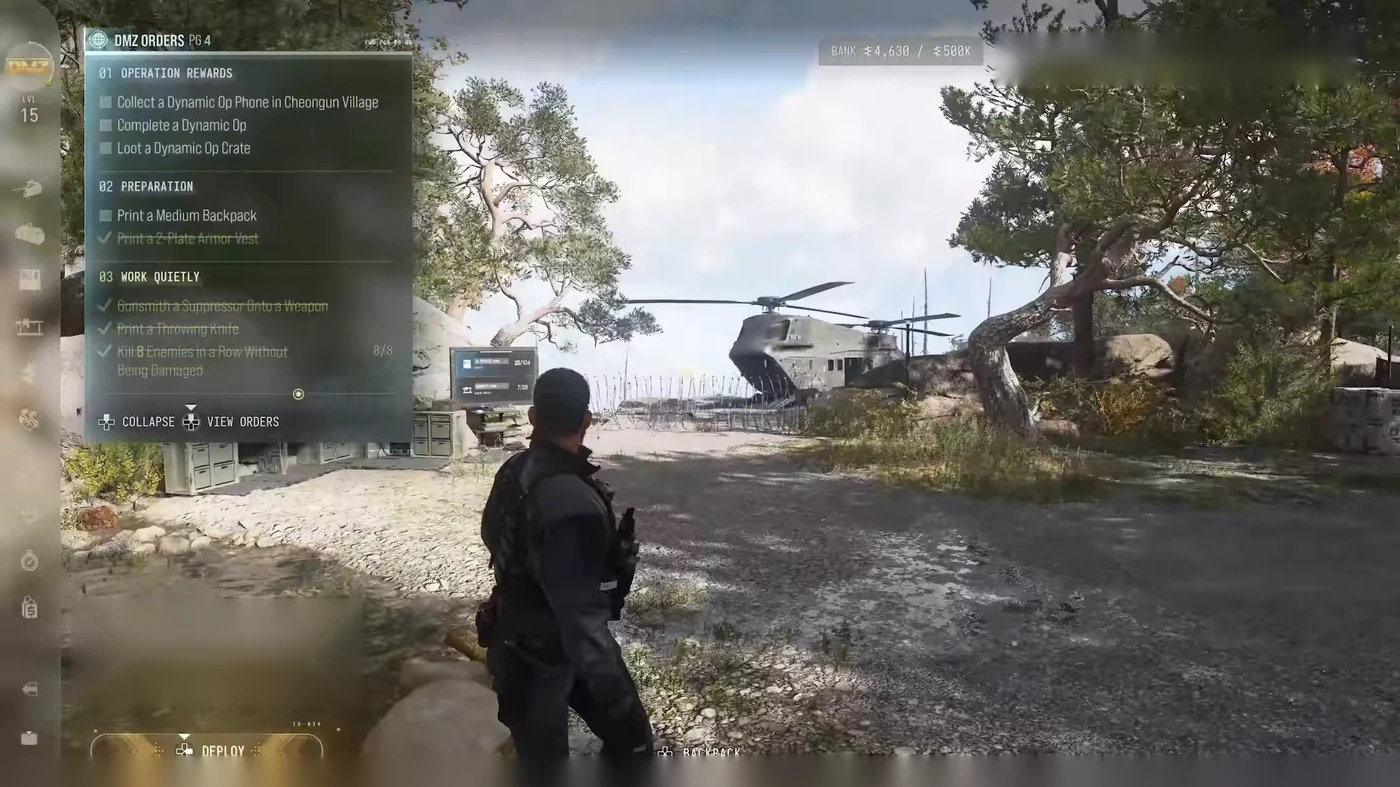
Your bank starts with a 100,000 DMZ Cash cap, and anything you sell above it simply disappears, with no warning. Bank Upgrade I is the first thing to print at the 3D Printer. After that, upgrade only when you are close to the cap: the next tier takes the cap to 250,000, then 500,000, and Bank Upgrade III raises it to 1,000,000 for 100,000 cash and five Infantry Invasion Plans.
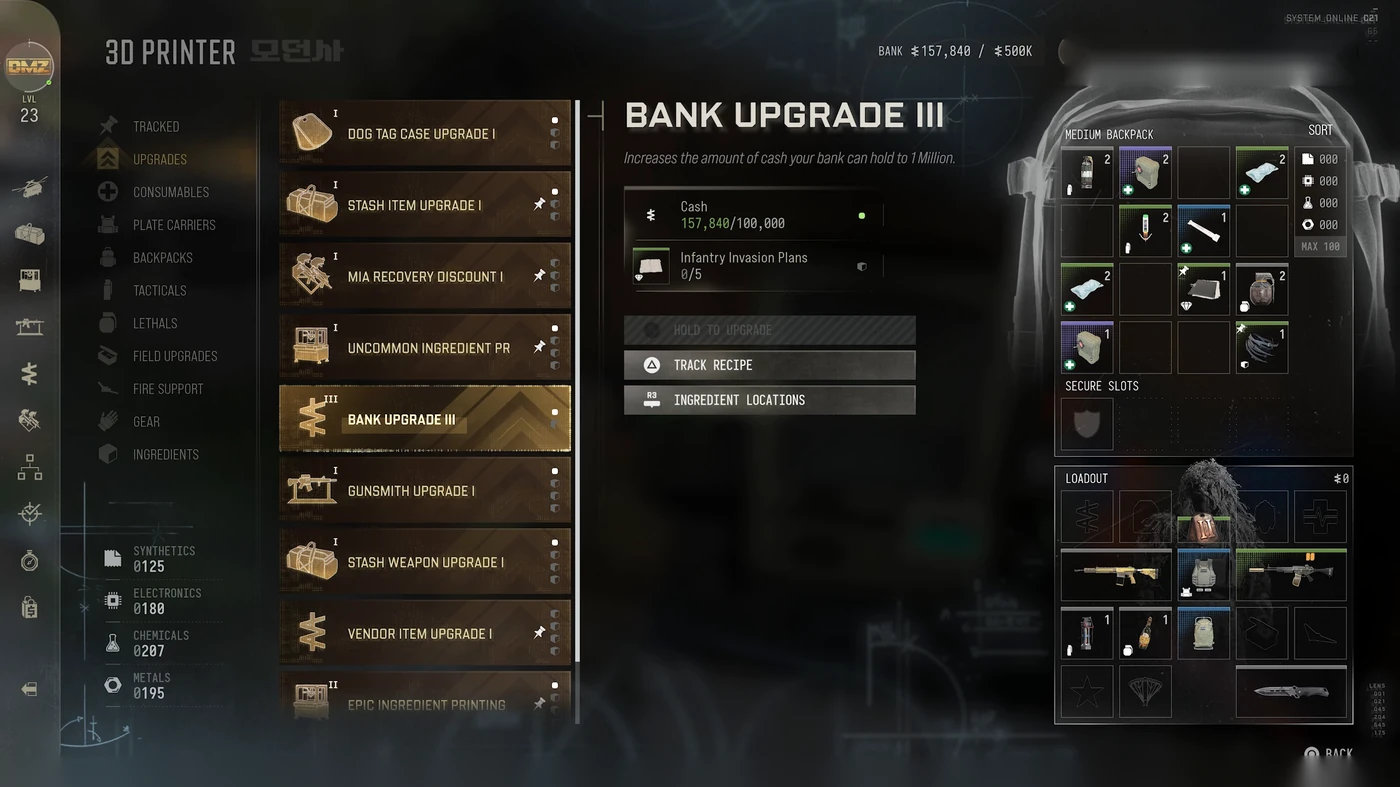
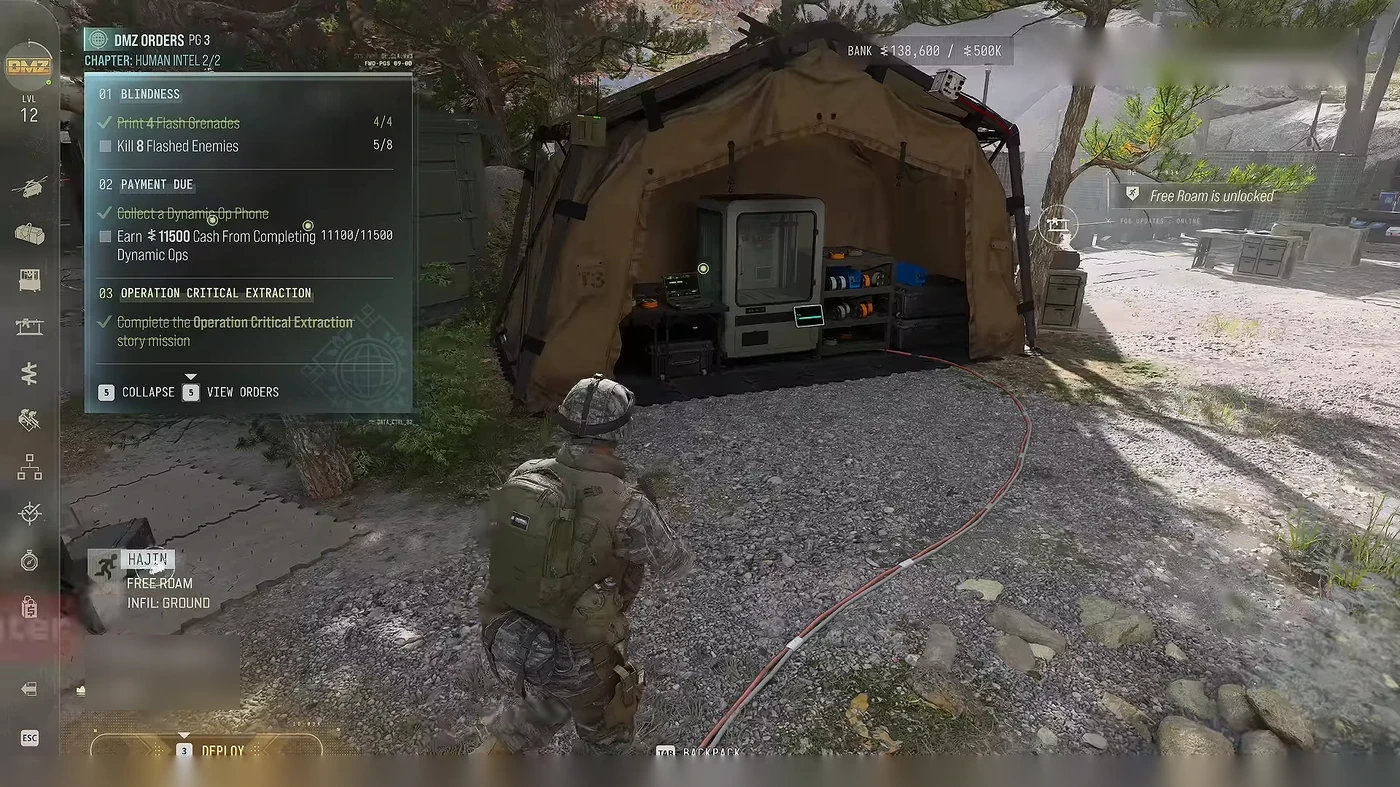
At the 3D Printer, press Triangle or Y on a recipe to track it. Tracked ingredients get a pin icon in Hajin, so you know what to pick up and what to leave. The Ingredient Locations button shows where an ingredient is most likely to spawn, but treat it as a hint: rare parts sometimes turn up far from the marked area. Good first recipes to track are Stash Item Upgrade I, Stash Weapon Upgrade I, the Medkit and the Medium Backpack.
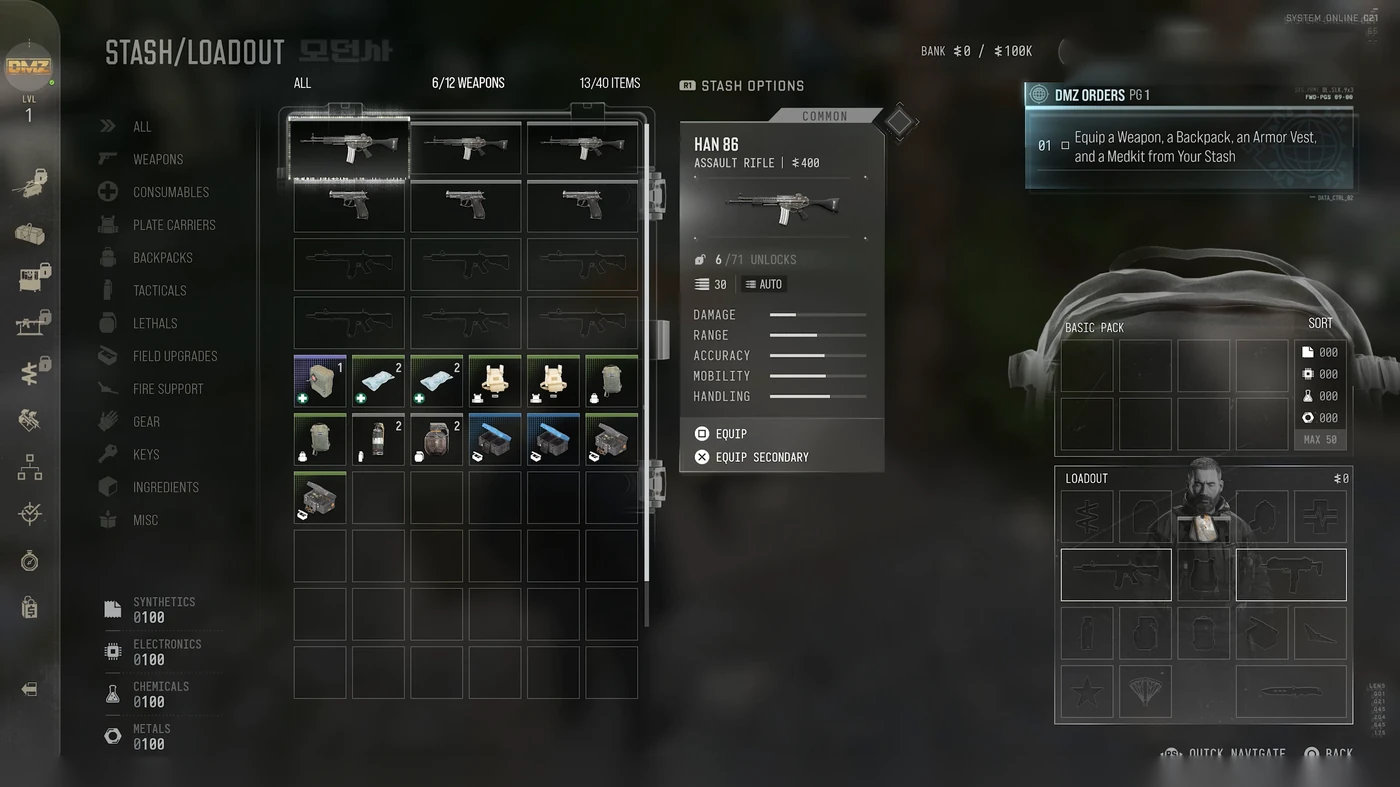
The stash starts at 40 items and 12 weapons, and it fills up within a few runs. Stash Item Upgrade I, which needs Rigid Synthetics and Electronic Sensors, should be your second upgrade after the bank.
Your second Operator slot doubles as storage. Load that Operator with spare keys, plates and ingredients, and leave them without a weapon or vest: the missing-items warning on the Ready Up screen then stops you from deploying the mule by accident.
Items with a gem icon sell for cash, which makes the Vendor tempting. Some of them, including Regional Combat Notes and several orange and purple documents, are also ingredients for FOB upgrades. Check what your tracked recipes need before you sell a stack.
Survival Kits from events and editions stack unopened at their station and take no stash space. Once claimed, every item inside sits in your stash. Open one or two for your first runs and keep the rest stacked until you need a backpack or vest.
Open Buy New Weapon at the Gunsmith and look for blueprints you already own from the Vault Edition, a pre-order or the beta. The first build of each is free, and some come with enough attachments to count as Legendary. On the other hand, skip the 50,000-cash rifle at the Vendor early on: that money does more as bank and stash upgrades.
Put your first point into Survivalist and your second into Scout, then look for traits that speed up cash and XP gains. Your trait picks stay until you prestige the Operator, so early points should make every later run faster. For your first DMZ Orders chapter, start with Human Intel, because its rewards include UAVs.
Every item you bring into Hajin is at risk, so the right loadout is the cheapest one that still gets the job done. These habits keep your stash growing instead of shrinking.
The Free Loadout costs nothing and gives you a 1-plate vest, a rifle, a pistol and a couple of grenades. Use it for your first runs and whenever your bank is low, because losing it costs you no stash items. It doesn't protect your Operator, though: if you die, they still go MIA, and rescuing a leveled Operator can cost a lot of cash.
Squad Fill is on by default. Switch it off on the Ready Up screen (L2 or LT on a controller, 1 on a keyboard) to deploy alone. You'll mostly meet other solo players, but it isn't guaranteed.
The Medium Backpack is the first big upgrade to your loadout because it has a Secure Slot, and whatever is inside survives your death. Weapon Manuals, keys, recipes and red-rarity items go there. You can print one at DMZ Level 2, get one from story mission rewards or find one in compounds and lieutenant areas. Check your stash too: reward backpacks and 2-plate vests often sit there unnoticed.
Deploy with a single weapon, pick up a second from the first enemy you kill and extract with it. Every looted gun sells for cash, and a lieutenant's weapon, such as The Doctor's, sells for around 10,000.
On infil, your equipped lethal and tactical slots refill to two. Extra grenades in your backpack don't refill, so crafting a second of each wastes resources.
In your first ten or so matches, stash the keys you find instead of using them. A key run pays off once you have decent armor and know the door you are heading for, and every key names the grid square of its room.
Before you press Deploy, make sure you have a plate carrier, a backpack, a weapon and a Medkit. If you expect to fight players, bring at least a 2-plate vest: time to kill in MW4 is short, and one plate doesn't last. Solo players should carry more than one Medkit. They are purple and rare, but Mirae General Hospital has plenty, and green Clinics have a better chance than ordinary houses.
Most deaths in DMZ come from noise, greed and fights you didn't need. These tips cover what to do once you are on the ground.
Finish the first Dynamic Operation you find and try to start a second one in the same deployment. Each op pays cash straight to your bank, even if you die later, and the supply drop that follows gets better with every op you complete in the same match. Loot every box that spills out of the crate.
Objectives give far more DMZ XP than fighting players. Dog tags from player kills are worth about 1,000 XP each, but only if you pick them up. If you want XP, the order is: missions and ops first, AI and loot second, other squads last.
Crates, fridges, toolboxes and caches all give resources, and resources take no backpack space. Open everything on your route. Don't fill the backpack itself with plates, ammo and common consumables: pin what your recipes need and keep the slots for valuables until your bank is close to its cap.
Silent kills don't alert nearby AI, which makes a suppressor the most useful attachment in DMZ. The Han 86 drops from soldiers all over Hajin and is a strong rifle on its own. When you pick up a gun, look at its attachment icons and prefer ones with an optic or a suppressor. A red attachment icon means that part is damaged, such as a smaller magazine or a broken optic.
A UAV Tower pays DMZ Cash and pulses the area to reveal enemies and players. Turn one on before a noisy mission and pick an exfil near it. Remember that the pulse also reveals you, and an active tower you didn't activate means a squad is nearby. The Overwatch trait makes your towers last for the whole match, and Thermal Padding hides you from enemy UAVs.
Footsteps are loud in MW4. Crouch-walk or stand still when you hear players close by, but sprint past AI, and even past lieutenants and tanks, when there is nothing to gain from the fight. Vehicles are the fastest way across open ground early in the match; watch the fuel and refill at gas stations.
The more AI you kill in one area, the harder Hajin answers: vehicle reinforcements first, then a Hunt Squad that marks you for death. Check the threat level under your compass before you push a compound, and refill at Ammo and Armor Caches, which work again after a short cooldown. Ammo runs out long before armor plates do.
Vultures circling overhead mean a dead player is nearby, possibly with gear nobody has looted. Watch the area before you go in and use smoke. A player body with no vultures above it can mean the player has the Possum trait and is about to get back up, so check it with a claymore or from a distance.
Lieutenants have a lot of health but move slowly. Fight them from cover with at least a 2-plate vest and a self-revive, and they drop a Rare weapon plus their dog tags. The Deathstalker helicopter pays 50,000 DMZ Cash the first time you bring it down, and so do the other two commanders. Fight it near an Ammo Cache or a captured SAM site.
A few details are easy to miss in the first week:
The exfil is where most squads lose their run, because every other team knows where the green smoke is. These habits get you onto the helicopter.
The full flow of a match from infil to the After Action Report is covered in our MW4 DMZ guide.
These are the mistakes that cost new players the most cash and time in the first week.
If you'd rather have a pro player carry your first deployments, our MW4 rent a booster service works in DMZ as well.
For the rest of DMZ and the multiplayer grind, these guides pick up where this one ends.
These are the questions players ask most after their first runs.
Bank Upgrade I, then Stash Item Upgrade I. Without the bank upgrade, cash above 100,000 is lost.
Sell them only after checking your tracked recipes. Some gem-icon items, such as Regional Combat Notes, are FOB upgrade ingredients.
A suppressed rifle. The Han 86 drops from AI all over Hajin and is strong without attachments, and a suppressor keeps nearby AI from noticing your kills.
Turn Squad Fill off on the Ready Up screen. Matchmaking tries to put solos together but doesn't guarantee it.
Yes, if you go high. You start without one, and falls from rooftops kill you.
No, guns you carry are lost when you die. Keep the Weapon Manual for a model you like in a Secure Slot: a manual lets you buy that gun again and again at the Gunsmith.