


A week after Early Access opened, DMZ players are still finding systems the game never mentions. A dead body that pings red is about to stand back up. A trait marks a private exfil that almost nobody else in the lobby can see. A radar truck with a constant UAV sits broken next to gas stations, and the first player to finish every page of DMZ Orders unlocked a cutscene that teases where Hajin goes next. This guide collects the hidden mechanics, secret spots, little-known money tricks and the secret ending that players have found since launch on October 23. Basics such as FOB upgrades, Secure Slots and exfil habits are already covered in our MW4 DMZ tips and tricks, so everything below goes past them.
These systems are in the game from the first run, but no tutorial or tooltip tells you how they really work.
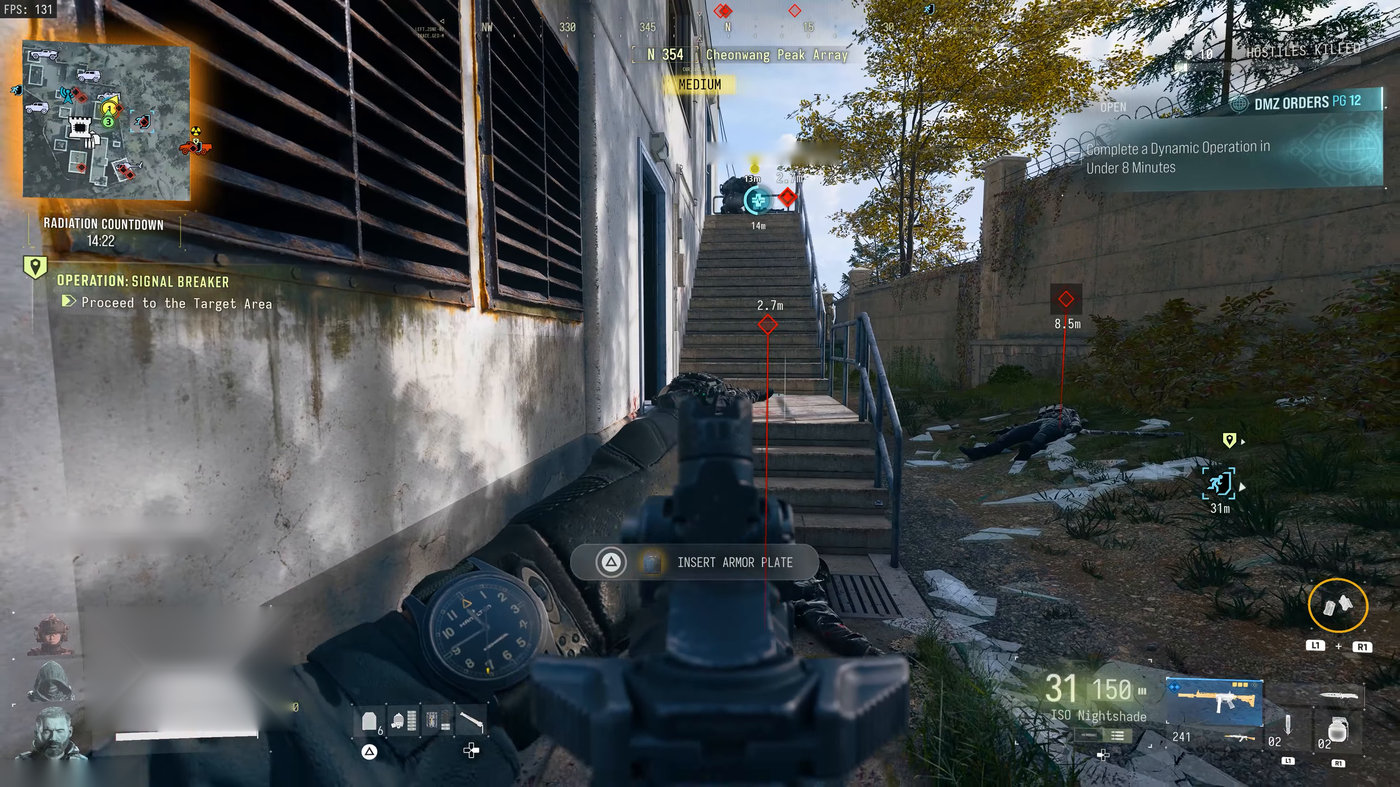
Possum is the Warfighter trait that lets a player revive into Last Stand once per match, even after their whole squad is wiped. They can wait as long as they like before using it, so the squad you just beat may stand up behind you ten minutes later. Two checks tell you whether a body still has it:
If a body pings red, you have three options. Strip its plates, vest and weapons so the player comes back with nothing, leave a Claymore or a mine on it, or fake leaving the area and come back to catch the revive. Players also report that you can't loot the plates off a body that still has Possum, so stripping it may leave the armor behind.
Final Intel is a Scout trait that marks the final exfil on your Tac Map from the start of the match. Most players skip it, because the final exfil appears for everyone once the radiation has closed the other sites. What the trait description doesn't say is that you can walk to that site and call the helicopter at any point in the match, long before the radiation arrives. Since almost no one else in the lobby knows where it is, it works as a private exfil that campers don't watch.
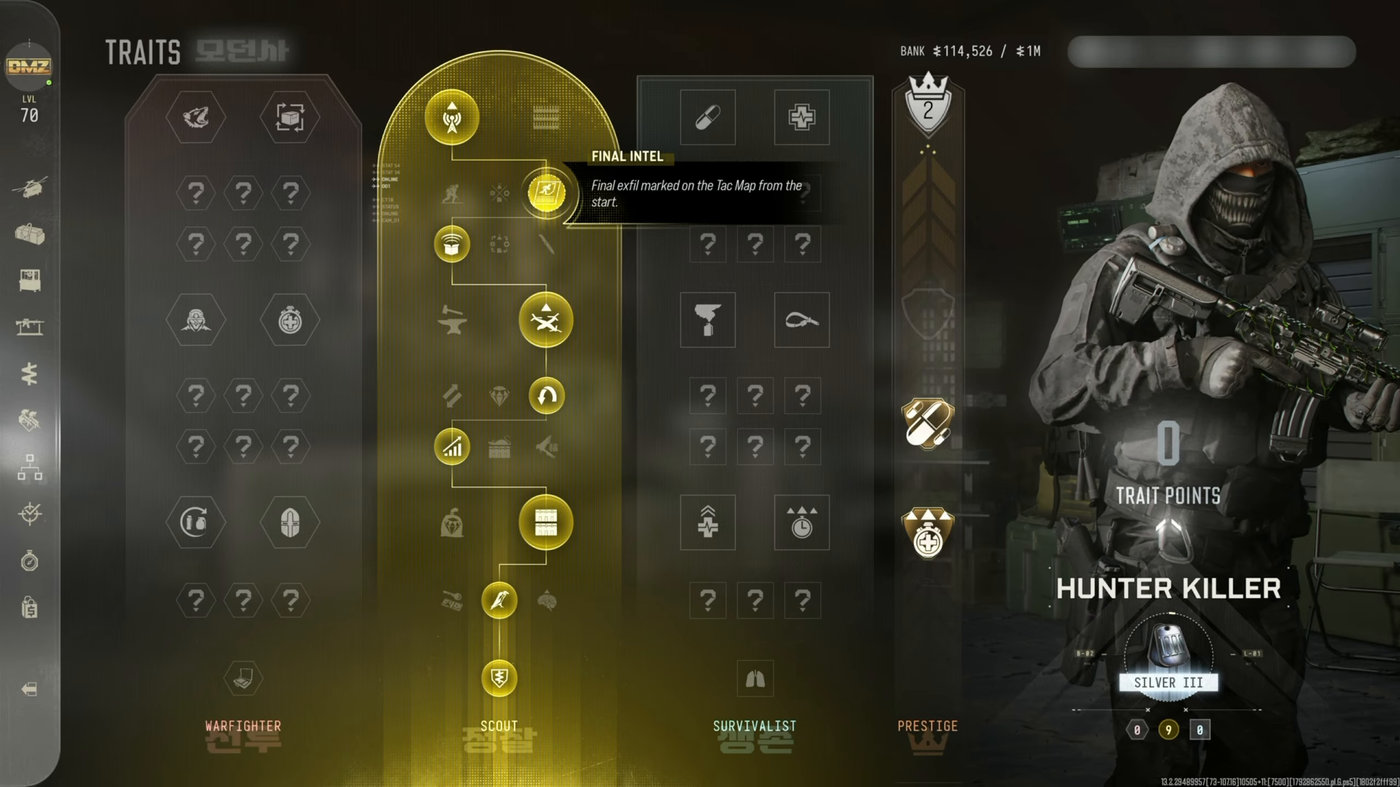
Without the trait, you can still guess the area. Radiation spreads from the yellow circle you see on the map at the start, outward toward the edge of Hajin, so the final exfil sits on the far side of the map from that circle.
If the regular exfils are camped and you don't have Final Intel, there are two less obvious ways out:
A Sedative Inhaler makes you immune to radar, marking systems and thermal for 60 seconds, and you can use another one before the timer runs out. It is the counter to a UAV Tower held by a player with the Overwatch trait. Players report that Thermal Padding alone doesn't hide you from an upgraded Advanced UAV, while an inhaler does. You can loot inhalers all over Hajin or print them at the 3D Printer.
Since the October 23 update, you can also take an enemy UAV Tower back. Use an inhaler, walk in unseen and capture the tower, and it starts working for your squad instead.
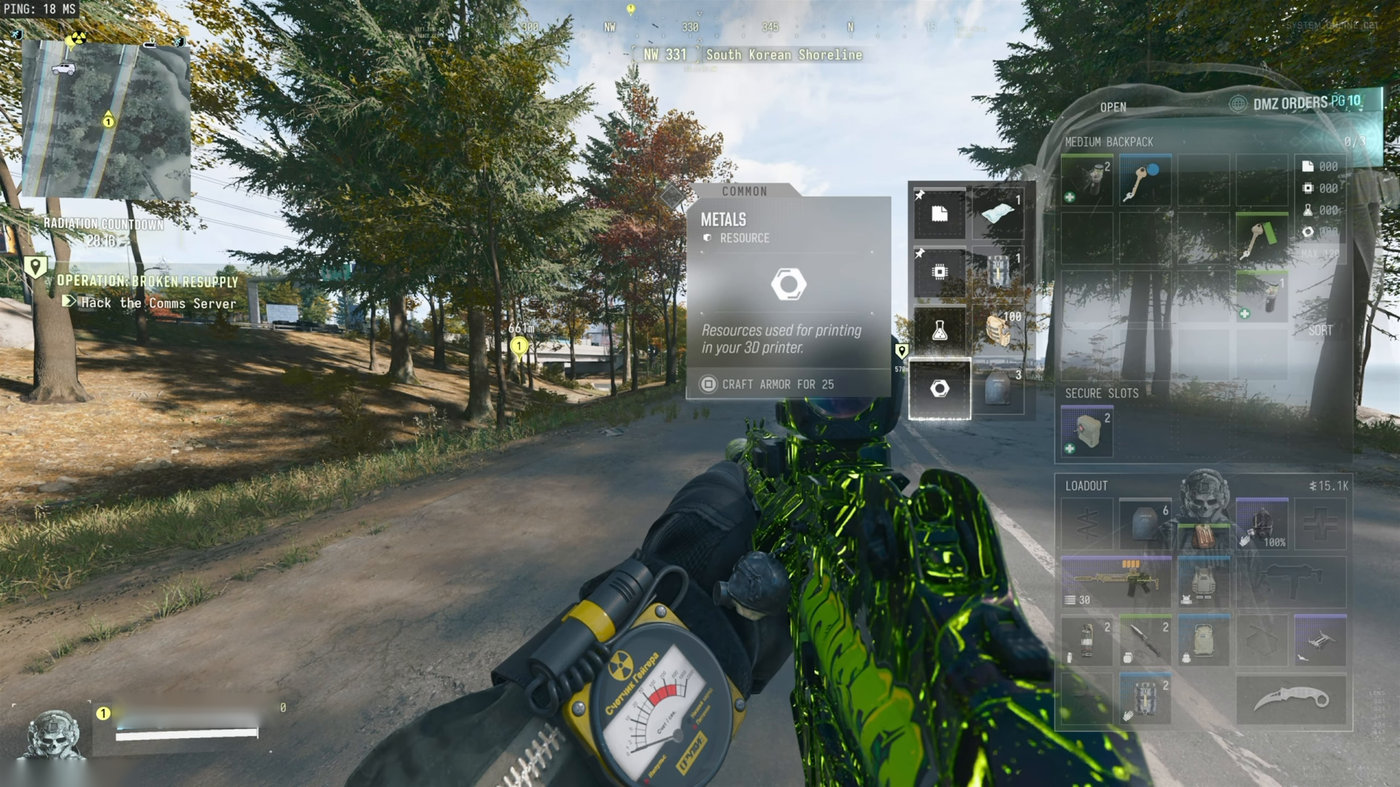
Many players think DMZ has no in-raid crafting. It does, but only through Field Crafting, a trait high in the Scout tree. With the trait equipped, open your inventory, highlight one of your four resources and press the button the prompt shows (Square on PlayStation). A small menu turns that resource into an item on the spot.
This is what each resource makes with Field Crafting:
| Resource | Item you can craft in the raid |
|---|---|
| Synthetics | Bandage |
| Electronics | Disposable Parachute |
| Chemicals | Ammo |
| Metals | Armor Plates (25 Metals) |
A parachute you can make from Electronics whenever you need it is the main reason to take this trait over UAV Upgrade, especially if you climb buildings a lot.
The small icons next to Edit Loadout and Edit Operator on the Ready Up screen are your Weapon Insurance Contracts and Operator Rescue Beacons. Tick them, and if you die, your weapon comes back and your Operator returns without the MIA rescue fee. Your plates, backpack and other gear are not covered.
The catch is that both are spent the moment you deploy, even if you extract safely. Use them only on a high-value run, for example with an expensive Operator close to prestige. You earn more from DMZ Orders pages, and the Vault Edition starts you with a few.
In MW4, Double XP tokens pause whenever you are out of a match. Activate one from the pause menu in a raid, and the time spent at the FOB or in menus doesn't count. Combine it with the fact that XP from a Dynamic Operation or a kill goes to the weapon in your hands: hold the gun you are leveling when the op completes.
These details are easy to miss and change how you play a run:
Hajin is full of places that reward players who know where to look. Keys, vaults and locked rooms are covered separately in our MW4 DMZ keys guide, so this section sticks to spots that need no key.
Free Roam drops you on the edge of the map. A Story Mission puts you at a fixed spawn close to its objective, and since you are the only squad in the lobby with that mission active, no other player spawns there. You don't have to do the mission at all: deploy with it and use the spawn for a loot run.
The D-50 Radar is a truck that spawns broken around Hajin, usually near gas stations. Repair it and you get a constant UAV pulse on your minimap for as long as you drive it, which shows players anywhere along your route.
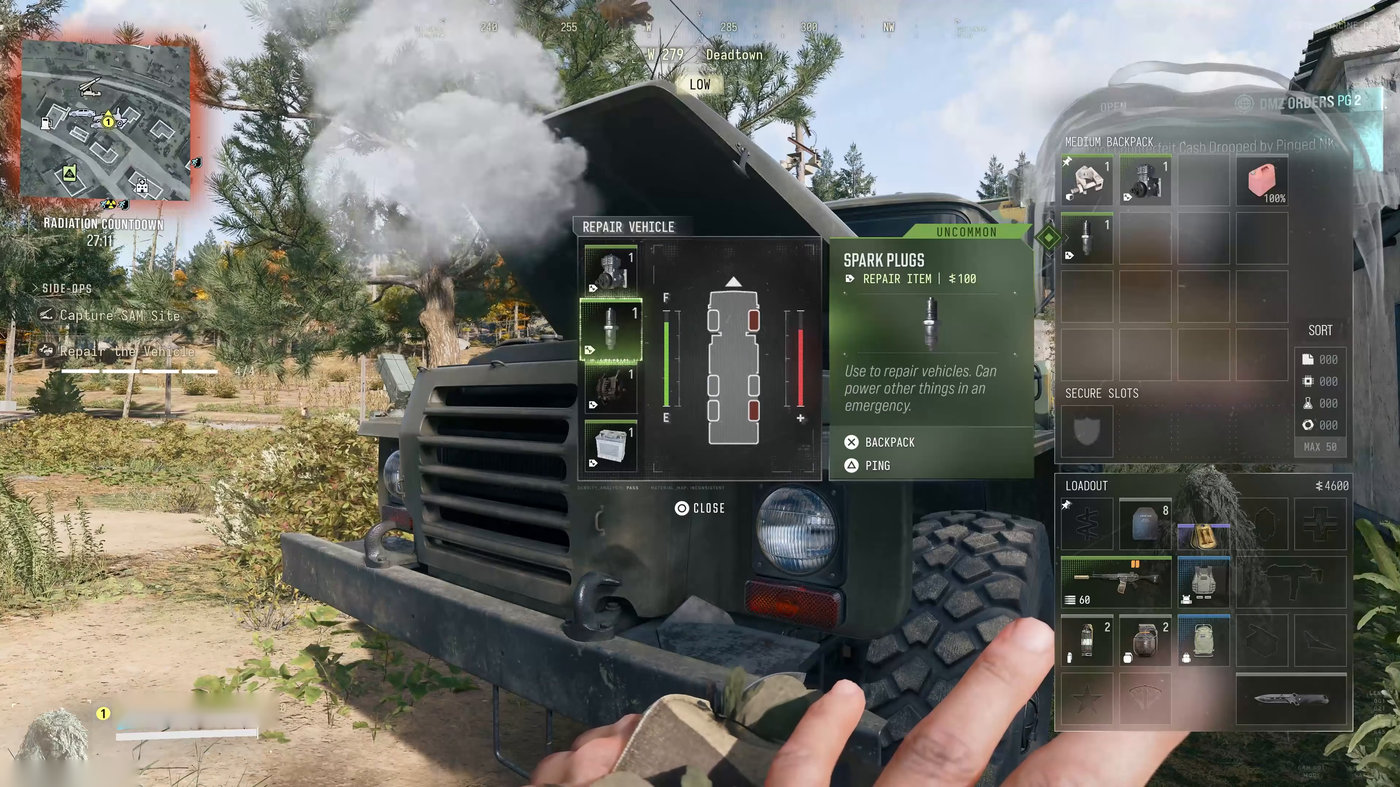
The truck needs two or more parts, such as Spark Plugs, and a gas can. Loot the shelves in the nearest gas station for both, then interact with the truck to fit the parts and fuel it.
The gas can trick works on every vehicle. Carry one in your backpack, walk up to the side of a car or truck and choose Refuel Vehicle, and you never have to abandon a vehicle in the middle of nowhere.
The Haneul Nuclear Reactor hides two rewards for players who go deep. Neither is confirmed by more than a couple of players yet, so treat the details as reported:
Operation Fallen Ember is the easiest way to reach both, because it leads you through the reactor.
Cheonwang Peak Array in the center of the map has three safes to check every match. One is on the ground floor of a side building, one is in a back room on the fourth floor of the main building, and the third is in the L-shaped building, entered by the stairs at the back to the second floor. The main building also has server racks with high-value 3D Printer ingredients, and an LTV is always parked inside the gates for a fast getaway.
Infinity Ward has mentioned a few hidden details in interviews:
Every major point of interest in Hajin and its threat level is listed in our MW4 DMZ guide.
When you get close to a military compound, its clearing progress appears on your screen as a side op and updates live. If the percentage is climbing and you aren't the one fighting, a squad is inside. If it stays still, someone started and left. Either way, you know before you walk in.
A few finds are less useful but fun to know:
The lieutenants and commanders themselves, from Gorani to the Deathstalker, are broken down in our MW4 DMZ bosses guide.
DMZ Cash runs out fast once you start rescuing Operators and buying attachment slots. These tricks make it go further.
Resources and cash on a dead player don't transfer on their own like loot from containers. Open the body, go to the backpack screen and move right to their resources, then take their cash too. Players often walk away from a few thousand DMZ Cash this way.
Dog tags are the opposite: right now they are worth taking only when they carry a bounty. A tag without one fills a backpack slot for nothing, while a Gold, Damascus or Onyx tag with a bounty pays well if you extract with it.
Most of the Gunsmith's cost is the attachment slot, not the attachment. On a five-attachment build, the fifth slot alone costs 50,000 DMZ Cash, while a barrel for it costs under 5,000. So instead of buying slots on a plain gun, pick up a looted weapon that already has rarity. Remove an attachment you don't need and put a suppressor in the free slot, and you pay only for the part.
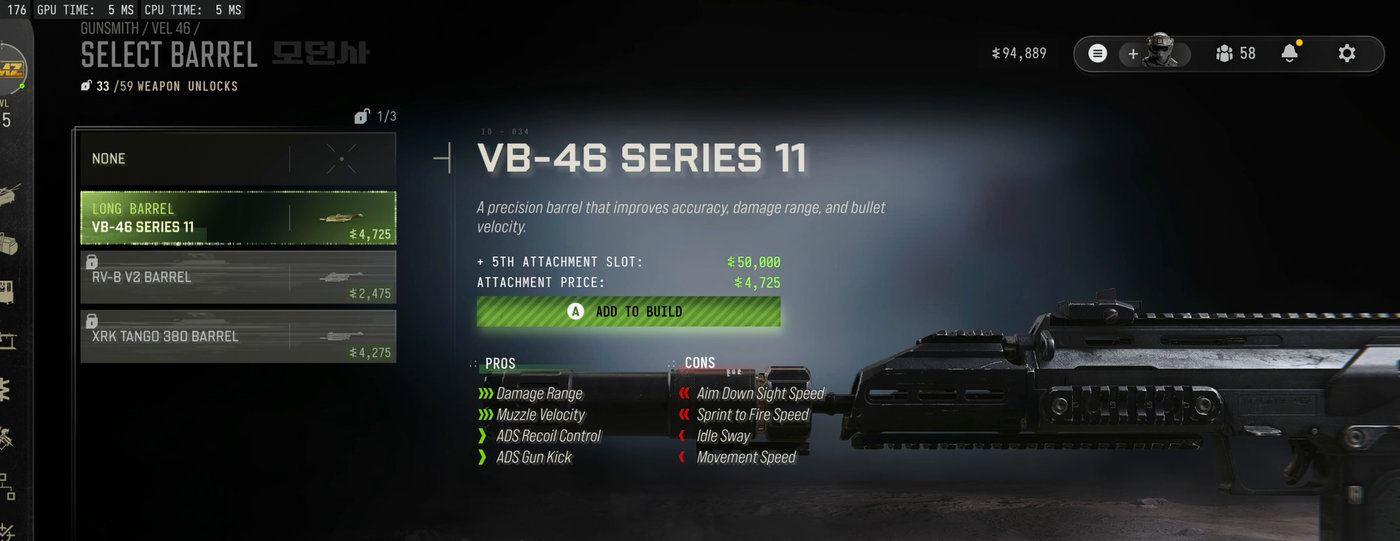
The same logic makes high-rarity looted guns worth far more than they look. Every weapon you extract can go to your stash and be modified at the Gunsmith, and a gun with many attachments can be worth over 100,000 DMZ Cash.
Dynamic Operations pay 10,000 to 20,000 DMZ Cash straight to your bank, even if you die afterwards. That makes a cheap second Operator the safest way to rebuild your bank. Deploy on a fresh Operator with the Free Loadout, chain as many ops as the match allows from the green phones and don't worry about surviving. Four ops in one match can be worth about 80,000. If the Operator dies, dismiss them and enlist a new one instead of paying the rescue fee.
Possum saves the rescue fee as well. If you bleed out with Possum available, wait until the enemy leaves, revive and walk to an exfil. You lose your gear, but your Operator doesn't go MIA.
Operator Prestige resets your dog tag to Steel. The rescue price follows the dog tag, so a prestiged Operator with a powerful Prestige Trait costs far less to rescue than an Onyx III Operator, which can run around 70,000 to 100,000 DMZ Cash.
DMZ XP also fills your multiplayer level, so DMZ-only players often have a multiplayer prestige waiting without knowing it. Open your profile and check the multiplayer level unlocks. Classic Prestige gives a 20% XP boost, and the prestige rewards include weapon blueprints such as the Vet and Vet Prime, which you can build once for free at the Gunsmith. Our MW4 prestige guide explains Classic and Regular Prestige in detail.
The gem icon says an item is only for cash, but the 3D Printer disagrees. Stash and bank upgrades need Nuclear Program Files, Degraded Execution Footage, Regional Combat Notes, Ballistic Flight Logs, Infantry Invasion Plans, WMD Manifests and Foreign Intelligence Targets, plus up to five Gold Bars and five Gold Skulls. Track the recipe you are working toward, and anything without a tracking pin is safe to sell.
These come from players in the first days and haven't been confirmed by a second source yet:
If you'd rather farm cash with a pro player on your squad, our MW4 rent a booster service covers DMZ runs too.
DMZ Orders hide a secret ending. Players who finished every page of Orders, 24 by their count, unlocked a cutscene that plays after the final page. The first player known to see it spent about 50 hours on the Orders.
In the scene, Watcher 2 reports that the reactor's remaining nuclear material is being cleared and the team is on standby. Then Ghost radios in with "I found something. It may be what we're looking for." He doesn't say what, and the map shifts toward Russia, which matches the developers' plan to expand Hajin toward the Russian border in a later season.
Earlier in the Orders, another briefing scene shows that Ghost and Commander Ko Jin-Hyuk of the North Korean resistance are alive and working with you, with Ghost giving overwatch in the Dark Zone. Neither scene appears unless you push through the Orders, which is why most players haven't seen them.
These guides cover the parts of DMZ this one only touches on.
These are the questions players ask most about DMZ's hidden systems.
Ping the body. A red enemy ping means Possum is still available, and so does a body with no vultures circling above it.
Yes. The Final Intel trait shows it from the start of the match, and you can call the helicopter there at any time, not only after the radiation closes in.
Yes. Weapon Insurance Contracts and Operator Rescue Beacons are spent when you deploy, whether you extract or not. DMZ Orders pages give you more.
Only with the Field Crafting trait from the Scout tree. It turns resources into Bandages, Disposable Parachutes, Ammo and Armor Plates.
No. Hazmat Suits and Radiation Gear are lost when you extract, so you need a new one each time you go into the reactor.
Complete every page of DMZ Orders. The cutscene plays after the final page.
Some players see a fourth slot on a second page of the Operator screen. You start with two slots, or three with the Vault Edition, and how the fourth one unlocks isn't confirmed yet.
No. Infinity Ward closed several DMZ exploits in the October 24 and 25 updates, and exploiting can get your account banned. Everything in this guide is how the game is meant to work.