Challenge Cards are where the Brawler’s Guild stops being a ladder and turns into a contract you sign with your own confidence. In Patch 11.2.7, you’re not just reacting to a boss kit — you’re choosing the terms of the fight, and the Ring answers with pressure that’s sharper and less forgiving than the standard climb. Timings tighten. Space gets smaller. Mistakes don’t feel dramatic at first, they just quietly stack — until the arena snaps shut around you.
This guide stays strictly on execution. We’ll break down what each Challenge Card actually demands, the priority interrupts you cannot miss, the defensive windows you should pre-plan, and the movement rules that keep your uptime clean without getting you killed. Expect practical prep notes, repeatable decision cues, and survival-first tactics that let you control the pace instead of chasing it. Play the card. Hold the tempo. Walk out the winner.
Challenge Cards unlock a separate pool of fights that you cannot access through the normal Rank ladder. They are optional by design, but they matter if you are chasing achievements: The Best There Is is earned by defeating 15 unique Challenge Card bosses (there are more than 15 available, so you have some flexibility in which ones you pick!).
You buy a Challenge Card for a specific encounter, then “turn it in” to start that exact fight. On Alliance, cards are sold by Card Trader Leila (Bizmo’s Brawlpub). On Horde, they are sold by Card Trader Ami (Brawl’gar Arena). Each card costs 3 gold, and you only start buying them after you reach Rank 8.
How it works in practice:
By the way, feel free to check our detailed Brawler's Guild Boss Fights guide that will clear the path for you to reach Rank 8.
Small but important detail: Challenge Cards are “one-at-a-time” items, so do not stockpile — buy the next card after you finish the current fight. Take a look at the cards themselves:
If the Brawler's Guild feels like a secret latch hidden in Azeroth’s walls, our general overview is the key that actually turns it. Before you start climbing ranks or burning through Challenge Cards, take one quick pass through the fundamentals: where to go, how the queue really works, what changes once you hit Rank 8, and why the arena is less “beat the boss” and more “master the pit’s rules”.
Brawler's Guild Ultimate OverviewThink of it as a system map, not a boss-by-boss script. It lays out how to begin, how progression is built, and what each fight mode actually means for your runs — the Ranked ladder, Challenge Cards, Random Brawls, and Broker Challenges. It also covers rewards and currencies so you understand what you’re earning, what matters, and what’s worth spending on. Read it once, and the whole Guild stops feeling cryptic and starts feeling controllable.
Now we’re stepping into the real marrow of this guide: Challenge Card boss strategies. This is where Brawler’s Guild stops being a climb and becomes a craft — you pick the exact fight you want, queue it on demand, and sharpen your execution until the chaos feels scripted.
Below, you’ll find a dedicated breakdown for every Challenge Card encounter: what the boss is trying to make you panic about, what you can shut down with one good interrupt, where positioning actually matters, and how to stabilize when the arena gets loud and ugly. Think of this section as your card-by-card playbook — fast to skim before you queue, detailed enough to carry you through the optional clears.
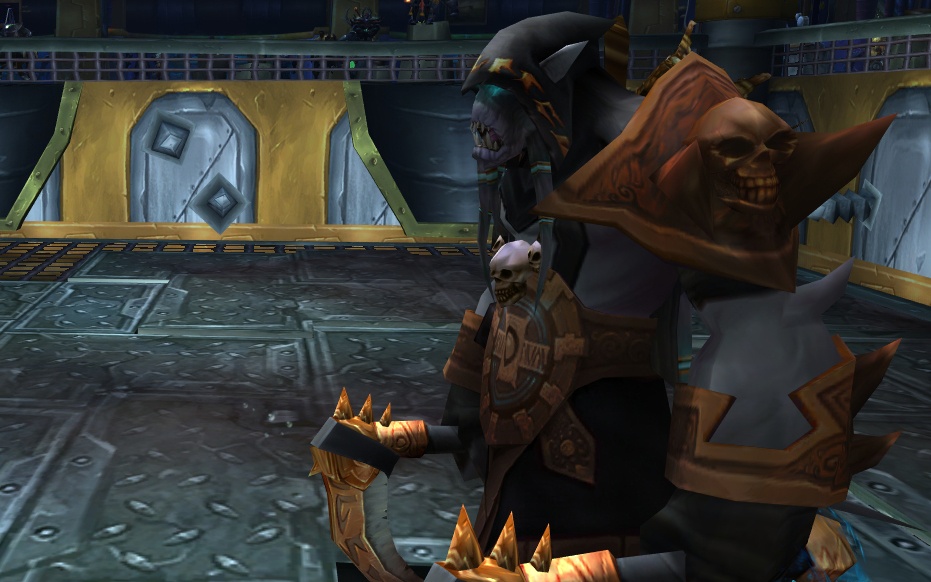
Akama
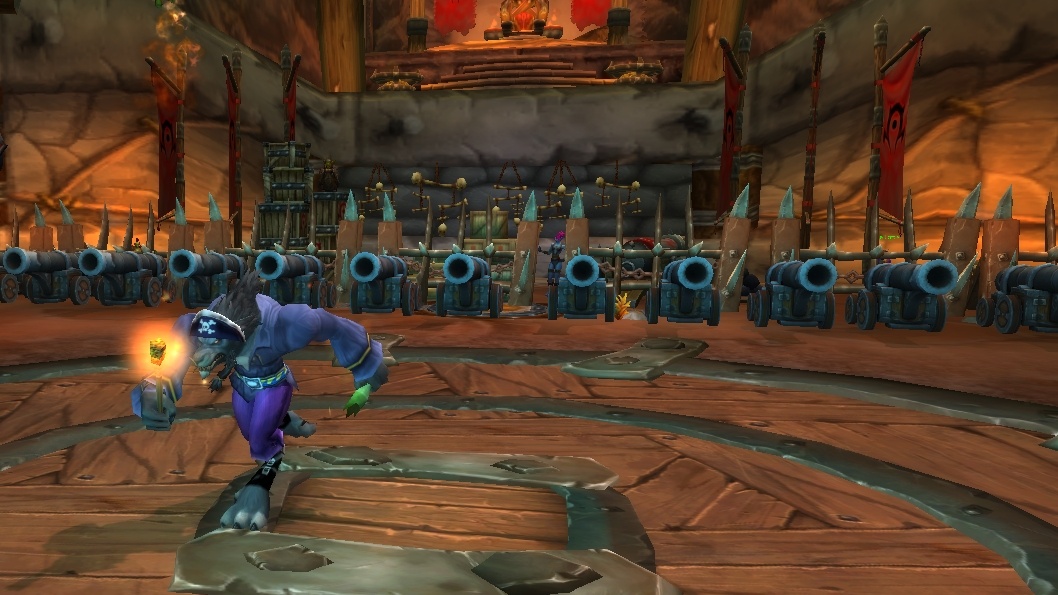
Blackmange
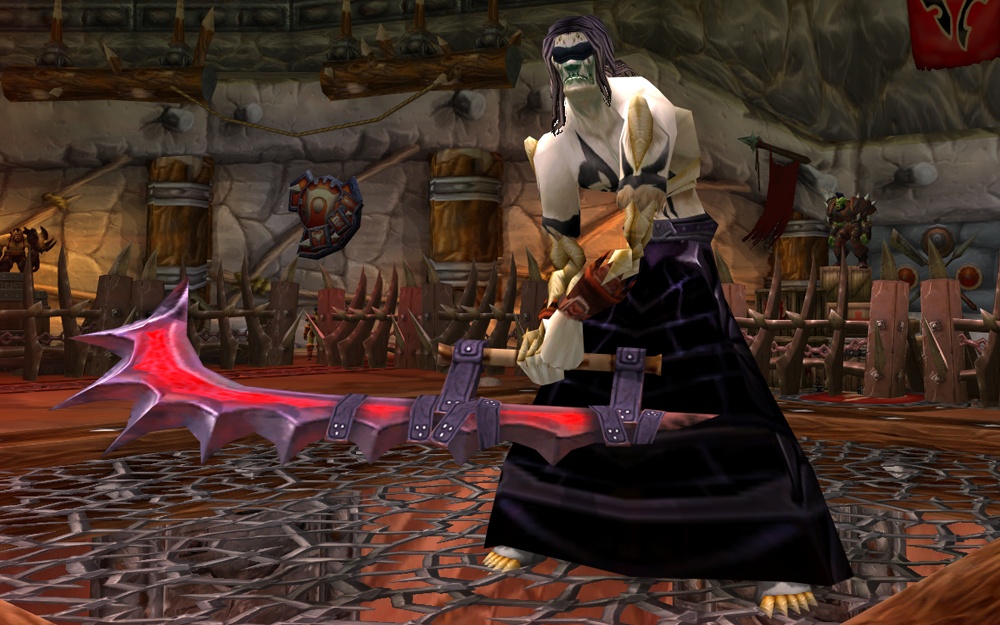
Blind Hero
Dark Summoner
Deeken
Dominika the Illusionist
Akama is back from the Black Temple, and he shows up with a shaman-style kit: Feral Spirit on the field, Shadow Strikes to pressure you, and spell casts like Thunderstorm and Chain Lightning.
Your priorities are simple: shut down Chain Lightning with an interrupt whenever possible, and remove Shadow Strikes via purge, dispel, or spellsteal if your kit allows it. The Feral Spirit aren’t mandatory kills — you can leave them up — but if you have cleave, trimming them down makes the fight cleaner. Outside of those checks, the encounter is fairly forgiving.
Abilities:
Blackmange is a pirate with one true love: his cannons. The fight revolves around a line of Brashtide Cannons and their fuses running in from the far side of the arena.
Watch the fuses, not the boss. When a lit fuse reaches a cannon, it fires Cannon Blast! straight down the line from where that fuse was burning — and if you’re standing in that lane, you’re dead. The catch is that the fuses don’t all light up at once, so you can keep the arena safe by constantly side-stepping and lighting the fuses that are still far from detonating.
On top of that, Blackmange will throw out Charrrrrrge!. Dodge the charge, then reposition him so he doesn’t drift into a firing line and force you into a bad lane.
Abilities:
This one is a throwback to a high-ranked Challenge Card from Warlords of Draenor, and it’s all about reading cones and respecting range. Blind Hero will throw out Swift Strike and Blind Strike in random directions — both are frontal cone hits, so you either circle tightly as melee or simply outrange them as a caster.
After he’s fired off a few of those, the real check starts: he channels Blind Cleave, a roughly 20-yard AoE slam that you must outrange. If you’re not already thinking about your escape lane, this is where the fight punishes you.
Abilities:
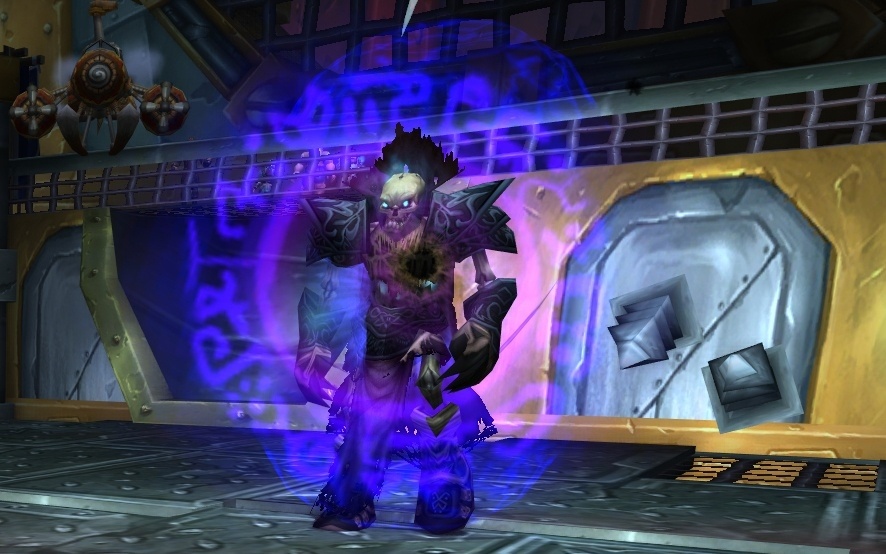
Dark Summoner opens protected, then stalks you around the arena while peppering you with Shadowbolt and low-threat melee. The real danger starts when he uses Summon Ghost: Tormented Ghost can appear at random points, fixate you, and delete you in one or two hits if they ever connect.
Here’s the twist — you’re not helpless. At the start of the fight you gain Guardian's Light, a frontal cone that lets you stop the Tormented Ghost with Spotted and damage them safely. When you kill a Tormented Ghost, Dark Protection drops for a short window — that’s when you push damage into the boss.
Keep kiting and constantly line ghosts up so one sweep of Guardian's Light can catch multiple targets, but stay alert: they can spawn right beside you or behind you, and their melee reach is longer than you expect. The good news is they’re not unstoppable — Tormented Ghost are vulnerable to stuns, roots, and knockbacks, so use control to keep your space clean.
Abilities:
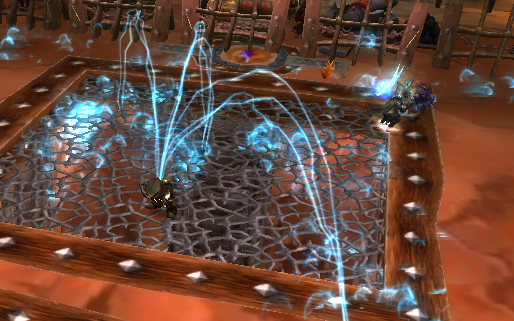
This fight turns the floor into the real boss. While you’re trading blows with Deeken, waves of electricity crawl across the arena via Shock Field. Don’t try to “tank” it, and don’t get cute with jumps — hopping over the fields still hurts, even if it looks safe.
Instead, read the pattern and move through the openings in the path, always keeping an escape lane ready. Deeken also throws out Mechano Kick, and the knockback is the real trap: one bad angle and you’re punted straight into the electricity. Fight with your back to safety, not to the hazard.
Abilities:
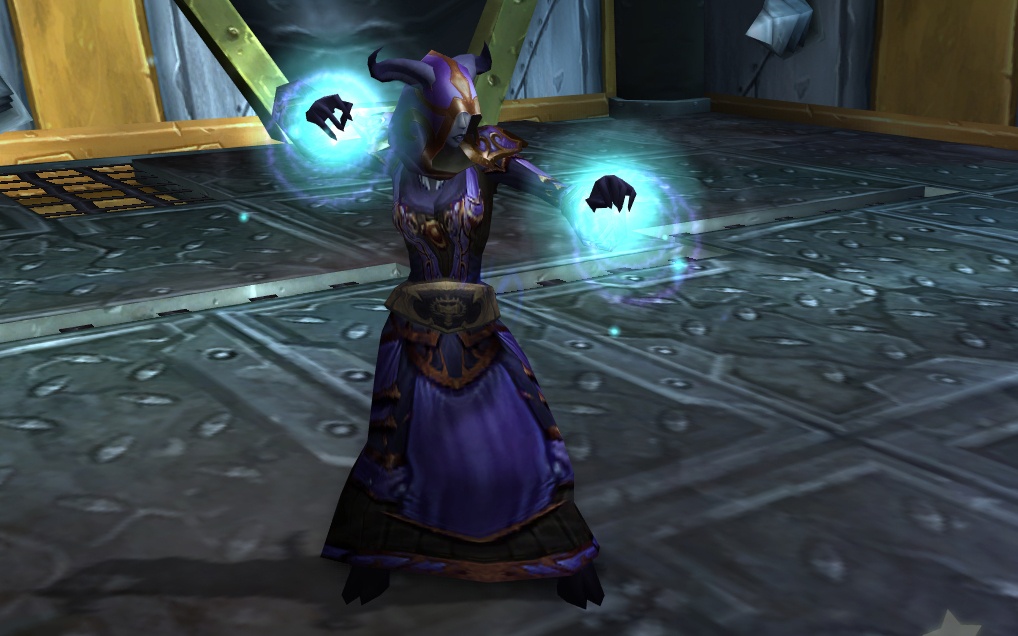
Dominika the Illusionist turns every hit you land into more bodies on the field. Each time she’s struck, she spawns illusions — and both Dominika and her copies will cast Illusionist, keeping constant pressure on you while the arena fills up.
Ranged classes can usually dictate the pace: tag her with a few controlled nukes, step back, and clean up the adds as they appear. Melee has a rougher time because you’re the one standing inside the swarm. The upside is that the illusions are paper-thin — they have very low health and drop in a single hit — so any cleave damage you bring turns this encounter from messy to trivial.
Abilities:
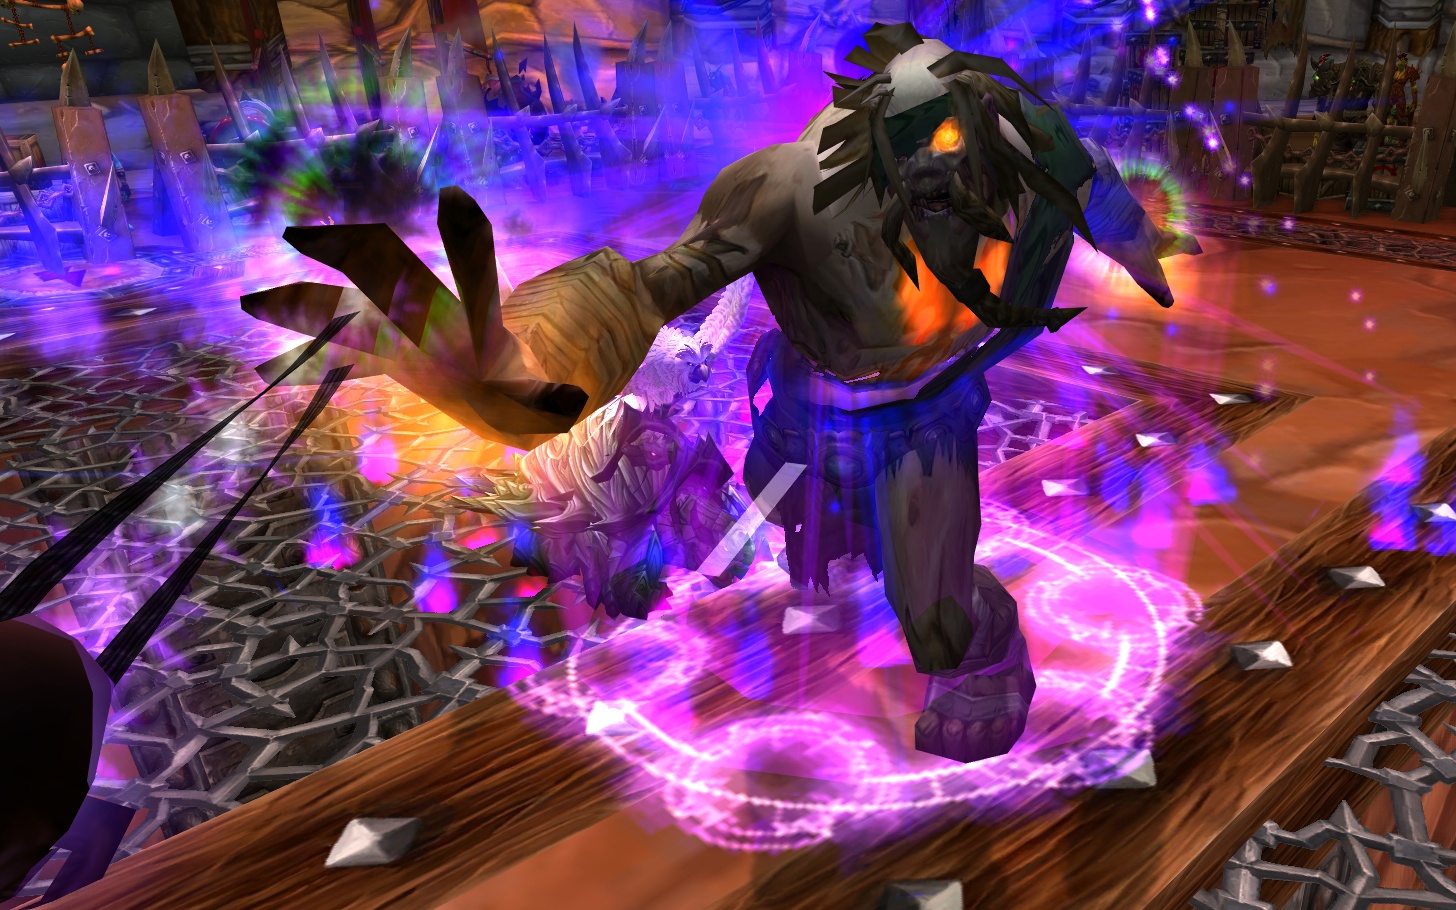
Riddoh
Fjoll
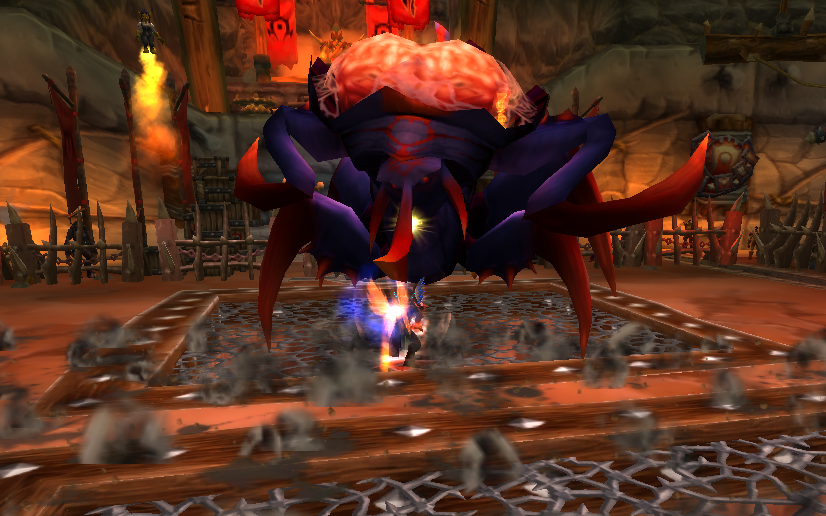
Ixx
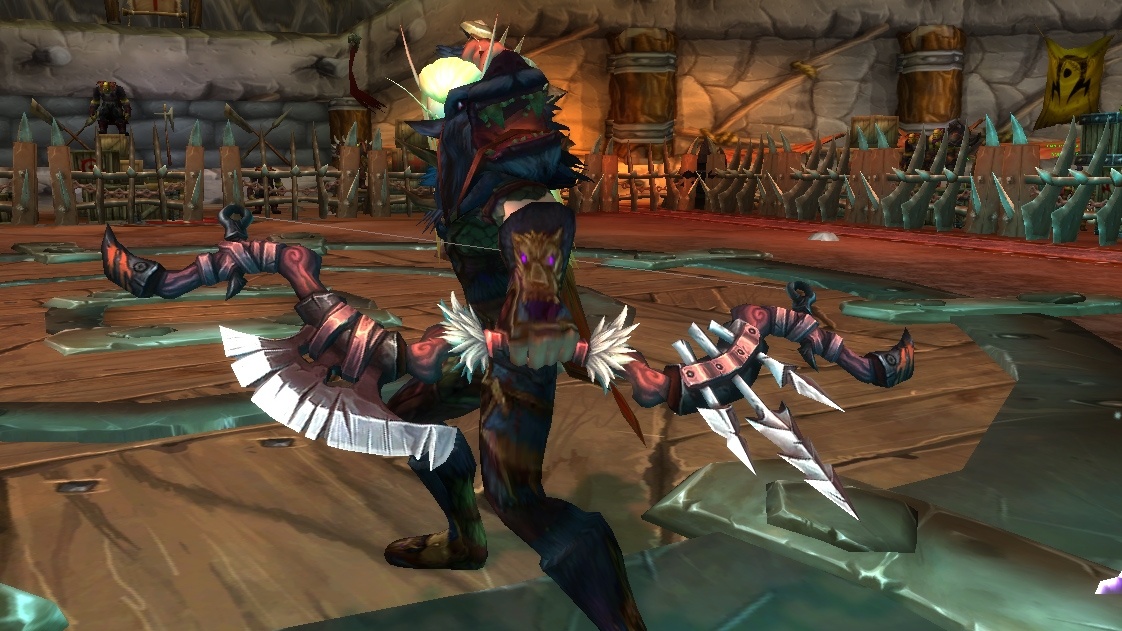
Johnny Awesome
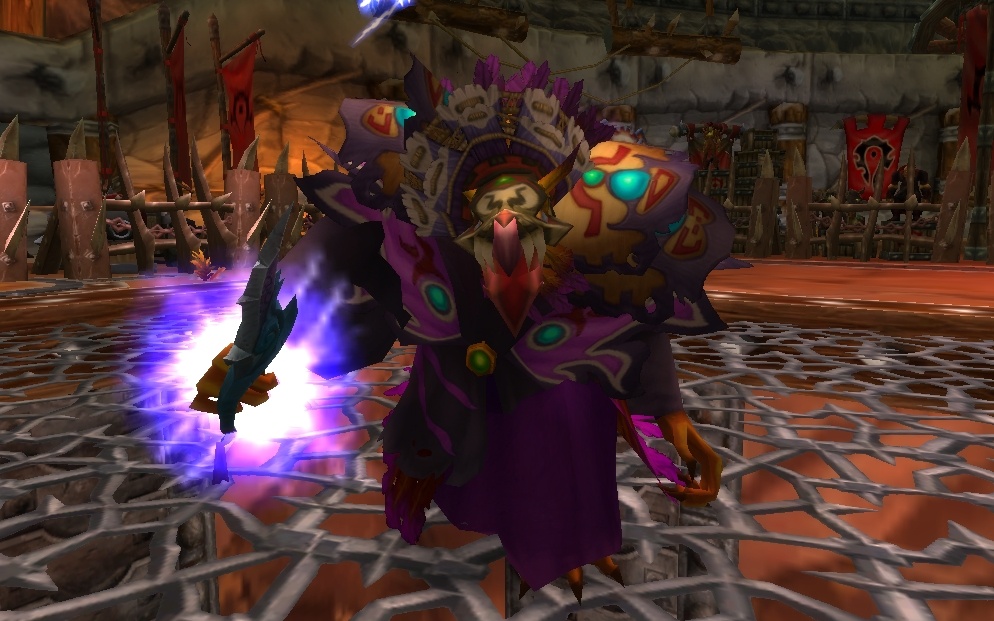
Kirrawk
Leona Earthwind
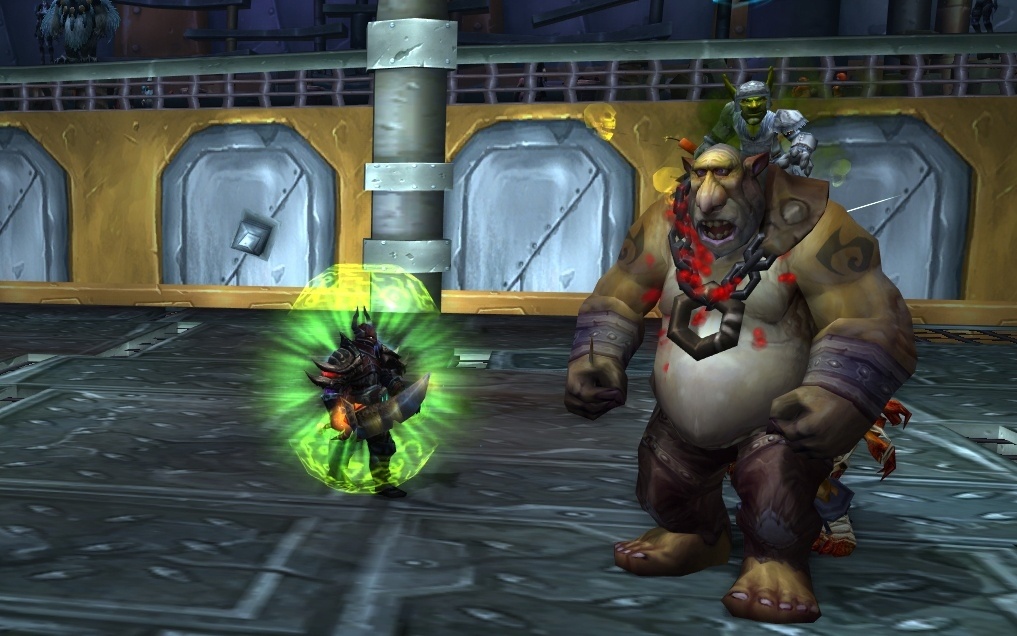
Riddoh is a giant with Fran perched on his back, and the fight is basically a minefield management check with a few sharp interrupts in the middle.
Your first job is simple: don’t get clipped by Throw Dynamite, and step out of Goblin Device. Those landmines form a C-shape on the ground — use that gap to exit cleanly instead of panicking through the explosives. Meanwhile, Riddoh will use Throw Net to mess with your movement, so keep your positioning deliberate and don’t let the arena herd you onto mines.
When Fran dies, the tone shifts: Riddoh gets angry and becomes Frenzied Riddoh. The win condition stays the same, though — avoid mines, dodge the dynamite sticks, and focus down Riddoh, then finish Fran.
Abilities:
Fjoll is an undead Vrykul who tries to turn the arena into a trap. He drops Darkzone and then attempts to knock you into it with Shadowy Blast, so your positioning matters more than your damage opener.
Between zone setups, he’ll cast Dark Barrage — that’s your clean interrupt target — and he also summons Flames of Fallen Glory to apply Shadowflame pressure while you’re trying to stay out of the bad. The final punch is Death Grip, which can yank you straight onto a Darkzone if you’re careless with spacing. Keep a safe lane, keep the zones at the edges, and don’t let his pull line up with your mistakes.
Abilities:
Ixx feels like a nod to Buru the Gorger from Ruins of Ahn'Qiraj: massive health bar, but the fight begins with him already at 20% HP. There’s no complicated rotation here — just one lethal check you must respect.
That check is Devastating Thrust, a frontal cone you cannot afford to eat. The clean approach is to play tight: stay near the center of his hitbox so, when the cast starts, you can run straight through him and end up safely behind the cone instead of trying to sidestep at max range.
Abilities:
This famous Blood Elf has popped up all over Azeroth — from Hillsbrad to Illidan’s Black Temple flashback, even Feralas and the Firelands — and now Johnny Awesome steps into the Ring with his pet, Dazzle. Expect hunter-style pressure: basic shots, Volley, and a dangerous channel in Powershot.
The arena tells you what’s coming — avoid the rain of arrows marked by green circles on the ground. Also watch your spacing: if you drift too far, Dazzle will punish you with a charge stun. The clean win is to weaponize Powershot: bait the line so it hits and kills Dazzle. After that, Johnny will attempt Revive Dazzle, and he takes increased damage while channeling — that’s your burn window.
Abilities:
Kirrawk fights like an Arakkoa shaman with a simple plan: bury you in casts and punish you for letting anything through. He spams Lightning Bolt nonstop, and you should be interrupting it as often as your kit allows. He’ll also buff himself with Storm Cloud, so expect his pressure to ramp if you give him time.
The real hazard comes from Summon Twister. If the Twister touches you, it pulls you up — and that’s when Kirrawk starts casting Lightning Flurry, which can delete you fast. Don’t let the Twister catch you; instead, kite it directly over Kirrawk and make him eat his own setup while you keep shutting down Lightning Bolt.
Abilities:
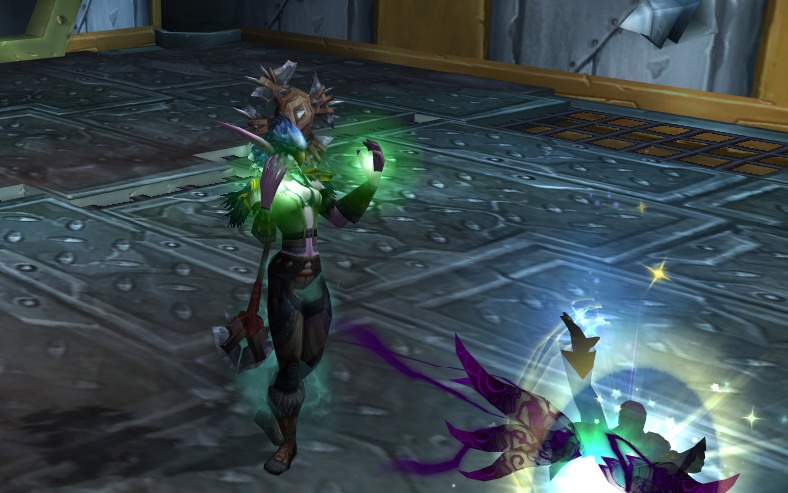
Leona Earthwind is a Night Elf druid who leans hard into Nature pressure. She’ll cast spells like Wrath and drop Solar Beam, which silences if you stay underneath it — so treat that circle like a hard “move now” zone, not a suggestion.
Her real win condition is adds. She summons Earthliving Sprouts through Earthliving Seed, and those Sprouts hit in melee. If she’s allowed to stack multiple summons, the incoming damage ramps fast and the fight slips away. Interrupt Wrath when you can, but prioritize stopping Earthliving Seed — silence or stun her mid-cast if that’s what your kit has.
Abilities:
Millie Watt
Mama Stormstout
Nibbleh
Proboskus
Sanoriak
Seagull
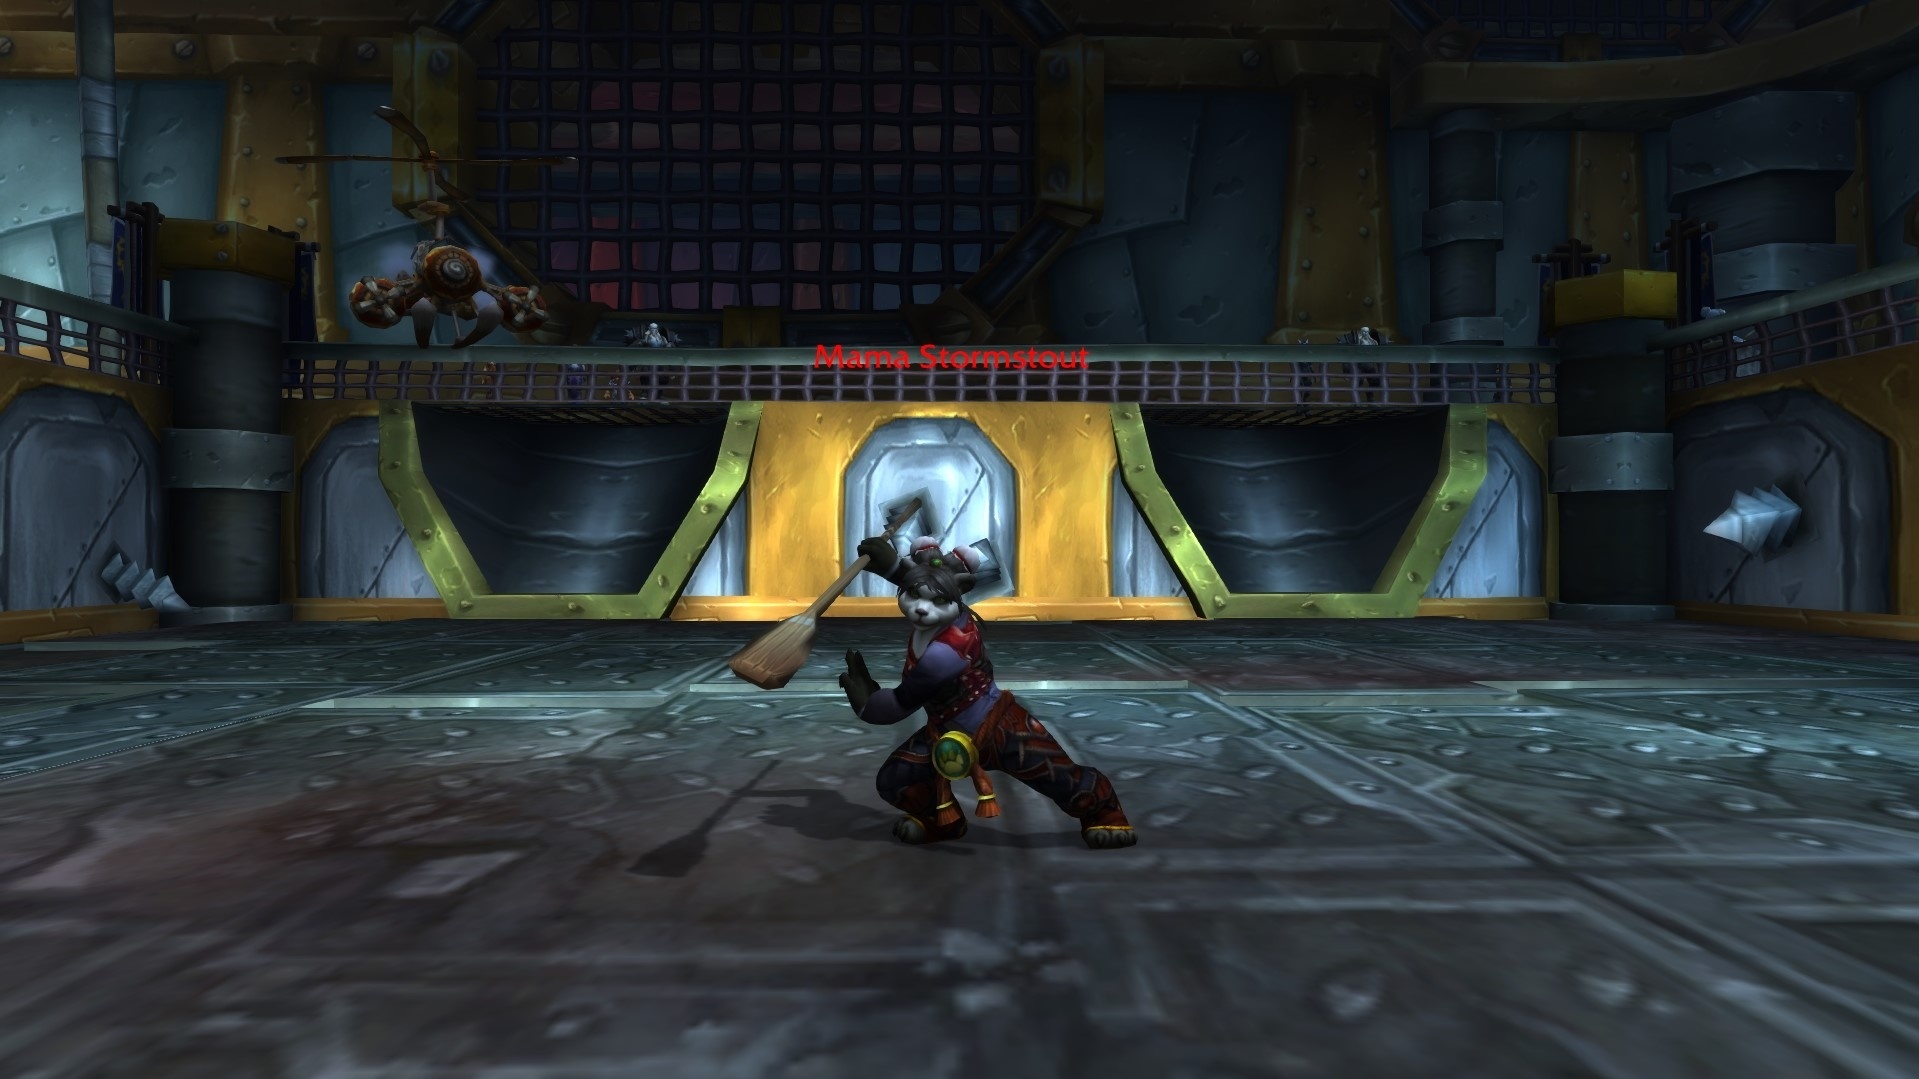
Mama Stormstout got tired of brewing beer in Pandaria and decided the Ring needed a taste of her temper. The opener is straightforward: SMaSH Tun drops a pile of scorching grains at the target location, and standing in that mess will chew you up over time.
But those grain piles aren’t just hazards — they’re your shelter. Shortly after dropping them, Mama calls Cold Crash, a massive wave that blankets the entire arena. The wave is lethal if you’re exposed, but if you step into the Spent Grains, you stay warm and negate the damage. That means you intentionally “prepare” safe zones with SMaSH Tun, then snap into them the moment Cold Crash begins.
In between crashes, she adds extra noise with Summon Lacto Basilisk. The Lacto Basilisks are low HP — clean them up during the downtime so you’re not scrambling when the next wave hits.
Abilities:
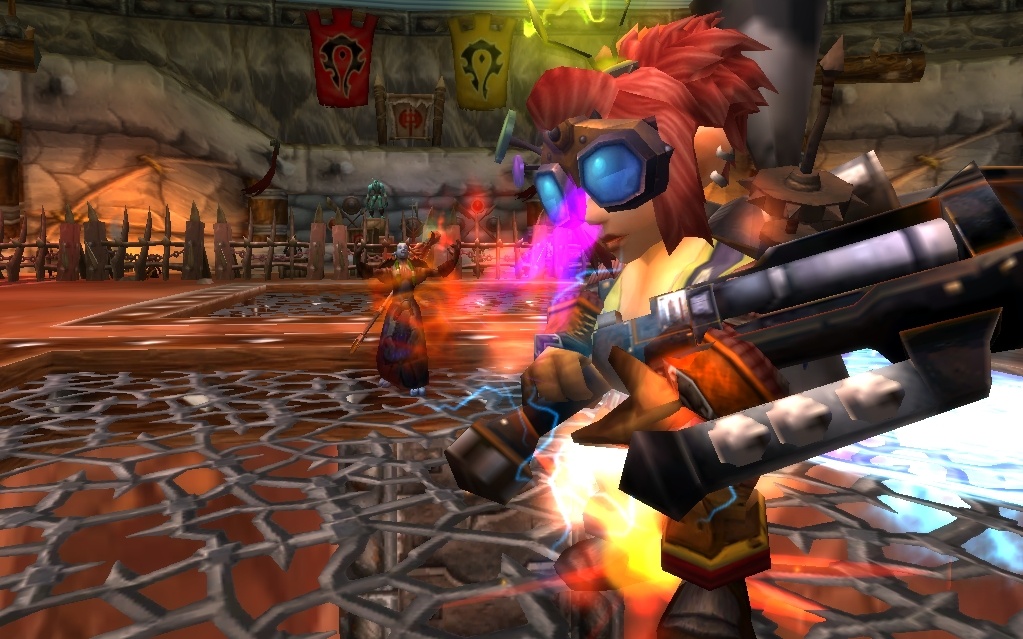
Millie Watt is a Gnome engineer with a big gun and an even bigger list of ways to ruin your rhythm. Most of the time, your job is to stay out of Electric Dynamite — unless she’s channeling Megafantastic Discombobumorphanator, the polymorph that turns you into a chicken.
That’s the gimmick: use the electric zone to break the polymorph and get zapped back into shape, but it leaves you with Shrink-Ray Aftermath. She also fires up a channeled Photoplasm Burster Ray, which you can shut down with knockbacks or stuns — don’t let it free-cast if you have a stop available.
Abilities:
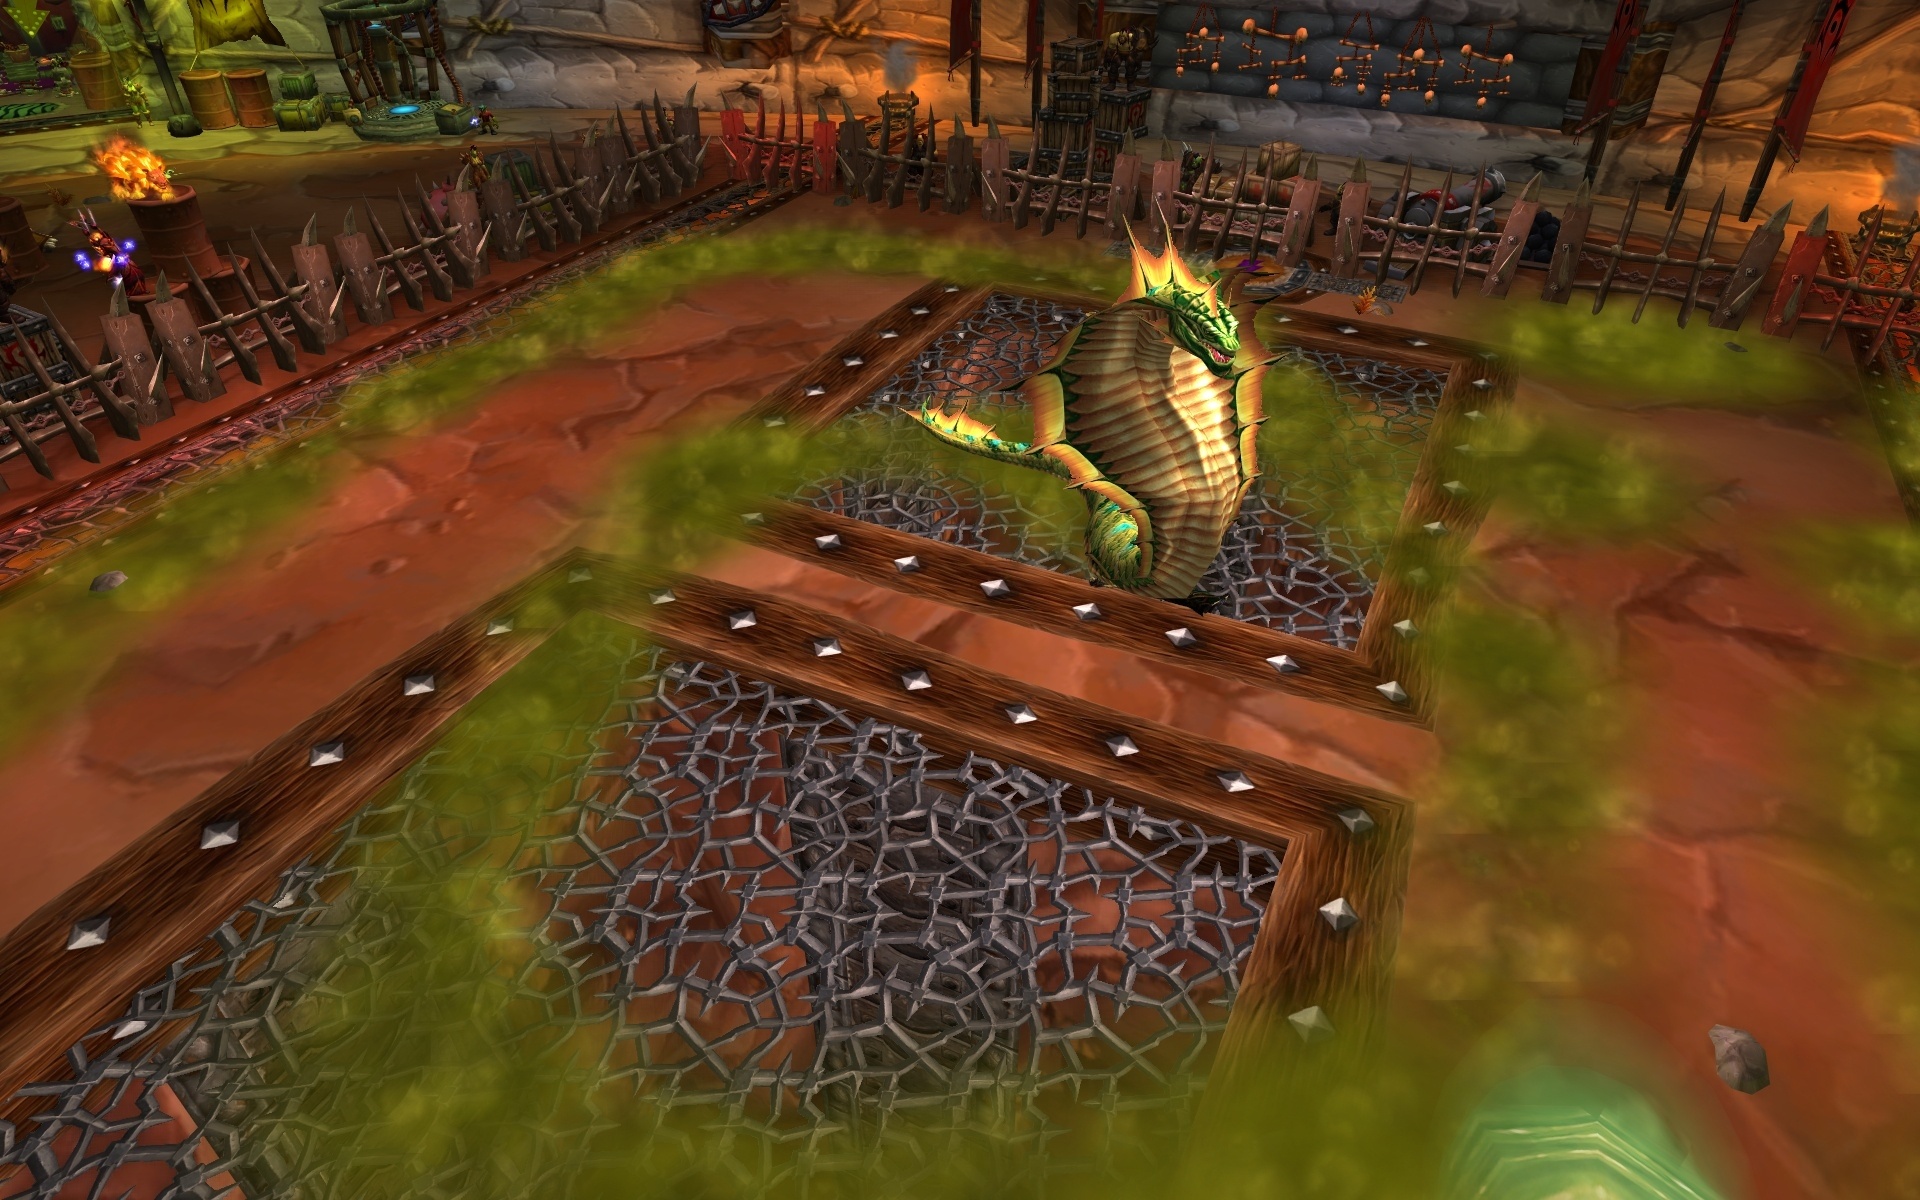
Nibbleh is basically the WoW version of Snake, and the arena is your board. As he moves, he leaves a poison trail behind him. If he ever crosses his own trail, he gains Nibblybuff — a nasty swing that boosts his damage and reduces the damage he takes. Let that stack, and the fight spirals fast.
The trail isn’t the only problem. Nibbleh will also drop floor puddles with Spit Pool, which creates the same kind of hazard and makes clean kiting harder. If you step into the pools or clip the poison trail, you pick up stacks of Dreadful Poison, and multiple stacks will kill you quickly. His baseline hits and Acid Spit aren’t the scary part on their own — the real challenge is dealing enough damage while keeping him moving in a line that never overlaps his own poison.
Space is your resource, and you can run out of it if your route gets sloppy. If your movement speed buffs make your spacing inconsistent, remove them so your backpedal lines up cleanly with the trail. You can even turn off running and just walk backwards — the goal is simple: keep the path tidy, avoid stacks of Nibblybuff, and don’t let Dreadful Poison build. Good luck.
Abilities:
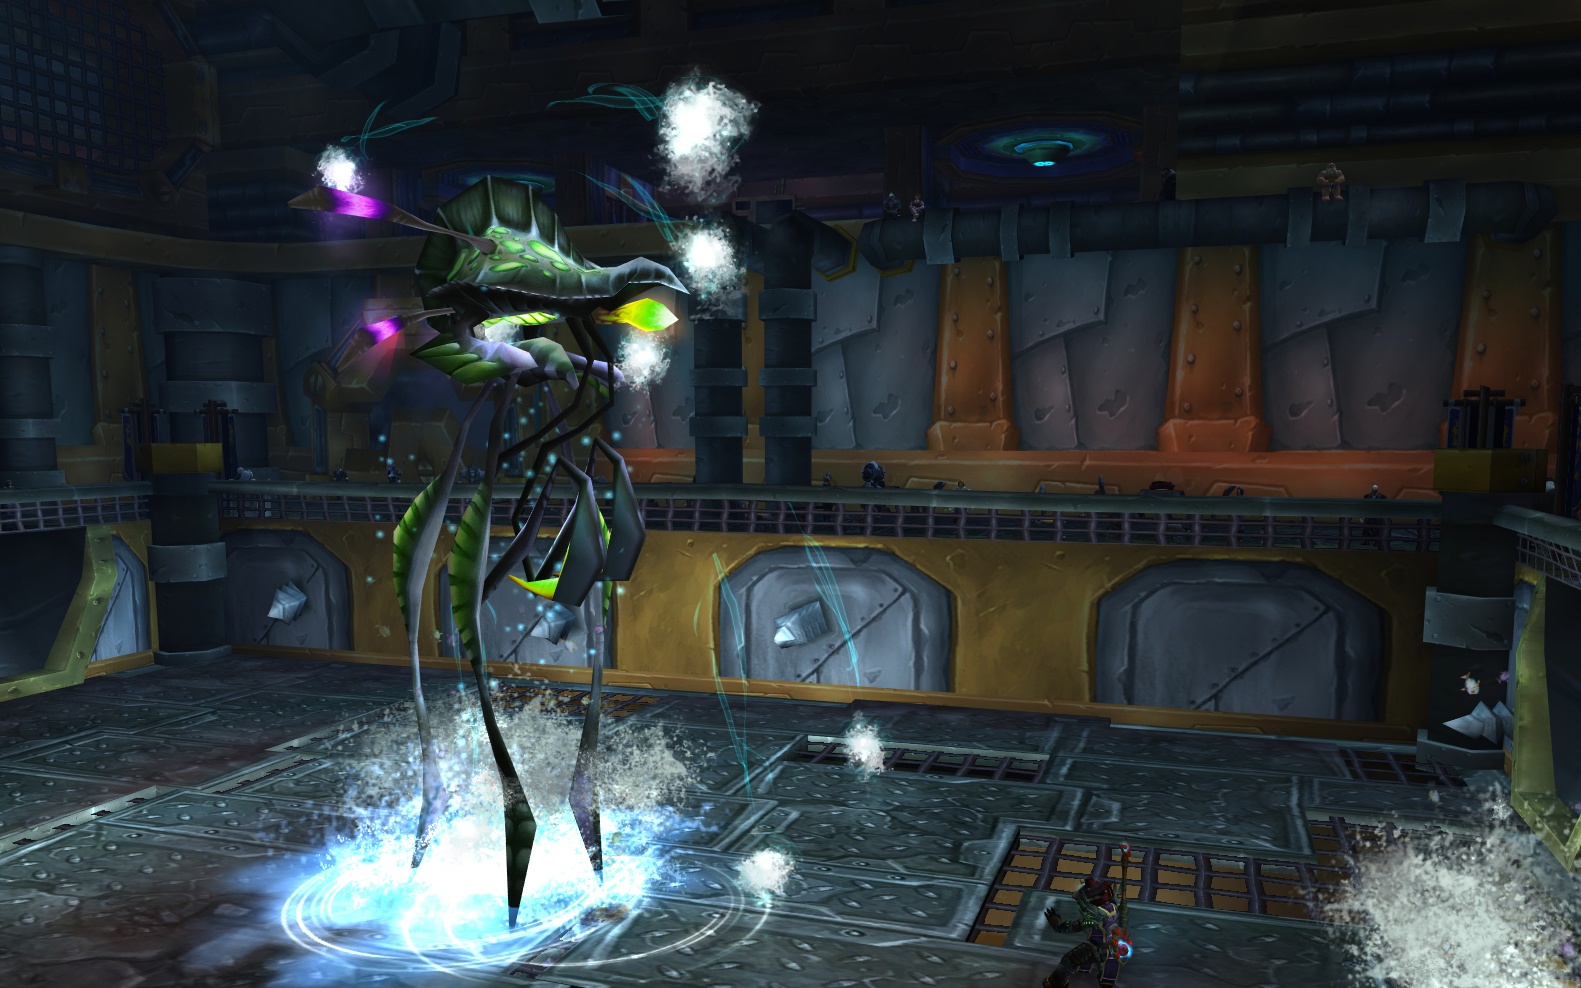
Proboskus is a big Water Strider with a very clean ruleset: stop the cast, dodge the dance, and don’t let the clock beat you. His main spell is Torrent, and you should be interrupting or silencing it whenever you can — letting it through is just giving him free value.
When he swaps to Rain Dance, the job flips from stopping to moving. Keep your feet light and weave around the pattern until it’s over, then go right back to shutting down Torrent. The last pressure point is time: after roughly a minute, he hits Berserk, so this fight rewards clean execution and steady damage, not stalling.
Abilities:
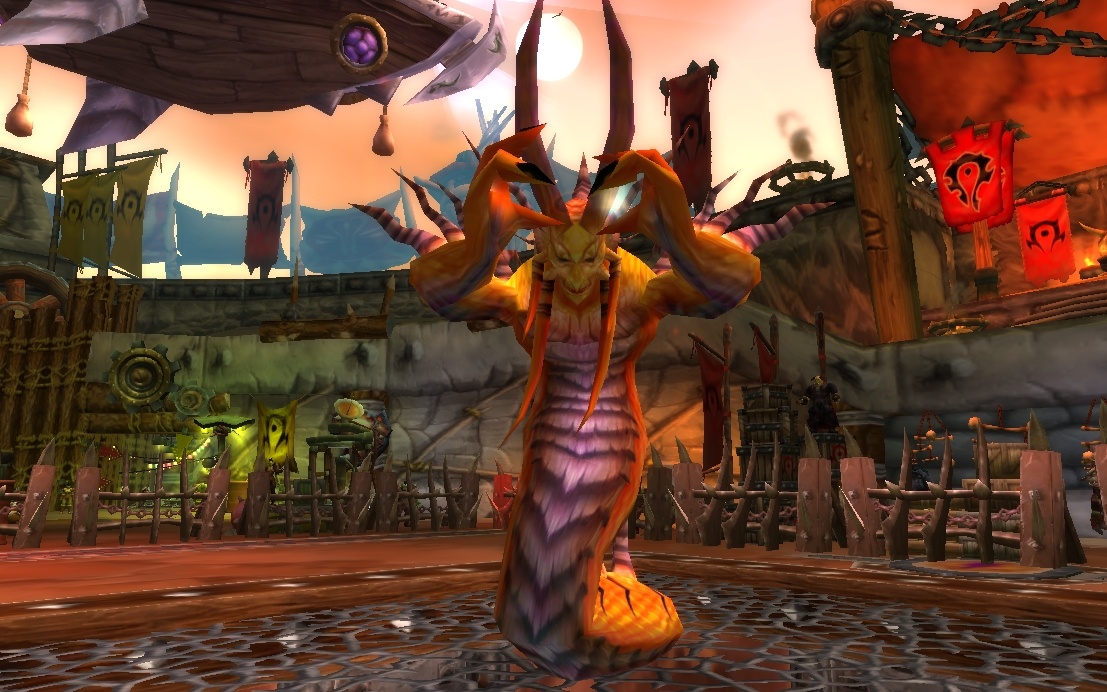
Sanoriak is a Molten Core flamewalker who machine-guns fire spells — the good news is that, in this encounter, everything he does is interruptible. That makes the fight less about raw survivability and more about how clean your stops are.
Your true priority is Firewall. One or two ticks can kill you, so either interrupt it immediately or avoid taking damage from it at all costs. Pyroblast and Fireball won’t usually one-shot you, but stopping either still smooths the incoming damage and keeps the fight stable.
Beyond that, it’s straightforward: interrupt, stun, mitigate — whatever tools you have to prevent his casts from landing — or you’re going to feel that flamewalker fantasy up close. Watch for Flame Buffet and Heated Weapon pressure as you work the stop rotation. For the rewards without the timers, see our WoW event boost.
Abilities:
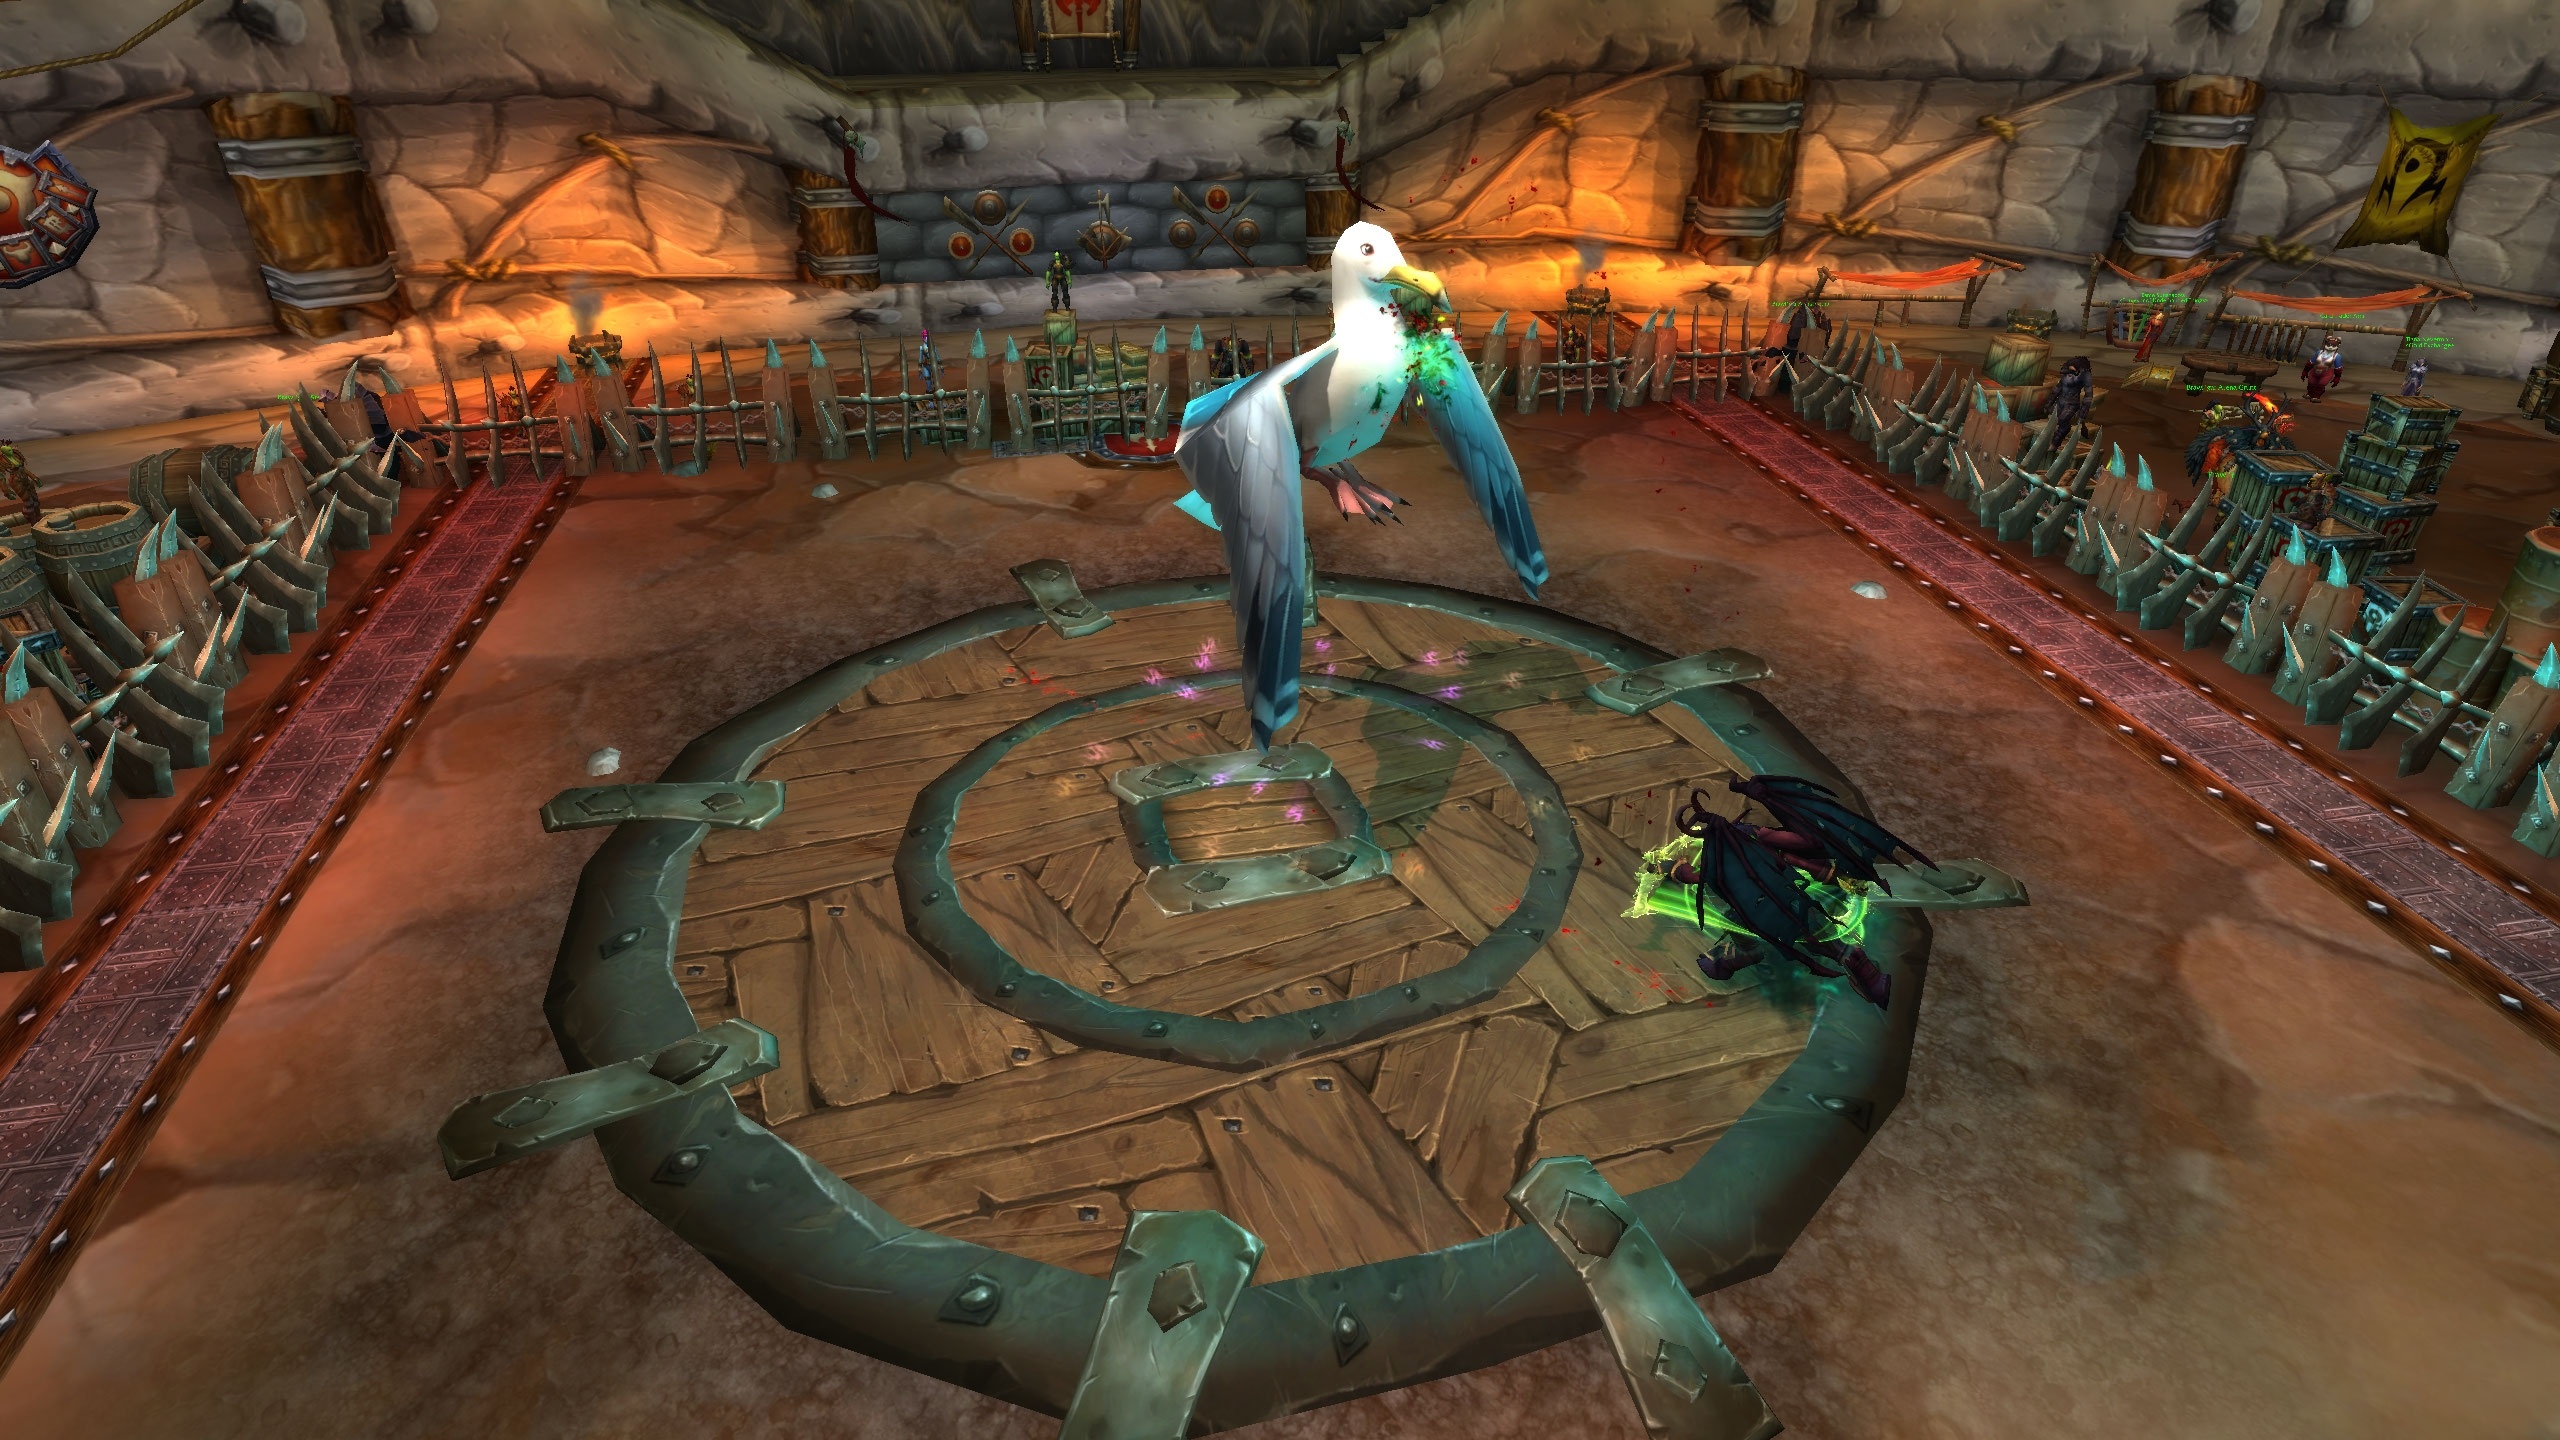
Everyone’s favorite trash mob from Eye of Azshara — a Seagull — has somehow made it into the Ring, and it’s here to be annoying and lethal at the same time. It hits surprisingly hard in melee with Fury of Gul'dan, and it can scramble your control with Blinding Peck, which disorients you.
Abilities:
T440 Dual-Mode Robot
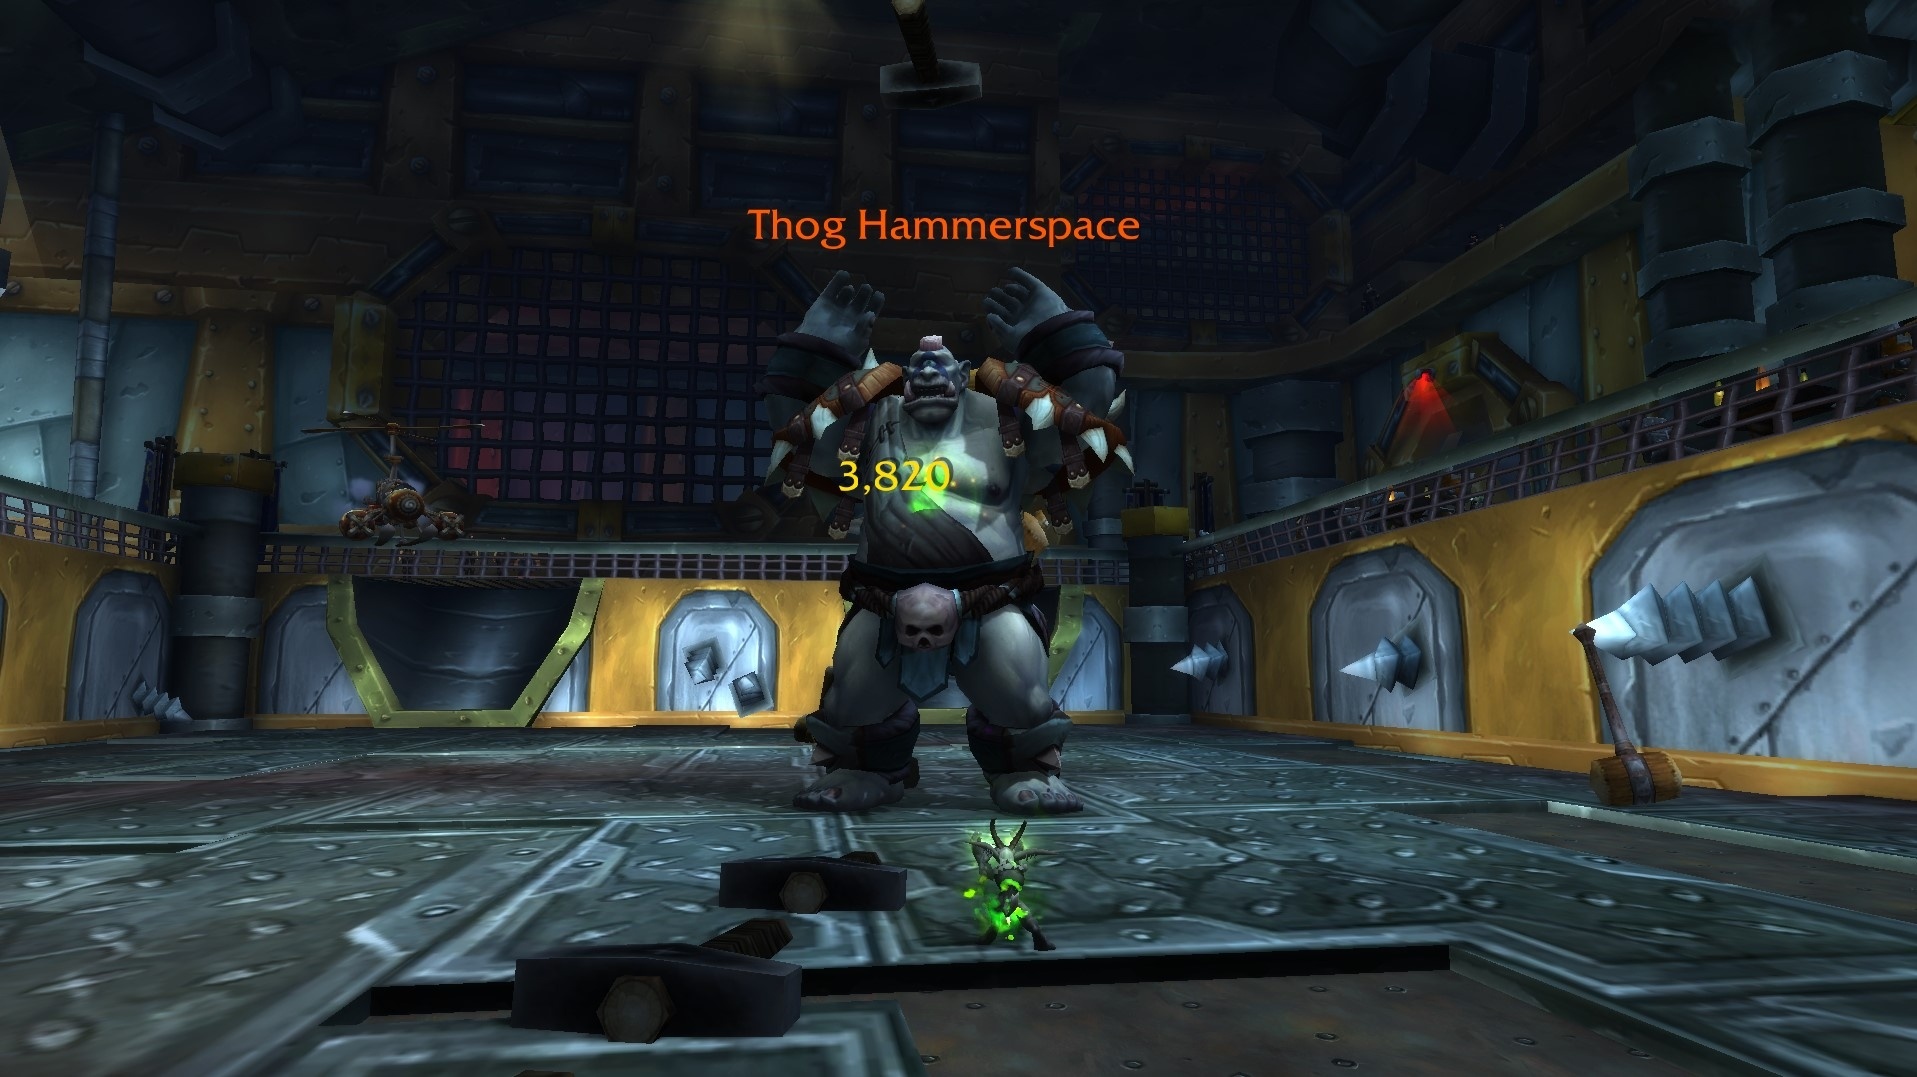
Thog Hammerspace
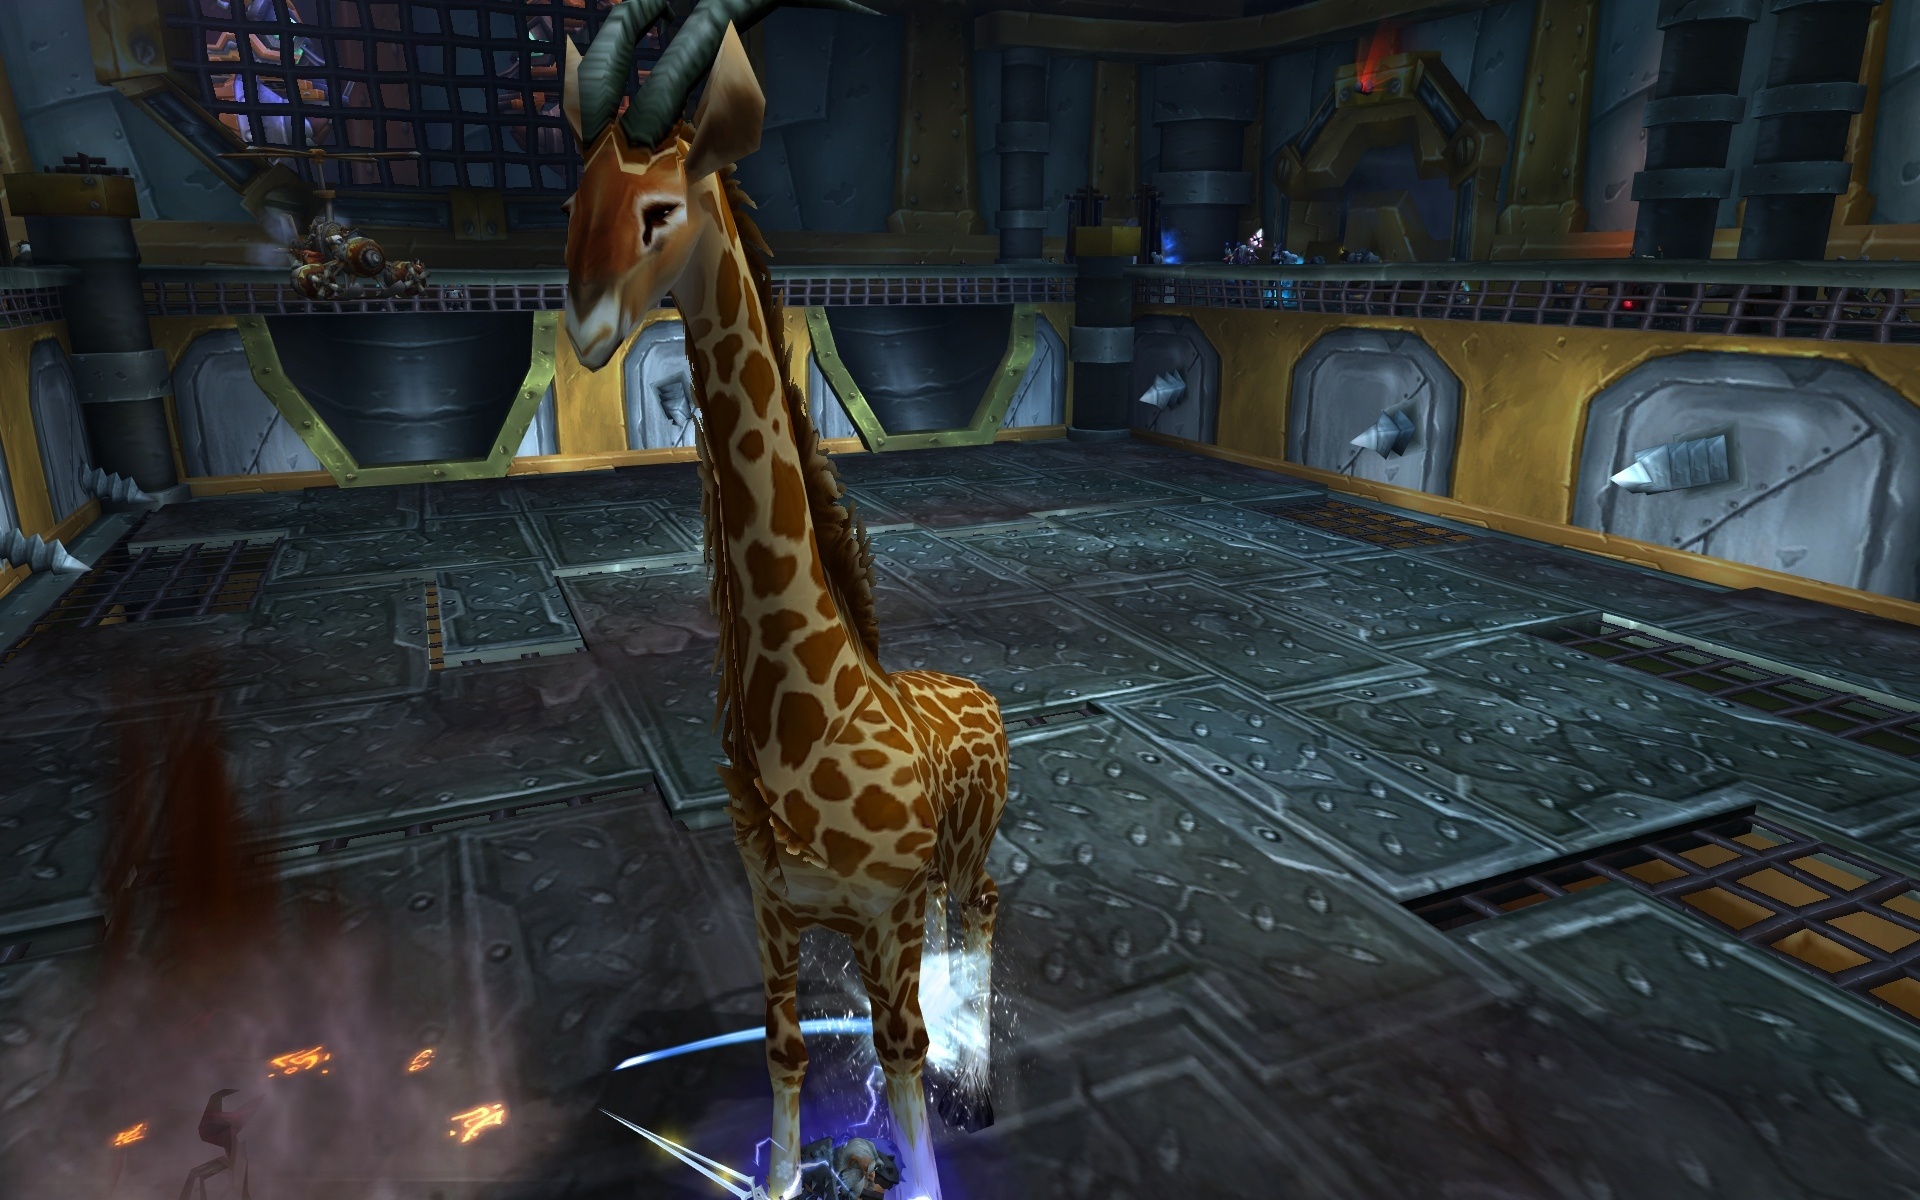
Unguloxx
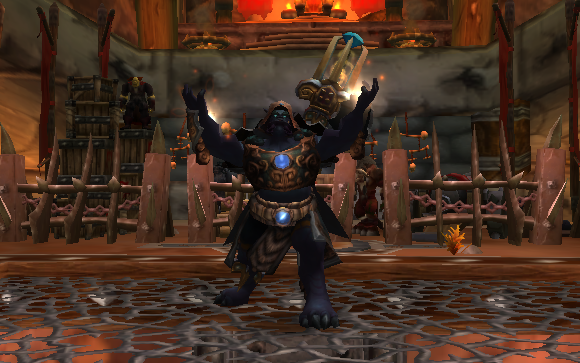
Vian the Volatile
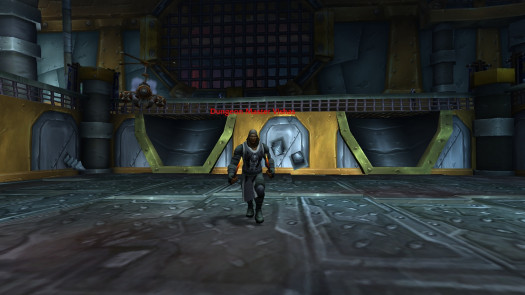
Dungeon Master Vishas
Yikkan Izu
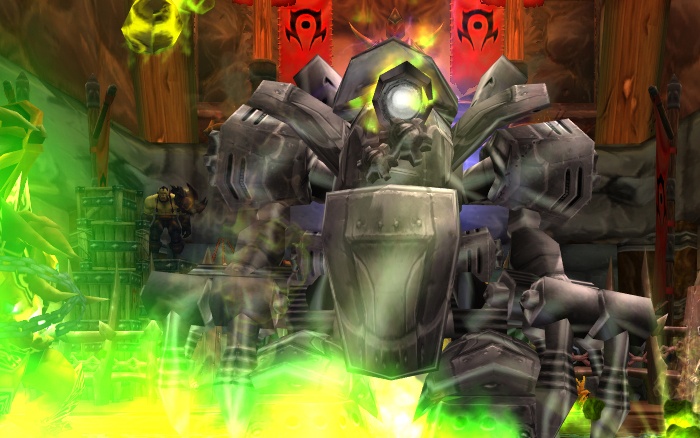
T440 Dual-Mode Robot is a range-check fight in disguise. Your distance decides its behavior: stay in melee and it flips into Assault Mode to punch you; back off and it swaps to Artillery Mode, spraying the room with electric shots via Artillery Strike that get more accurate over time.
The longer it sits in one mode, the nastier it becomes. In melee, it ramps through Intensifying Assault; at range, it stacks Precision Artillery. Around 15–20 stacks, most specs start getting overwhelmed — so your goal is to reset those stacks by forcing a swap.
To clear the ramp, change your range and make it switch modes. Every swap triggers Electric Shock, dealing moderate damage and stunning you for one second. Melee classes can speed this up by stunning it or using movement boosts to push it into Artillery Mode on demand. If you commit to staying only melee or only ranged, you’ll eat two Electric Shock bursts because it has to swap twice — doable if you can mitigate or heal through it, but it’s the messier plan.
Abilities:
Thog Hammerspace is a hammer fanatic with an endless supply, and the arena quickly turns into a “watch your feet” check. He’ll periodically slam the ground with Da Fif Hammer, dropping hammers onto the floor and then pulling out fresh ones to keep pounding you.
Those dropped hammers don’t just sit there — they periodically deal Shadow damage if you step on them, so treat the floor like it’s rigged and keep your movement clean. The upside is that Thog stands still while casting Da Fif Hammer, which gives you a predictable window to reposition and reset the fight space before it gets cluttered.
Abilities:
Unguloxx is an adorable giraffe with no flashy mechanics and no clever gimmicks — just a straightforward tank-and-spank that turns brutal because he hits like a truck on steroids.
When the damage starts to overwhelm you, don’t pretend you can “outheal” it forever. Stun or kite to buy breathing room, and rotate defensive cooldowns to keep the fight stable. The win condition is simple: kill him before he kills you… which is a sentence you probably never expected to say about a giraffe.
Vian the Volatile is a mogu with a love for pyrotechnics, and he tries to turn the arena into a moving fire maze. He spawns roaming fireballs with Volatile Flames, throws out Lava Burst, and sets up Fire Line — something you can handle by interrupting, stunning, or simply stepping out of its path.
Your number-one rule is: do not take Fire Line. A small sidestep is usually enough, so don’t overcomplicate it. At the same time, keep respecting Volatile Flames; as the fight goes on, more fireballs fill the room and your safe lanes disappear if you’re sloppy.
The extra wrinkle is positioning. Vian constantly runs toward you so he can line up Fire Line, which means you’re indirectly steering him. Use that to your advantage: guide him away from Volatile Flames so he avoids them too — if he walks through the fireballs, his cast speed ramps up and the fight gets much harder for no reason.
Abilities:
Dungeon Master Vishas is the former Scarlet Monastery boss, and he shows up with exactly two things you need to respect. The first is Naughty Secrets, which increases the damage you take — treat it as a mandatory interrupt. The second is Heated Pokers, which amps his melee swings with extra fire damage. You can survive it, but the safer play is to kite and deny him clean uptime.
Abilities:
Well... wrap me in leather and tug my leash: it's Dungeon Master Vishas!
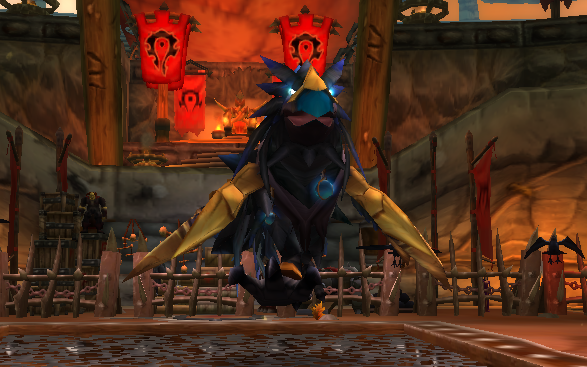
Yikkan Izu is basically an Anzu-style throwback from Sethekk Halls, and he doesn’t fight alone. He’s surrounded by four Izu's Raven, and they keep reappearing in packs of four about every eight seconds.
The trap is what happens when you kill them. Each time the ravens die, Yikkan Izu gains a stack of Fallen Kin. If that stacks to five, he enrages with Feathered Fury, and the fight ramps into something much uglier. Manage your cleave, be deliberate with AoE, and don’t mindlessly erase every wave if you can avoid it.
On top of the add pressure, he casts Disorienting Shriek, which you can interrupt or silence. If things start getting messy, remember he’s controllable — you can kite, slow, root, and stun Yikkan Izu to buy time and keep the arena stable.
Abilities: