Gate of the Setting Sun looks like a straight wall run, but inside it’s all choke points, bomb chains, and tight rooms that punish hesitation. Mantid packs demand perfect target swaps, bridge events force clean movement, and stray interrupts turn into wipes fast. This instance rewards crisp footwork, disciplined stun/interrupt rotations, and clear calls while you’re already moving to the next pull.
This guide breaks down the Challenge Mode route for a Gold Timer: a practical pull-by-pull from the opening ramp to the siege gate, with where to spend or bank cooldowns and which casts to kick. Boss plans focus on neutralizing Kip'tilak's Sabotage and World in Flames, surviving Ga'dok's Prey Time and Strafing Run, kiting Ri'mok out of slime while cleaving adds, and breaking Raigonn's carapace via launchers — with clear burn-phase pacing so you hit Gold without wasted steps.
Gate of the Setting Sun looks straightforward on the map, yet the moment you step inside the wall it becomes a timer squeeze. Short corridors, stacked explosives, and add waves force constant movement; missed kicks or clumsy pathing turn into time loss quickly. Progress in this dungeon comes from tidy positioning, pre-planned target swaps, and keeping the group moving between pulls rather than relying on raw throughput.
What makes runs here feel “clean” is preparation that converts directly into seconds saved. A rehearsed route and intentional cooldown trading keep momentum high, while firm control and clear voice calls prevent rooms from snowballing. With a practiced plan, Gate of the Setting Sun turns from volatile to consistent - an honest fundamentals check that readies a team for harder Challenge Mode dungeons.
Before we break down the specific strategies for routing, pulling, and cooldown management that will enable you to beat the clock and earn a Gold Medal, it's crucial to first cover the basics. Let's quickly go over how Pandaria Classic's Challenge Modes actually work: the gear scaling, the ever-present timer, and the core rules that shape each and every run.
Fresh from our creator Poizy: a focused Gate of the Setting Sun Challenge Mode walkthrough that shows how to convert clean fundamentals into a Gold Medal. Follow the route end to end across the ramparts with line-of-sight pulls, ranged-first priorities on sappers and other casters, safe skips between wall segments, tight defensives during bridge hazards and strafing runs, and polished boss plans. Cooldown and BL timings are annotated, so your group knows exactly when to commit and when to hold for the next checkpoint.
Hunting for a gold-timer run? Start with the video. If you’d rather read, the full breakdown below covers pull order, positioning cues, the timing of key invisibility windows, and contingency notes for messy patrols.
Challenge Modes in Pandaria Classic are the ancestors of Mythic+: strict timers, dense enemy packs, and an emphasis on execution over item level. They’re designed to be demanding from pull one and reward coordination more than gear.
To keep difficulty stable across patches, characters are normalized and routes matter. You can’t out-gear these keys with later tiers or legendaries - wins come from planning, interrupts, defensives, and clean play.
Instead of current-tier epics, MoP Challenge Modes award distinctive transmogs, a mount, and a title. For the full primer on rules, scaling, and rewards, see our general Challenge Mode Overview and Challenge Mode Rewards pages:
Feeling comfortable with the fundamentals? Excellent. Let's now apply that theory with our detailed, step-by-step guide to Gate of the Setting Sun.
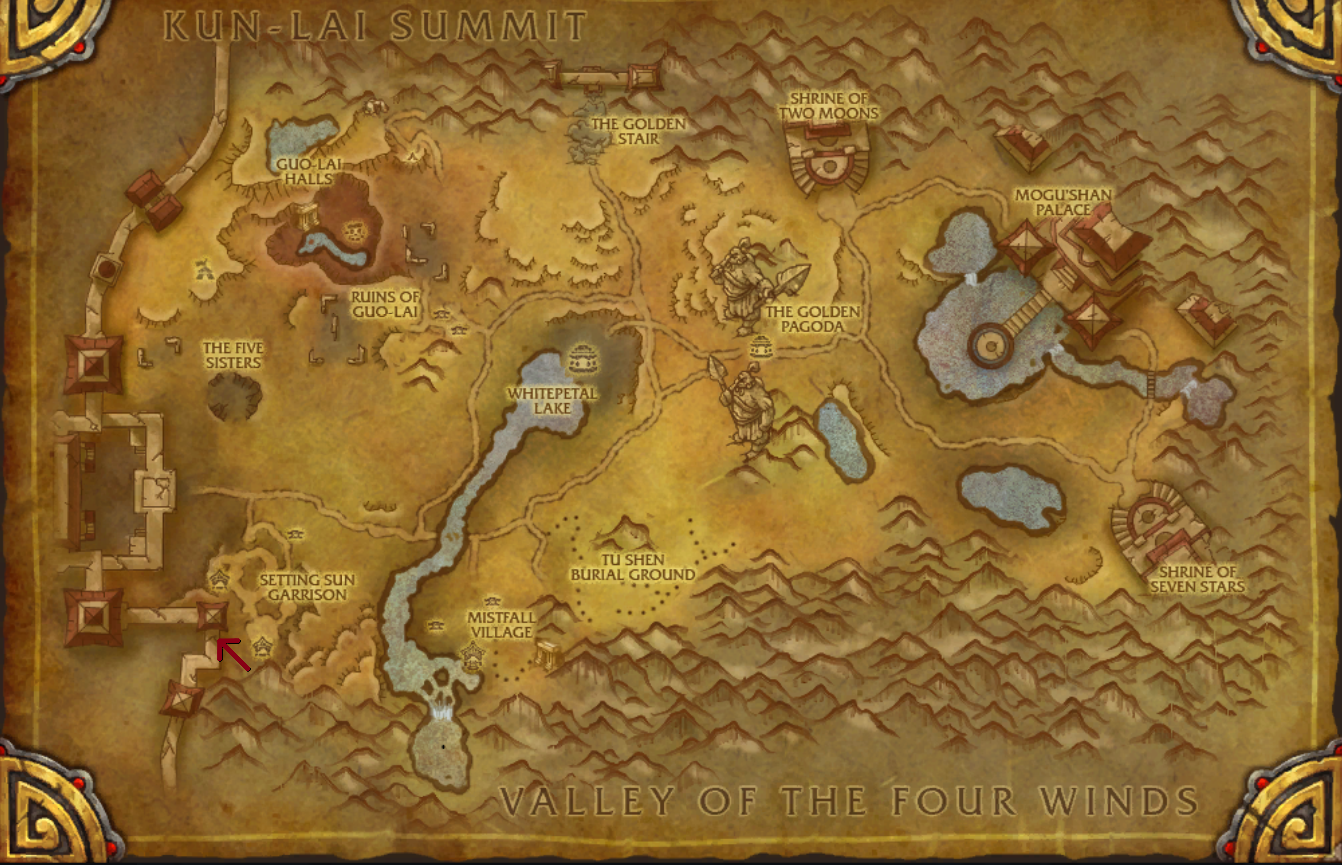
The entrance to Gate of the Setting Sun is built into the Serpent’s Spine on the border between Townlong Steppes and Dread Wastes; you’ll find the doorway at coordinates /way 15.8 74.4 atop the wall. Ride up the wall stairs from the Townlong side (the path near Longying Outpost is the quickest) and you’ll arrive at a platform with a meeting stone and the instance doors set into the fortification. If you fly in from Dread Wastes, land at the wall base and take the interior ramp to the top.
To start the Challenge Mode version, assemble your party and approach the doorway. A Challenge Mode Console sits at the entrance in MoP Classic - use it to arm the timer and skip straight into the run without extra setup or roleplay.
Challenge Modes live and die by the clock, and Gate of the Setting Sun is tuned to keep you moving. Tight rooms and event-driven bosses mean your route and cooldown plan matter as much as raw damage. Groups that keep pulls compact, interrupts scripted, and movement continuous will naturally stay ahead of the clock.
Bronze and Silver leave room to stabilize after a mistake - an extra pack, a battle res, or a slow boss won’t sink the run. Gold is different: you’re expected to chain pulls, spend cooldowns with purpose, and use skips/invisibility windows to avoid dead time. Treat every transition like part of a pull and the timer will feel generous; hesitate and it won’t.
| Medal | Timer | Reward |
| Gold | 00:13:00 | 85 Valor Points |
| Silver | 00:22:00 | 70 Valor Points |
| Bronze | 00:45:00 | 55 Valor Points |
The reward system ensures that every completed run contributes to your character's advancement. All attempts yield Valor Points, with the amount scaling according to the medal achieved, which means even practice runs are productive. This structure encourages the refinement of your strategy, transforming repetition into the mastery and confidence required for consistent Gold-medal victories.
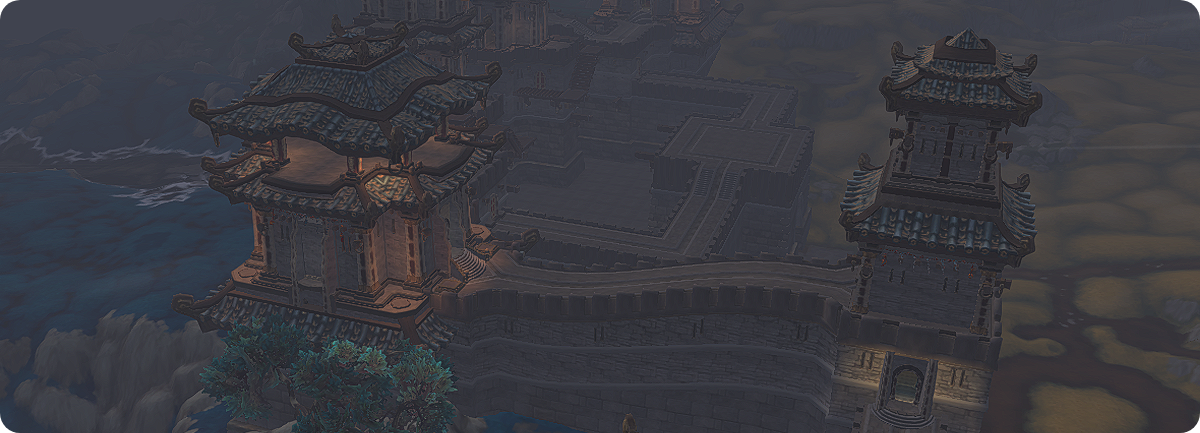
Now we arrive at the heart of the guide: a concrete, actionable plan for every pull and each boss encounter. Consider this your tactical map for surviving the mantid siege - a sequence of optimized routes and precise cooldown timings designed to keep you ahead of the timer. We will transform the relentless assault on the wall into a controlled and efficient clear.
As the primary objective for most groups is securing a Gold Medal, the strategies outlined below are built for speed and aggressive play. This is the blueprint for a high-performance run, demanding decisive action, minimal downtime, and disciplined execution from every member of the team.
Let's define what a successful Gold Medal run in Gate of the Setting Sun requires:
Once you begin, the timer is unforgiving. There are no checkpoints or second chances. You must be fully committed to your strategy, execute each pull flawlessly, and be prepared to adapt instantly when things go awry. Now, let's break down the optimal route that top-tier groups use to conquer this challenge.
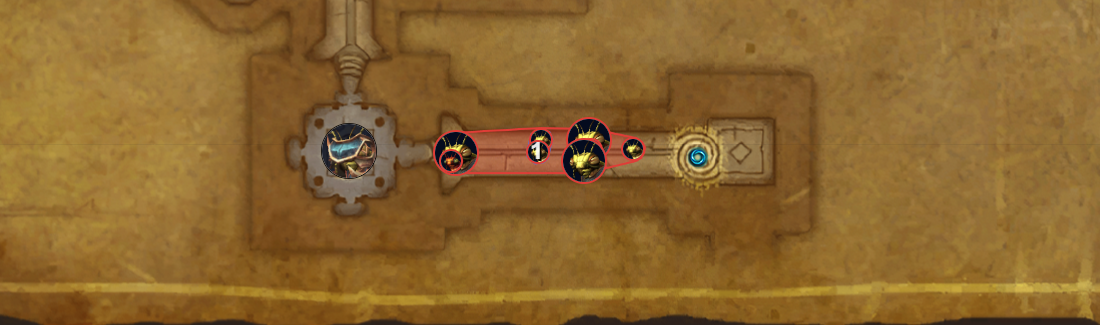
The initial pull in this dungeon is straightforward and doesn't demand complex strategies or many interrupts. You only need to pay attention to two points here. The Krik'thik Infiltrator uses the ability Smoke Bomb, which prevents you from targeting enemies and allies outside the smoke if you are inside it, and conversely, prevents you from targeting enemies and allies inside the smoke if you are not in it. Therefore, the group should position themselves inside the smoke so the healer can heal comfortably and the tank avoids unnecessary movement.
Beyond the Smoke Bomb, you only need to watch for one other mechanic. Be aware of Volatile Munitions, an ability that launches four fiery projectiles in different directions, each inflicting heavy damage upon impact. Simply remain vigilant and dodge these projectiles. Also, a less dangerous ability comes from the Krik'thik Sapper, who will use Sabotage on a player. This ability deals noticeable fire damage to a single target and should be promptly healed through by your healer.
Calmly run to the end of the bridge to make the second pack of mobs appear, gather all the mobs, and kill them. You can use Bloodlust/Heroism here, instead of on the first boss, if you are having any problems with this pull; this will significantly simplify the task. Also, if you don't want to rush and expose the group to unnecessary risk, you can pull the mobs one by one instead of together. Even though the 13-minute timer seems short, the dungeon is completed quite quickly.
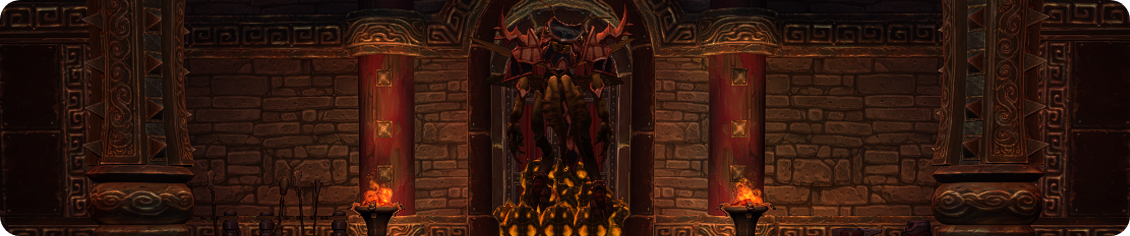
The encounter with Saboteur Kip'tilak is a test of spatial awareness and controlled chaos. If your group has Bloodlust/Heroism available after the previous pull, this is the perfect time to use it. The core of this battle is navigating an arena that will progressively fill with dormant explosives, which you must carefully manage to avoid triggering lethal chain reactions.
Success in this encounter is less about raw damage output and more about disciplined movement and communication. The player targeted by Sabotage must act decisively to contain their explosion, while the rest of the group remains vigilant, constantly adjusting their positions to avoid the predictable, linear blasts. Mastering this explosive dance is the key to defusing Saboteur Kip'tilak.
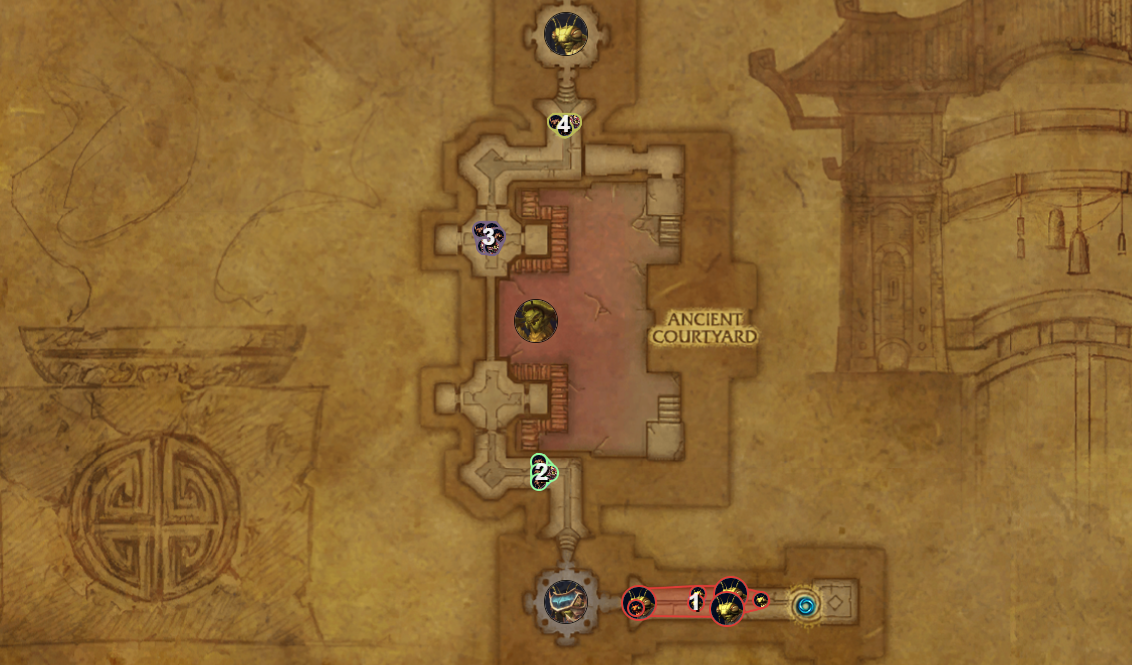
Once the first boss is down, you'll navigate three separate trash packs. Due to their spacing, it's best to handle them one at a time. The first group features three Krik'thik Infiltrator and introduces a new enemy: the Krik'thik Wind Shaper. This new mob's only ability is Gale Force, a channeled spell that deals ticking damage and applies a 50% slow. As long as you interrupt Gale Force and handle the Smoke Bomb correctly, this pack is simple.
Your path to the next pack leads across a long wooden bridge where you'll be harassed by Raigonn, the final boss. He will slam the gate under the bridge, causing a shockwave that stuns anyone on the ground for two seconds. You can easily avoid this stun by timing a jump just as the impact occurs.
Across the bridge, the next pack includes two Krik'thik Wind Shaper, one Krik'thik Infiltrator, and two Krik'thik Rager. The Ragers have a frontal cone attack called Savage Cleave, which deals initial physical damage and applies a five-second bleed to anyone it hits. They also have an Enrage effect that increases their damage dealt by 20%. The tank should face them away from the group. The strategy remains the same: avoid the frontal, interrupt the casters, and stack in the Smoke Bomb.
The final pull before the boss is a simple combination of two Krik'thik Rager and one Krik'thik Wind Shaper with abilities that you are already familiar with. The only crucial piece of information here concerns the elevator leading up to the boss platform. There is a common bug that can cause you to fall through the lift as it ascends. To avoid this, simply jump as you step onto the platform before it starts moving.
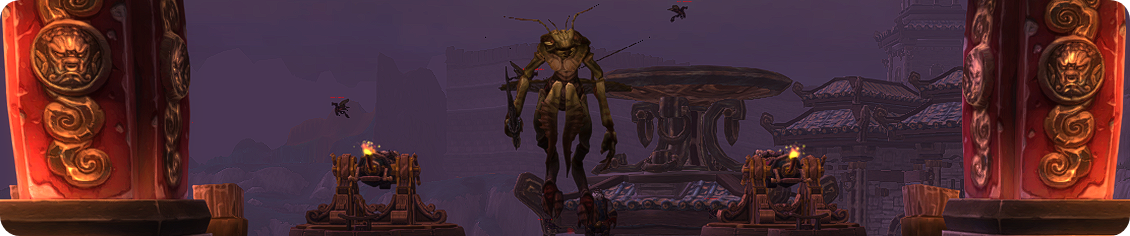
The encounter with Striker Ga'dok is a two-phase fight that tests your group's ability to handle heavy single-target damage and manage chaotic area-denial mechanics. The fight primarily takes place on the ground but is interrupted by a dangerous air phase at two key health points. Success hinges on a combination of strong healing, quick target switching, and crucial raid awareness.
The strategy for this encounter is cyclical and requires clear role assignments. During the ground phase, the tank and healer should focus on mitigating and recovering from the boss's damage. When the air phase begins, the group's damage priorities are split: melee DPS must switch their focus to the adds, while ranged DPS should continue to pressure the boss, all while being mindful to avoid the acid pools. The faster the adds die, the fewer Acid Bomb will litter the platform, which minimizes the number of deadly pools on the ground.
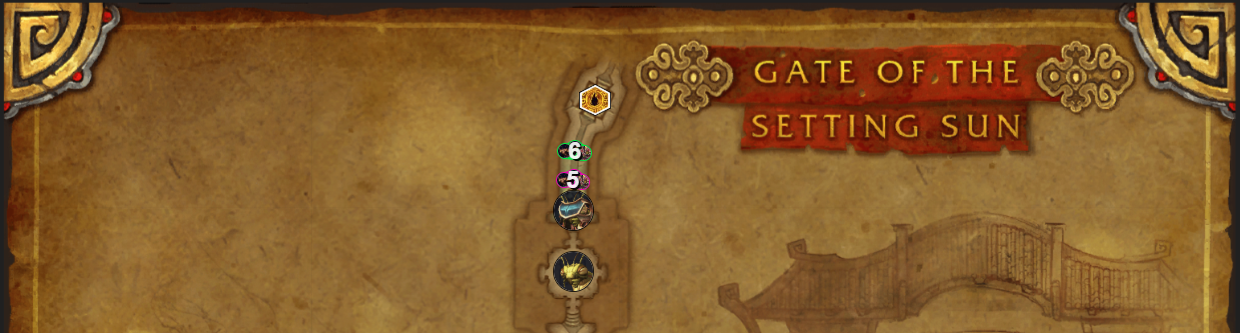
After the boss is defeated, your group must perform a coordinated task to proceed. Designate your fastest player to take the elevator down and activate the Signal Flame. It is crucial that the rest of the group remains on the upper platform. From there, they must use the available cannons to shoot down all the Krik'thik Bombardier. If these adds are not eliminated, the path forward will remain blocked by a wall of fire on the bridge.
Once the Signal Flame is activated, the entire party will be teleported to its location. You will be met with two identical packs of mobs, each containing two Krik'thik Rager and one Krik'thik Wind Shaper. While the enemies are familiar, you have several options for how to approach this final segment, ranging from safe to highly aggressive.
The most straightforward and stable method is to simply pull one pack at a time. Alternatively, for a faster but riskier approach, you can combine both packs. Be aware that this is significantly more dangerous, as tanking four enraged Ragers at once can be lethal. The ultimate speed strategy, however, is to pull both packs together with the boss. This is the most interesting option because the boss's Frenzied Assault ability damages all targets, including the trash mobs. With clever positioning, you can use the boss's own attack to quickly cleave down all the trash. The strategy you choose is up to your group's confidence and goals.
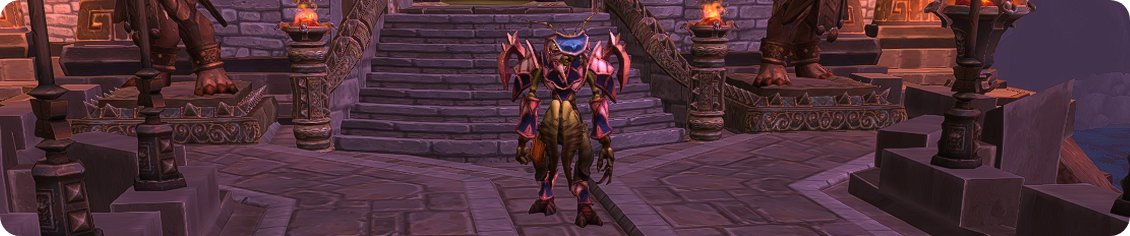
The encounter with Commander Ri'mok is a demanding battle of constant movement and spatial awareness. The primary challenge revolves around the tank's ability to kite the boss effectively, creating a safe path for the rest of the group to follow. Success is determined by how well your team can manage the ever-present environmental hazards while simultaneously controlling waves of powerful reinforcements.
The rhythm of this fight is dictated by the placement of Viscous Fluid. The tank leads a continuous, deliberate kiting pattern around the room, while the rest of the group follows closely, staying clear of both the frontal cone and the acid pools. A skilled tank can even position the boss so that Frenzied Assault cleaves down the adds. By maintaining clean positioning and executing priority interrupts on the Saboteurs, your group can overcome Ri'mok's relentless assault.
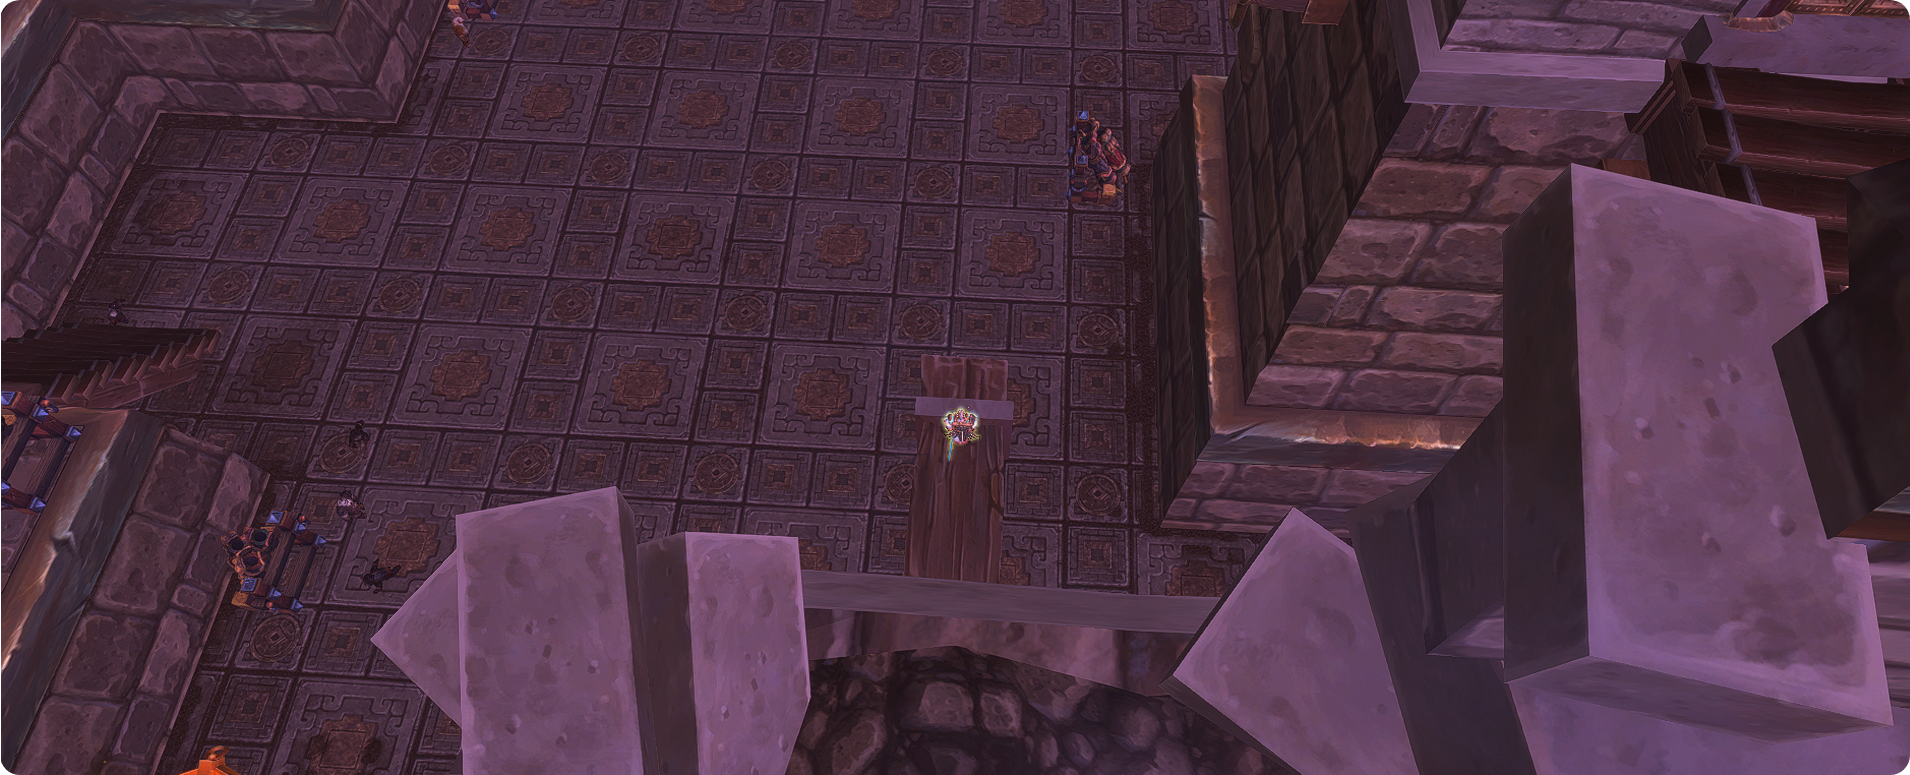
After killing the 3rd boss, you won't encounter any more trash mobs. All that's left is to get to the final boss as quickly as possible, and there are several ways to do this.
The intended path, which involves carefully dropping down inside the tower, is slow and inefficient. Instead, you can take a shortcut by jumping off a beam that juts out from the wall, as shown in the picture. This fall will cost you about 60% of your health. However, there are better options available to all classes, such as using a Goblin Glider, which saves the time you'd spend healing. Of course, there are also class-specific abilities that prevent fall damage, like a Mage's Slow Fall, a Priest's Levitate, or a Paladin's Divine Shield and so on.
By taking this smart fall, you can save about 20 seconds compared to the route designed by the developers. Don't forget to use any available movement speed abilities for you and your group during the run from the third boss to the ledge you'll be jumping from. Now, we can move on to the final boss of the dungeon.
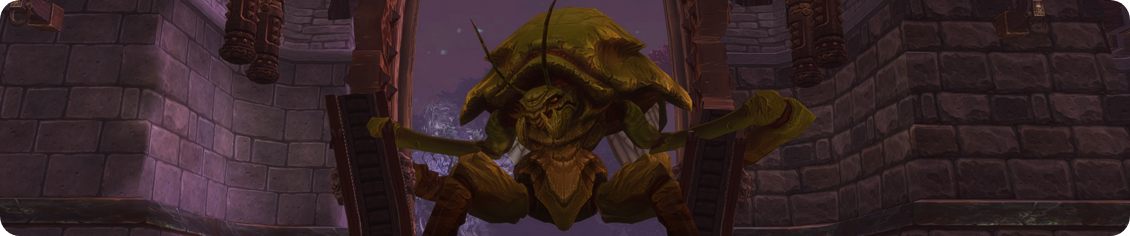
Raigonn is a two-phase encounter that tests a group's ability to manage adds and coordinate target switching. During the first phase, your goal is to destroy Raigonn's Impervious Carapace by attacking a weak spot, all while dealing with waves of dangerous adds. Once the carapace is broken, the fight transitions to a straightforward burn phase where you must defeat the boss before his damage overwhelms your party. Also, be mindful of your Bloodlust/Heroism cooldown. Depending on the group's pace, it might already be available before the fight begins, or it could come off cooldown during the encounter.
Phase 1:
Phase 2:
In summary, success in this encounter hinges on efficient add control and DPS rotation during Phase 1. Prioritize killing the adds, especially the Protectorates, as well as properly countering Screeching Swarm. Once Phase 2 begins, it becomes a race against the clock. The fixated player must kite effectively while the rest of the group uses all their cooldowns to finish Raigonn before his Stomp damage becomes unhealable.
With this walkthrough, you're officially out of excuses. You have the route, the tactics, and the pro-tips needed to conquer Gate of the Setting Sun for a Gold Timer. It's all about repetition and muscle memory from here on out—make every pull count and communicate constantly. We're wishing you a clean run with time to spare.
But if theory isn't translating to practice and the timer remains stubbornly out of reach, don't let frustration end your campaign. Our professional team has mastered this challenge and is ready to lead the charge for you. Reach out, and we'll guarantee you'll walk away with the complete collection of rewards - the exclusive titles, the coveted mount, and the full set of class transmog.