



Leveling in Diablo 4 looks nothing like it did a year ago. Lord of Hatred raised the cap to level 70, rebuilt the difficulty ladder around four base tiers plus Torment I-XII, and shipped War Plans, an activity playlist system that pays you extra loot and experience for chaining the content you were already going to run. As of Season 14 (Death Awakening), a fresh seasonal character levels through Helltides and War Plans almost exclusively; the campaign, side quests, and dungeon grinding of the old route are optional flavor.
The route below runs from the first five minutes of setup to the last Hellwyrm: which War Plan activities to fish for, how the Helltide chest trick works, when Kurast Undercity enters the loop, and the best leveling build for each of the eight classes. Follow it and you go from character creation to level 70 with Torment I unlocked without a single wasted play session.
{ "title": "Diablo 4 Boost", "description": "We help you get the most out of Diablo 4 — bosses, gear, Paragon, and season goals!", "image": "https://conquestcapped.com/guides/image/catalog/banners/d4boost.png", "url": "https://conquestcapped.com/diablo-4/d4-powerleveling/" }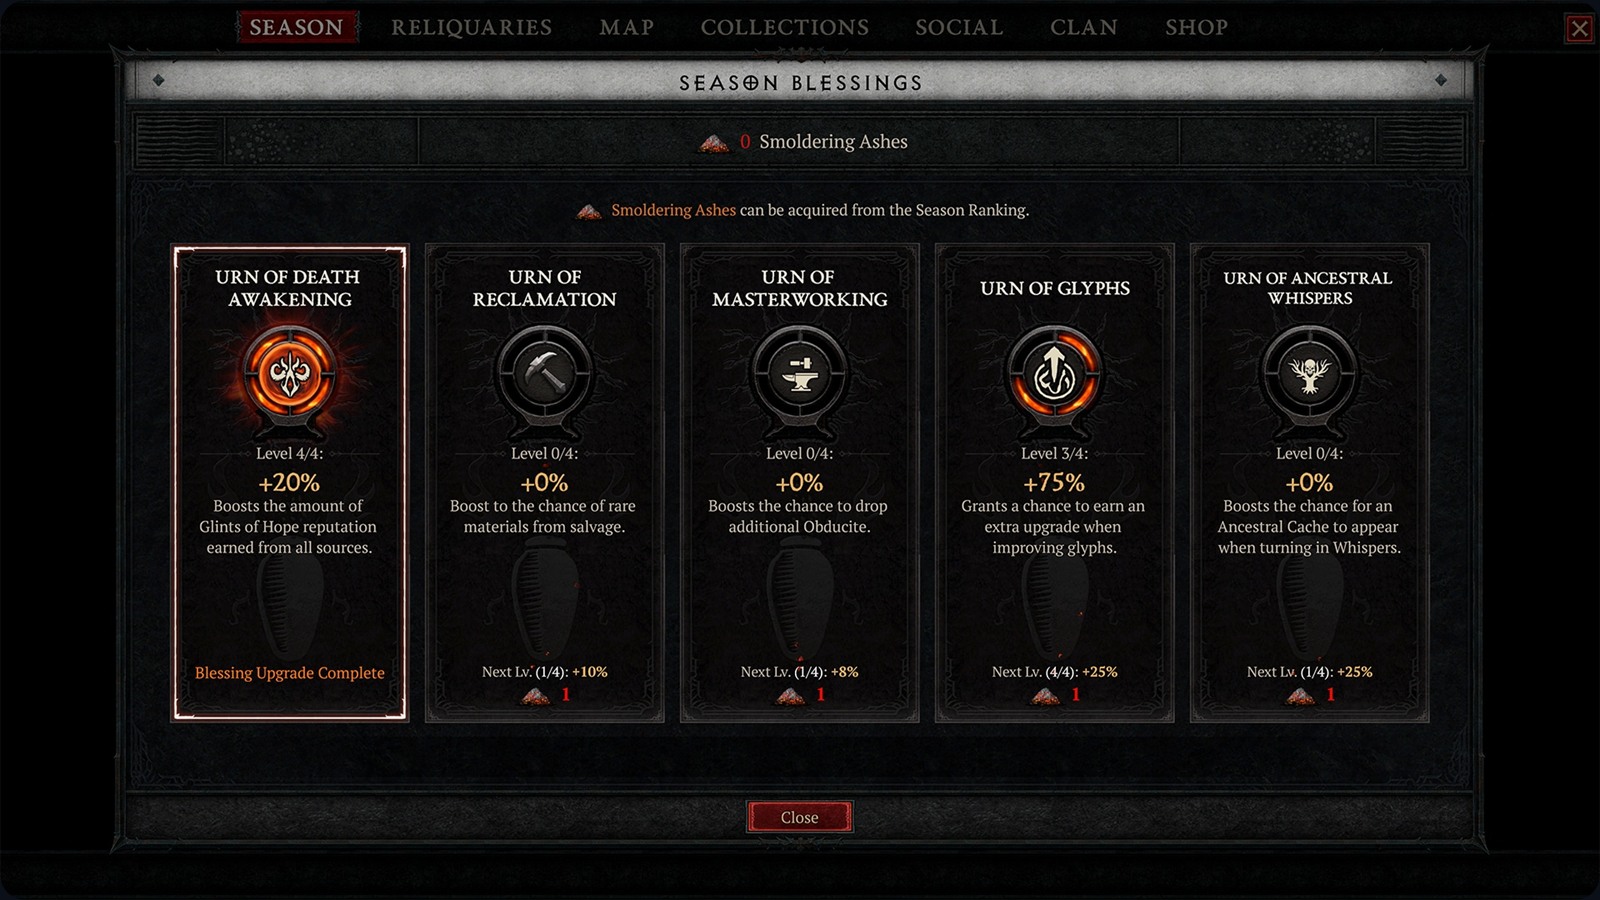
Three systems define the current leveling meta. First, the level cap is 70, and every experience point past it feeds your Paragon board instead. Second, difficulty is a ladder: Normal, Hard, Expert, and Penitent carry you from 1 to 70, while Torment I through XII stay locked until you hit the cap and prove yourself in The Pit. You can change difficulty freely in town; the route below abuses that constantly. Third, War Plans turn leveling into a playlist: you queue activities at the city of Temis, and each completed chain pays out a loot chest plus experience orbs on top of the activity's normal rewards.
Season 14 adds Pandemonium Ruptures on top of that core. Ruptures spawn across the overworld and flood Helltides specifically, which makes the season mechanic and the best leveling activity the same map circle. Season Rank pays out 20 Smoldering Ashes along the way, and they buy upgrades in five Season Blessing urns — seasonal reputation, crafting materials, Obducite, glyph upgrades and Ancestral Whispers. Each urn takes four upgrades worth +5% to +15%, and every one of them quietly speeds up your first endgame week.
The short version: start a War Plan with Helltide activities in it, farm Aberrant Cinders on a low difficulty, open Helltide chests on a high one, and repeat until 70 while Hellwyrms and Kurast Undercity join the rotation. Every bracket below assumes a seasonal character with the Lord of Hatred campaign already cleared on your account — that completion is what lets a level 1 alt skip straight to War Plans.
At level 1, teleport to Temis and open the War Plans table beside Tyrael. You want a plan whose first or second activity is a Helltide; the New Plans button regenerates the offer up to three times, so spend those resets until at least one Helltide sits in the chain. Two is better. Reward-node quality is not what you are fishing for here: rarities climb with your War Plan rank, not with rerolls, so judge an offer purely on how many Helltides it holds.
Plan started? Now ignore it for half an hour. Teleport to the Fields of Hatred: the PvP zones in the Dry Steppes hold some of the densest monster packs in the game, and grinding them to level 8 outpaces anything else available that early. Do not Mark for Blood, since you gain nothing from it while leveling. Staying unmarked stops you attacking anyone, but it does not make you untouchable — a player who has marked themselves can still hunt you, so treat any marked character on your screen as a reason to move on.
From level 8 you are strong enough to work the plan itself. Clear whatever activities sit before the Helltide as fast as possible, then head into the red zone and start killing. Aberrant Cinders drop from everything; special Helltide events and a climbing Threat meter spawn the biggest crowds. Below Torment the game does you a favor here: every Tortured Gift on Normal through Penitent is a Mystery Chest that takes any slot and costs a flat 75 Cinders, where the same chest runs 250 once you are in Torment. Collect 150 and buy nothing yet.
Here's the trick. Cinders farm fastest on Normal, where mobs evaporate. Chest rewards scale with the difficulty you are standing in when you open them. So: farm your 150 Cinders on Normal, portal to town, flip the world to Penitent, come back, and open both chests for the +175% version of a payout you earned at zero risk. You should be around level 13 after the burst. Not there yet? Drop back to Normal and keep farming Helltide until you are.
Knock out any class questline you still owe (skill unlocks are worth the detour), then settle into the loop that carries you the rest of the way:
While this loop runs, feed the Helltide skill tree. Every Helltide completed inside a War Plan levels that tree, and its nodes are the whole reason the loop accelerates: spend your first points on Hellmouth, then Writhe and Rot, then Wretched Vermin. Writhe and Rot is the one that changes the game — it puts Hellwyrms in the zone. The Threat meter runs three levels, Hellwyrms start appearing at level 2, and from that point the strategy inverts: stop farming trash, hold Threat at 2, and hunt worms. Their experience globes are worth more than anything else you can kill at this level.
Two Helltide sideshows deserve a decision rather than a reflex. Grim Favors for the Tree of Whispers and Legion events fire inside Helltide zones; take them when they overlap your path, skip them when they don't. The Accursed Ritual is the opposite call: feeding it Baneful Hearts (two on the lowest tiers, three above) summons the Blood Maiden, and her fight pays gear rather than experience. Save the Hearts for a level 70 farming session and walk past the ritual site while leveling.
At level 25 the Undercity becomes available as a War Plan activity, and it deserves a big share of your plans; aim for Undercity nodes on roughly two of every three plans from there on. Rush the boss on your first few runs to bank tree points, and put them into Jade Epiphany: it pays out experience orbs every time your Attunement level rises mid-run, and the payout scales with world difficulty.
Attunement is the four-stage bar under your minimap, filled by killing, lighting braziers and catching goblins, and stage 1 is the floor for getting any rewards at all. The whole run is a timed sprint against a clock that starts at 120 seconds with no tribute, 75 with a Rare one and 60 with a Legendary, though afflicted enemies add time back. Mobile builds get noticeably more out of that clock than slow ones. Slot a Tribute of Growth whenever you have one: it turns the run's payout into experience, which is exactly what you are shopping for before 70.
At level 40, go shopping. Check the weapon, armor, and jewelry vendors for anything with Maximum Life, armor, or resistances, and repeat the vendor sweep every ten levels; it is the cheapest power spike in the game and almost everyone skips it. Then keep running the same Helltide-plus-Undercity rotation: Hellwyrm globes and Jade Epiphany orbs stay the best experience in the game all the way to 70. Nothing about the route changes in the last thirty levels — it just pays more, because both payouts scale with the difficulty you dare to stand in.
Nightmare Dungeons are the fallback when no Helltide or Undercity is up: prioritize ones with Cursed Chest or Cursed Shrine events (absurd experience for seconds of work) and speedrun at about 80% monster kill — full clears are a trap. Infernal Hordes are the one activity to actively avoid while leveling; a wave cycle takes far longer than anything else pays. They do hand over double activity-tree experience, so a Horde already locked into your plan is worth finishing rather than abandoning — just never fish for one.
Leveling builds are judged on a different axis than endgame ones: movement speed, survivability without aspects, and how hard they hit with zero gear. The table below gives the leading pick per class for Season 14 plus the strongest alternative, because the top of every class list is contested and the second name is often the better fit for how you play. Every build here reaches 70 comfortably; pick the one whose endgame version you actually want to play, since all eight classes have a route that works.
| Class | Leveling Build | Alternative | Why It Levels Well |
|---|---|---|---|
| Rogue | Dance of Knives | Barrage | Channel while moving: the whole screen dies as you reposition. The one build both tier lists put at the top. |
| Necromancer | Raise Skeleton minions | Blood Surge | The army tanks and clears while you loot. Near-zero gear dependence, very safe for Hardcore. |
| Barbarian | Whirlwind | Frenzy Throw | Spin through packs with constant forward motion. Frenzy Throw has the higher ceiling and is the pick if you want ranged safety. |
| Paladin | Blessed Hammer | Shield of Retribution | Spiraling hammers shred dense Helltide packs; the shield build trades clear speed for a body that survives Penitent. |
| Sorcerer | Blizzard | Charged Bolts | Drop storms, keep running. Both routes clear a Helltide pack before it reaches you. |
| Druid | Lightning Storm | Companion Druid | Huge AoE uptime once it ramps; the Companion version trades some speed for pets that body-block. |
| Spiritborn | Quill Volley | Crushing Hand | Piercing volleys with evade-weaving mobility, built for timed Undercity sprints. Crushing Hand is the sturdier grouping option. |
| Warlock | Apocalypse | Demon summons | Rains area damage while your demons cover you; the pure summoner levels nearly as fast and asks for less attention. |
Whatever you pick, one rule is universal: a leveling build is a delivery mechanism for AoE damage and movement speed. Single-target polish, defensive layering, resistance capping — all of that is a level 70 conversation.
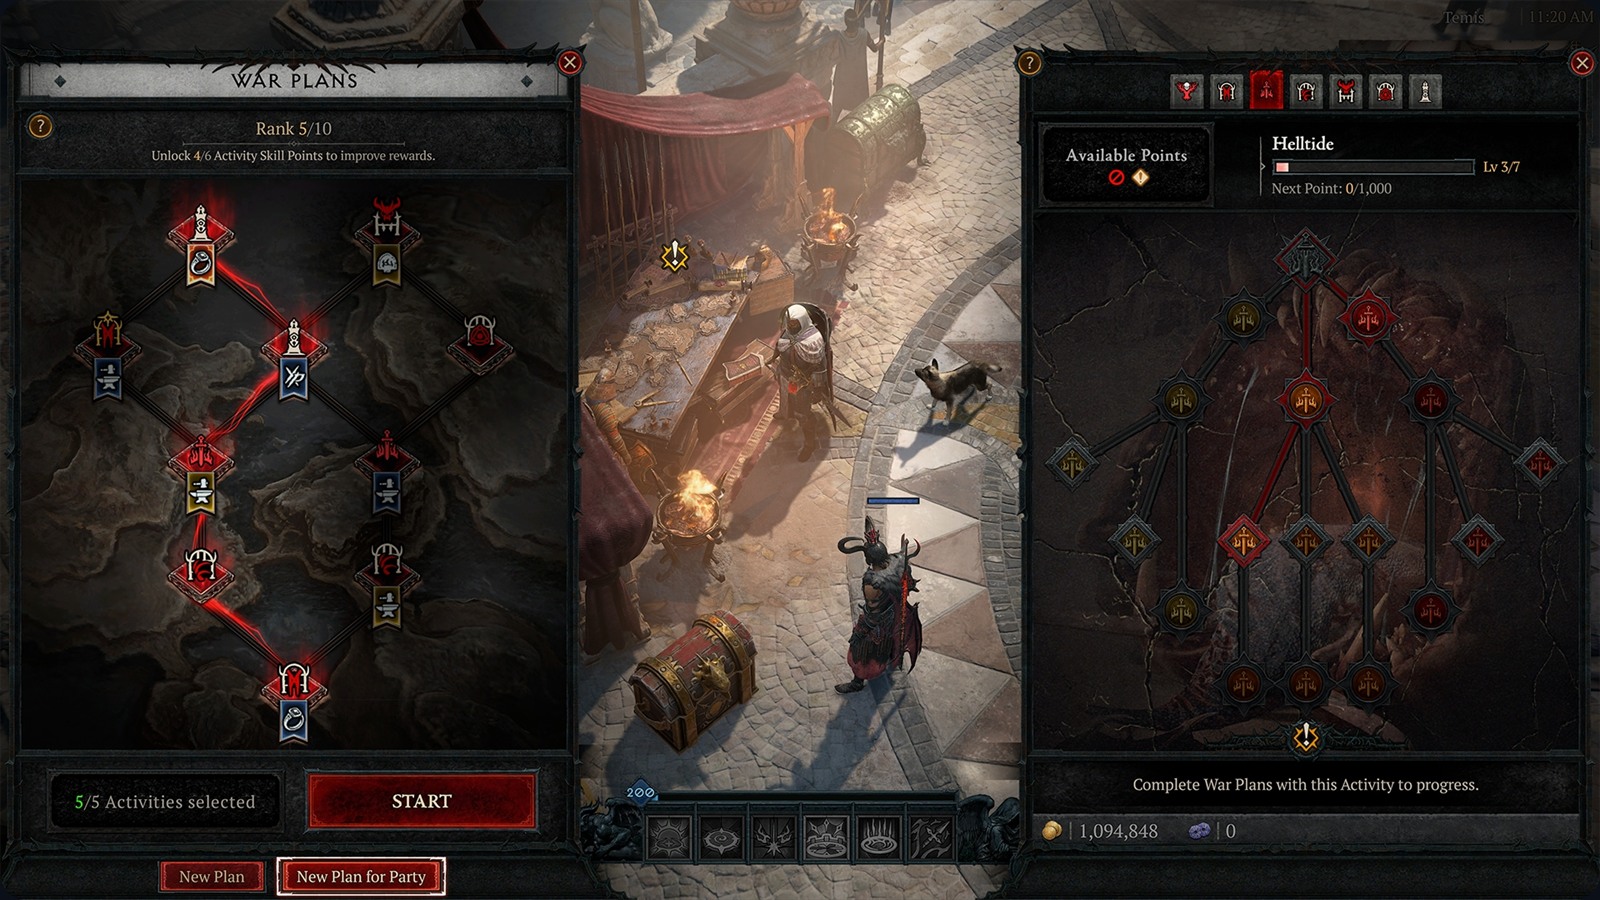
War Plans came with Lord of Hatred and they are the spine of modern leveling. At the War Plans table in Temis you queue a playlist of up to five activities drawn from seven endgame modes: Tree of Whispers, Nightmare Dungeons, Helltides, Kurast Undercity, Lair Bosses, Infernal Hordes, and The Pit. Finishing a plan drops a reward chest with gear, gold, Obols, Obducite, dungeon keys, runes, and materials, plus the experience orbs that matter most while leveling. Reward nodes come in Magic, Rare, Legendary and Mythic quality, and the good rarities arrive as your War Plan rank climbs, which is a reason to keep completing plans rather than abandoning the ones that turn out mediocre.
Each of the seven activities also has its own seven-level skill tree, one point per level, spent on nodes that reshape the activity itself. Completing an activity inside a plan feeds its tree, and that payout follows the difficulty you ran it on, which is the one argument for not living permanently on Normal.
| Difficulty | Standard Activity | Infernal Hordes | Greater Helltide |
|---|---|---|---|
| Normal | 25 | 50 | 75 |
| Hard | 31 | 62 | 94 |
| Expert | 37 | 75 | 113 |
| Penitent | 43 | 87 | 131 |
| Torment I-XII | 50-150 | 100-300 | 150-450 |
Infernal Hordes pay double and a Greater Helltide triple, which is the exception that keeps a Horde worth finishing once it is in your chain. Two trees carry the leveling route:
Two of the seven trees are not even open to you yet, which simplifies the choice: the Lair Boss tree needs Torment I, and the Pit tree waits on Season Rank 2. Pour everything into Helltide and Undercity instead. When a plan offers branching reward paths, take experience orbs first while leveling; dungeon keys, Obols, and Horadric Cube materials are the endgame-facing picks. And use your resets: a plan without a Helltide in it is a plan you fix before starting, not after.
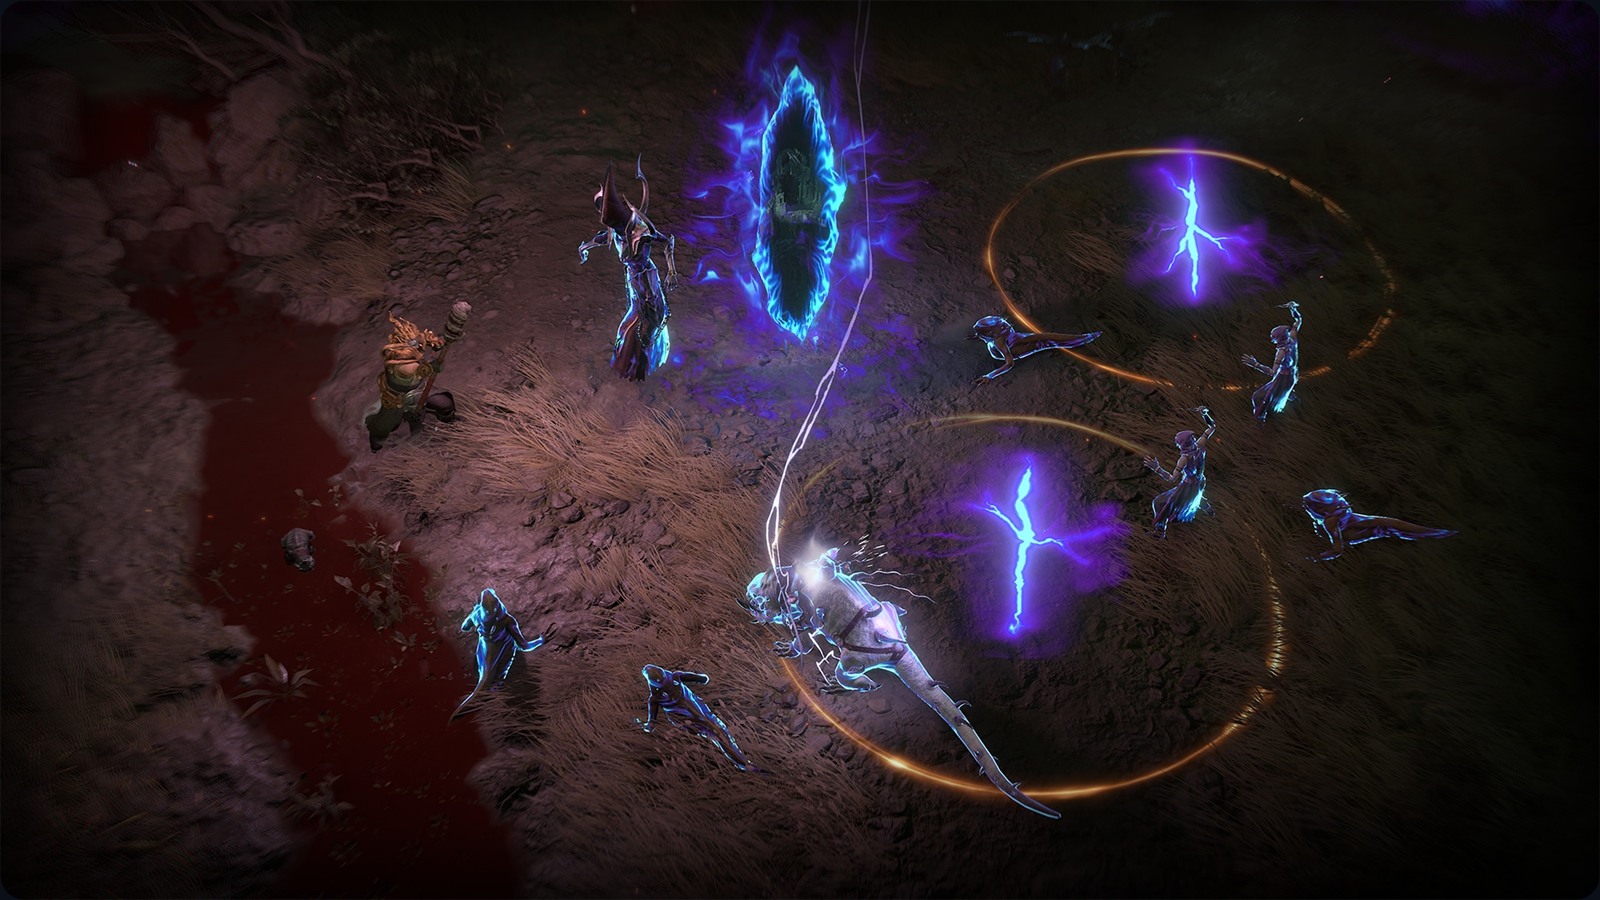
Pandemonium Ruptures are Season 14's mechanic, and their design happens to feed the leveling route directly: Ruptures spawn across the overworld but are especially common in Helltides, and Surging Ruptures outright replace the local events inside a Helltide zone. You keep a Rupture open by killing the monsters pouring out of it and closing the Tears it spawns — the longer it stays open, the bigger the final payout. Since you are living in Helltides from level 8 anyway, run every Rupture your path crosses. Free density, free rewards.
Closing Ruptures awards Glints of Hope, the season's reputation currency, redeemed at the Seasonal Reputation Board for account perks and caches. The board sits in Zarbinzet, and a second one now stands in Temis, so you no longer have to leave your leveling hub to cash in. Feeding Smoldering Ashes into the Urn of Death Awakening raises seasonal reputation from every source by up to 15% across its four upgrades, which makes it the first urn worth filling.
Ruptures come in three sizes and only two of them matter for the season's headline chase. Normal Ruptures never summon anything; completing a Surging Rupture with Mastery has a chance to; a Colossal Rupture guarantees it. Colossals open in the Fields of Desecration, the World Boss arena south-east of Zarbinzet, roughly every 20 minutes — endgame territory while you are still climbing, so treat the Surging ones inside your Helltide as your lane. What you summon is a Realmwalker, rebuilt for this season, and killing it opens a portal to a Deathtoll Chamber: a one-room mini-dungeon with its own Rupture event and a dense reward pile.
One caveat: this is seasonal content. The Ruptures, the reputation board, and the Glint economy leave when Season 14 ends — the War Plan and Helltide core of this guide does not.
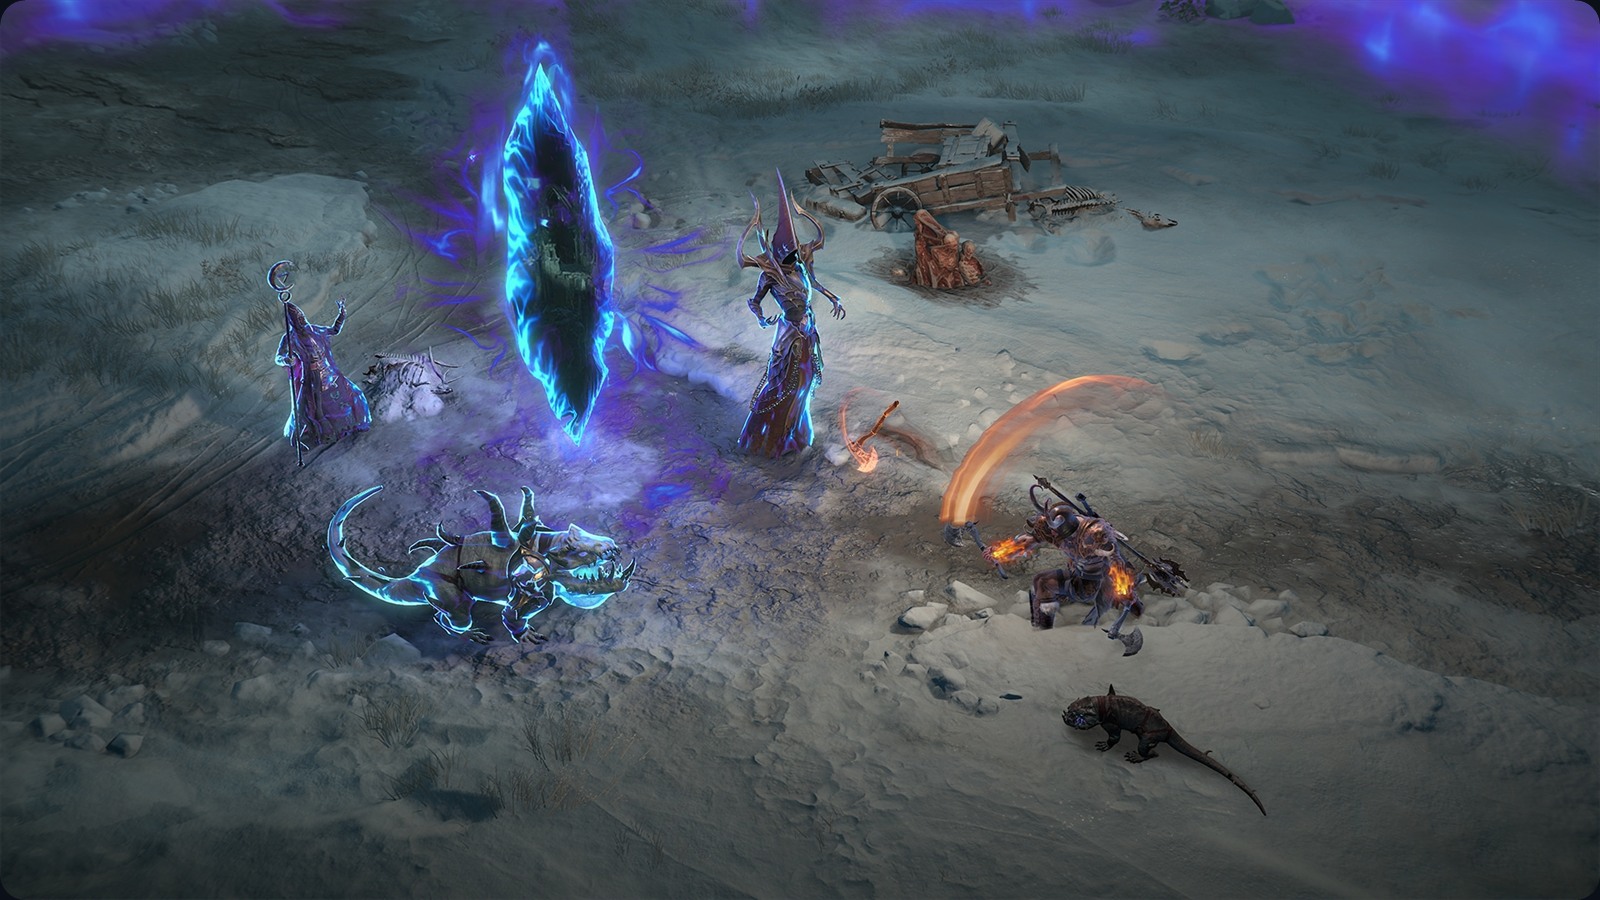
A Pandemonium Rupture tearing open in the overworld
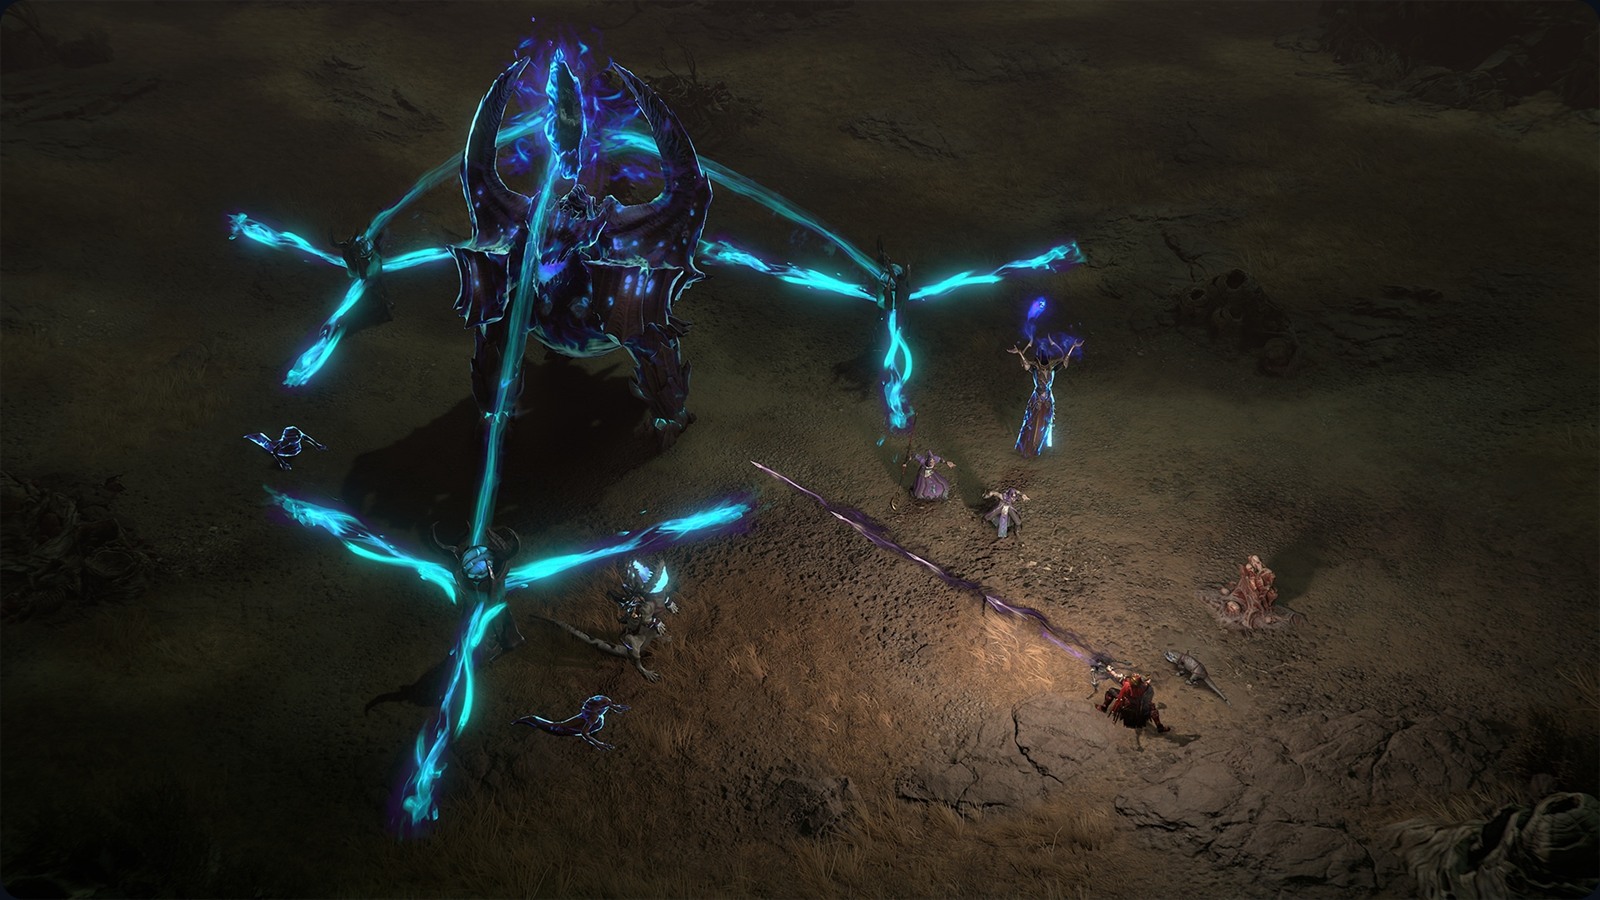
The Realmwalker: kill it for a Deathtoll Chamber portal
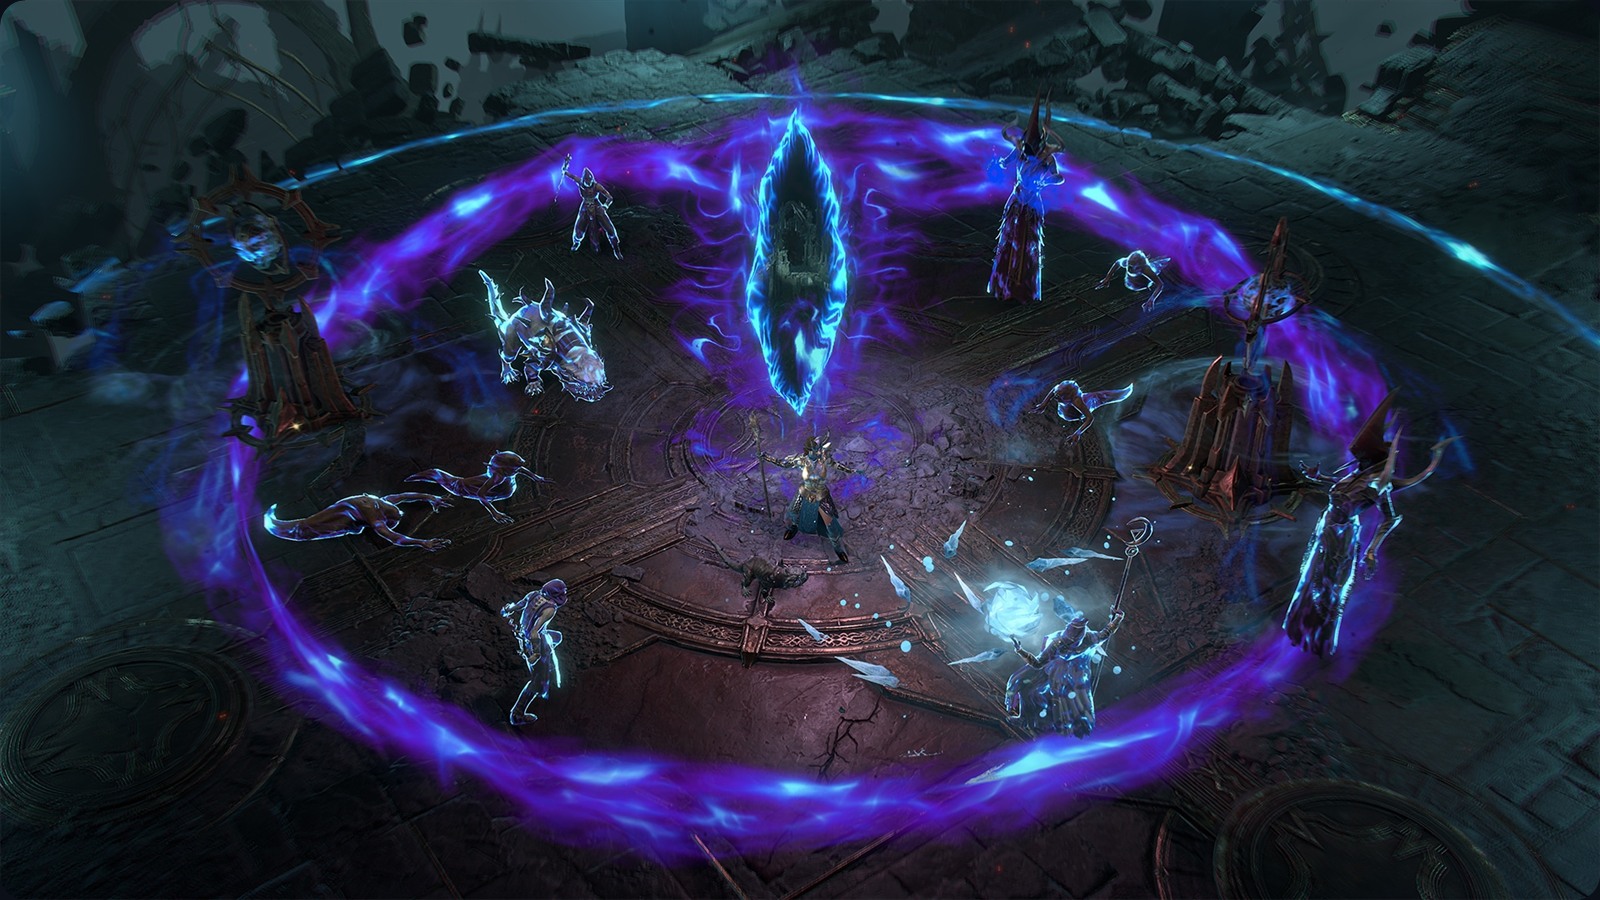
Deathtoll Chamber: one room, one Rupture, a pile of rewards
Difficulty choice dwarfs every other bonus in the game, and it is the one you control from the character-select screen. The small buffs still earn their slot because they ride on top of it for free. The table covers what actually moves your bar in Season 14; these bonuses apply to monster-kill experience, not quest turn-ins.
| Source | Bonus | Notes |
|---|---|---|
| Hard difficulty | +75% XP and gold | The leveling default from level 1. |
| Expert difficulty | +125% XP and gold | Switch once Hard feels like overkill. |
| Penitent difficulty | +175% XP and gold | Chest-opening tier; farm lower, open here. |
| Torment I-XII | +300% to +1400% | +100% per tier. Needs level 70 and Pit progress. |
| Experience elixir | +5%, advanced +8% | One elixir active at a time; craft from herbs. |
| Incense | +5% | Stacks with an elixir, not with a second incense. |
| Nearby player | +5% | Anyone in range counts, party or not. |
| Party member | +10% | Within 90 m outdoors; no range limit inside a dungeon. |
| Campfire | +15% | Builds over two minutes at zone-event sites. |
| Hellwyrm and Jade Epiphany globes | Flat XP drops | The War Plan tree payoffs; the route's real engine. |
Practical takeaway: an advanced elixir, an incense and a party member are three separate bonuses of 8%, 5% and 10% riding on top of your difficulty bonus for nearly zero effort, and the campfire adds another 15% every time you pass a zone event. Duo leveling is the underrated one on that list — a partner is the only bonus here that also makes the Helltide itself go faster, since two people fill the Threat meter and clear Rupture monsters at roughly twice the rate.
Gear discipline while leveling is mostly about what to ignore. Nothing you equip before 70 survives contact with Ancestral drops in Torment, so spend accordingly.
The bar fills, Paragon opens, and the game hands you a new checklist. Season Rank is the first stop: its nine ranks carry 14 skill points and 42 Paragon points along with 20 Smoldering Ashes, and those are raw power, not cosmetics. The skill points all sit in Ranks 1 through 5, the Paragon points in Ranks 3 through 7, so the early ranks are worth clearing deliberately rather than by accident. The Rank 2 capstone, Hellish Descent, is the gate that opens both The Pit and The Tower.
From there the ladder is mechanical. Clear Pit tier 10, visit the World Statue, and flip to Torment I, where Ancestral gear starts dropping and monster-kill experience jumps to +300%; every further Torment tier is another Pit clear, five tiers apart at first and ten apart later. Then the loop becomes Paragon levels, glyph leveling, Masterworking, and the season's headline trick — upgrading a spare Unique to Mythic quality at the Horadric Cube for four Pandemonium Fragments.
Your leveling build usually survives the transition in "starter" form for a few Torment tiers, then wants its endgame rework: full aspect set, tempered affixes, a real Paragon board order. That rebuild, plus glyphs, is where the honest grind lives. The 1-70 was the tutorial; Sanctuary just stopped being polite.
With the War Plan and Helltide route, a player who knows the loop and fishes for Helltide plans lands around the 90-minute mark. Two to three hours is the realistic solo number for everyone else, and a relaxed pace that also plays the seasonal story spreads across a weekend. The campaign-first path for newcomers takes considerably longer; the story alone is a multi-evening commitment.
If you have finished the Lord of Hatred campaign on any character: yes, skip. Skipping drops you into the densest content at level 1 and is the only way to use War Plans from the start. If you have never played the campaign, you cannot skip your way into War Plans anyway: play the story once and enjoy it, since it pays respectable experience too.
Hard, as the baseline. Move up to Expert or Penitent when you are overkilling everything on screen, and drop back down the moment kill speed suffers — a difficulty where mobs die instantly is always more experience per hour than one where they don't. The exception is Helltide chests: open those on Penitent regardless of where you farmed the Cinders.
No, avoid them until level 70. A full wave cycle takes several times longer than a Helltide or Undercity slot in the same War Plan and pays no better while leveling. Reroll them out of your plans when you can.
Indirectly. Ruptures are extra monster density and rewards inside Helltides you were already farming, and their Glints of Hope buy reputation perks that compound over the season. They are worth clearing on your path, but they are a garnish; Hellwyrms and Tortured Gift chests remain the actual experience engine.