
Serpentshrine Cavern is one of two raids introduced in The Burning Crusade Classic Anniversary Phase 2. More complex than Gruul’s Lair or Magtheridon’s Lair, this instance allows the heroes of Azeroth to gear up with Tier 5 set tokens and non-set items of item level 128+. Below, we’ll go over everything you need to know before storming the cavern — from the boss list and tactics to the exact loot tables.
Serpentshrine Cavern is a 25-player raid located in Zangarmarsh's Coilfang Reservoir, where the corrupted naga Lady Vashj serves as the final boss among six challenging encounters. To get access to the raid, players have to obtain the key called The Mark of Vashj from Gruul's Lair and Nightbane, and we’ll talk about the attunement down below. The raid features unique mechanics like fishing out The Lurker Below from his pool, resistance-gear requirements for tanks, and drops Tier 5 set tokens alongside item level 128+ gear.
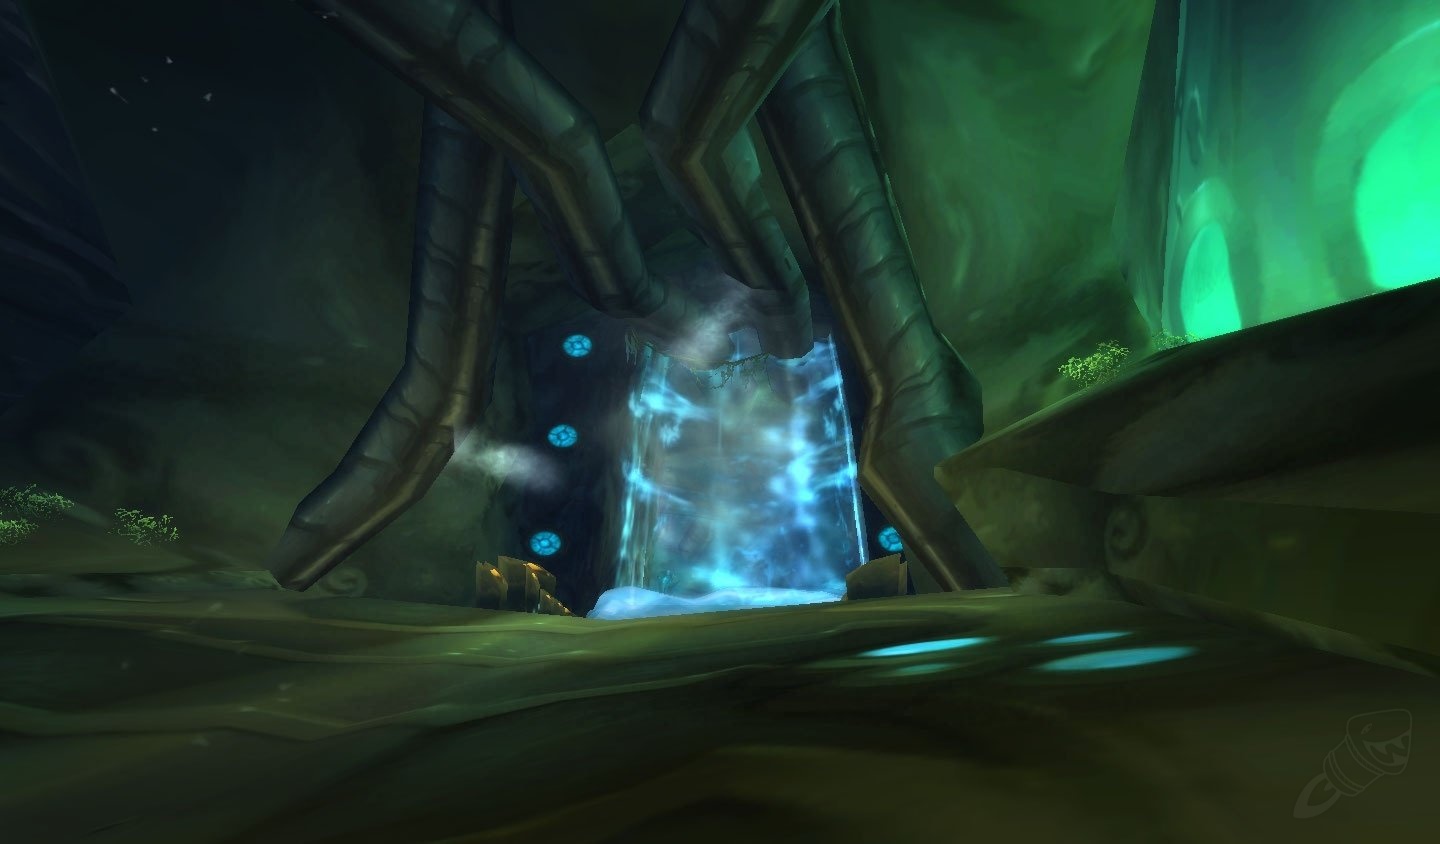
To find the entrance to Serpentshrine Cavern, you should go to Zangarmash lake (/way 50.5 41.0).
If you don’t want to get to your destination on foot, you can always use the service of the Alliance Flight Master Munci in Telredor (/way 61.6 39.6), or the Horde Flight Master Du'ga in Zabra'Jin (/way 61.6 39.6).
As mentioned, there is a specific attunement which allows you to get access to the first raid from the Phase 2 of the Burning Crusade Classic Anniversary. To get The Mark of Vashj, you have to complete the following steps:
Serpentshrine Cavern is a non-linear raid, allowing you to defeat the first several bosses in your chosen order. However, be aware that you can only access the final boss, Lady Vashj, after defeating all the other encounters. Let's take a look at the main bosses below:
Be aware that you can kill the bosses in different order.
Sure, Serpentshrine Cavern bosses aren't nearly as complicated as what you'll see in later expansions, but they'll still punish an unprepared raid. So, let's cover the essential mechanics of each fight and the strats to make them a breeze. Fast tactics for fast clears!
As a representative of the Phase 2 raids, Serpentshrine Cavern is a great source of Tier 5 set tokens. These tokens can be exchanged for gloves, legs, and helms with an item level of 133. In addition, both bosses drop non-set items at item level 128, while Lady Vashj rewards players with a 138 ilvl loot.
Down below, you can take a closer look at the exact raid boss loot tables.
| Item | Slot | Type |
|---|---|---|
| Fathomstone | Held In Off-hand | Off-hand Frill |
| Wraps of Purification | Wrist | Cloth Armor |
| Living Root of the Wildheart | Trinket | Trinket |
| Scarab of Displacement | Trinket | Trinket |
| Band of Vile Aggression | Finger | Ring |
| Blackfathom Warbands | Wrist | Mail Armor |
| Boots of the Shifting Nightmare | Feet | Cloth Armor |
| Brighthelm of Justice | Head | Plate Armor |
| Pauldrons of the Wardancer | Shoulder | Plate Armor |
| Ranger-General's Chestguard | Chest | Mail Armor |
| Ring of Lethality | Finger | Ring |
| Robe of Hateful Echoes | Chest | Cloth Armor |
| Shoulderpads of the Stranger | Shoulder | Leather Armor |
| Idol of the Crescent Goddess | Relic | Idol |
| Item | Slot | Type |
|---|---|---|
| Mallet of the Tides | Main Hand | One-Handed Mace |
| Boots of Effortless Striking | Feet | Leather Armor |
| Grove-Bands of Remulos | Wrist | Leather Armor |
| Ancestral Ring of Conquest | Finger | Ring |
| The Seal of Danzalar | Finger | Ring |
| Cord of Screaming Terrors | Waist | Cloth Armor |
| Glowing Breastplate of Truth | Chest | Plate Armor |
| Choker of Animalistic Fury | Neck | Amulet |
| Bracers of Eradication | Wrist | Plate Armor |
| Velvet Boots of the Guardian | Feet | Cloth Armor |
| Earring of Soulful Meditation | Trinket | Trinket |
| Tempest-Strider Boots | Feet | Mail Armor |
| Libram of Absolute Truth | Relic | Libram |
| Item | Slot | Type |
|---|---|---|
| Gloves of the Vanquished Hero | Armor Token | |
| Gloves of the Vanquished Defender | Armor Token | |
| Gloves of the Vanquished Champion | Armor Token | |
| Girdle of the Invulnerable | Waist | Plate Armor |
| Coral-Barbed Shoulderpads | Shoulder | Mail Armor |
| Fang of the Leviathan | Main Hand | One-Handed Sword |
| Orca-Hide Boots | Feet | Leather Armor |
| True-Aim Stalker Bands | Wrist | Mail Armor |
| Tsunami Talisman | Trinket | Trinket |
| Item | Slot | Type |
|---|---|---|
| Leggings of the Vanquished Hero | Armor Token | |
| Leggings of the Vanquished Champion | Armor Token | |
| Leggings of the Vanquished Defender | Armor Token | |
| Bloodsea Brigand's Vest | Chest | Leather Armor |
| Fathom-Brooch of the Tidewalker | Trinket | Trinket |
| Frayed Tether of the Drowned | Neck | Amulet |
| Sextant of Unstable Currents | Trinket | Trinket |
| World Breaker | Two-Hand | Two-Handed Mace |
| Soul-Strider Boots | Feet | Cloth Armor |
| Item | Slot | Type |
|---|---|---|
| Mantle of the Tireless Tracker | Shoulder | Mail Armor |
| Pauldrons of the Argent Sentinel | Shoulder | Plate Armor |
| Razor-Scale Battlecloak | Back | Cloak |
| Warboots of Obliteration | Feet | Plate Armor |
| Ring of Sundered Souls | Finger | Ring |
| Band of the Vigilant | Finger | Ring |
| Illidari Shoulderpads | Shoulder | Cloth Armor |
| Talon of Azshara | One-Hand | One-Handed Sword |
| Pendant of the Lost Ages | Neck | Amulet |
| Serpent-Coil Braid | Trinket | Trinket |
| Girdle of the Tidal Call | Waist | Mail Armor |
| Gnarled Chestpiece of the Ancients | Chest | Leather Armor |
| Luminescent Rod of the Naaru | Ranged | Wand |
| Item | Slot | Type |
|---|---|---|
| Helm of the Vanquished Hero | Armor Token | |
| Helm of the Vanquished Defender | Armor Token | |
| Helm of the Vanquished Champion | Armor Token | |
| Belt of One-Hundred Deaths | Waist | Leather Armor |
| Coral Band of the Revived | Finger | Ring |
| Fang of Vashj | One-Hand | Dagger |
| Glorious Gauntlets of Crestfall | Hands | Plate Armor |
| Krakken-Heart Breastplate | Chest | Plate Armor |
| Lightfathom Scepter | Main Hand | One-Handed Mace |
| Prism of Inner Calm | Trinket | Trinket |
| Ring of Endless Coils | Finger | Ring |
| Cobra-Lash Boots | Feet | Mail Armor |
| Runetotem's Mantle | Shoulder | Leather Armor |
| Serpent Spine Longbow | Ranged | Bow |
| Vestments of the Sea-Witch | Chest | Cloth Armor |
Good luck hunting for your desired rewards, conqueror! And don’t forget to check our Tempest Keep guide or use Serpentshrine Cavern service to gear up without raid preparations.