
Trial of Chaos in Path of Exile 2 is a high-stakes gauntlet where you tackle up to ten escalating rooms while stacking self-chosen Tribulation modifiers. Each round asks you to complete an objective, then tempts you with another modifier that makes the rest of the run tougher in exchange for richer rewards. It’s a test of judgement as much as power: pick the penalties your build can absorb, decide when to push, and know when to cash out. Conquer a full run and you’ll walk away with valuable loot and progress toward Ascendancy - all without ever touching a trap gauntlet.
This guide gives you a clean, practical path to mastering the system: how to access trials and read the room rotation, which modifiers to prioritize (or avoid) for different archetypes, and how to turn risk into profit. You’ll get concise breakdowns of the mid-trial bosses - Uxmal, Chetza, and Bahlak - plus a step-by-step plan for defeating the Trialmaster, securing his unique rewards, and leveraging fragments and Soul Cores to power up your character. If you want fast, repeatable success, start here.
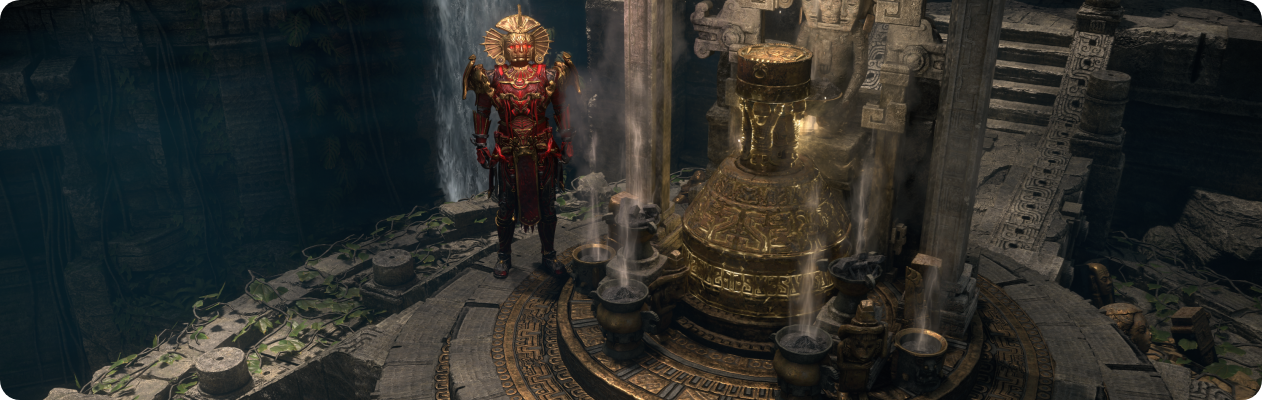
Your first encounter with the Trial of Chaos comes in Act 3 of the campaign. After defeating Xyclucian, the Chimera, in the Chimeral Wetlands, the boss will drop a quest item called the Chimeral Inscribed Ultimatum. This item is your ticket to the Trial of Chaos. Nearby in the Wetlands, you’ll find the Temple of Chaos – a area with an Offering Altar. Simply interact with the altar and slot in the Inscribed Ultimatum to begin the trial. (The quest Ultimatum isn’t consumed on failure, so you can retry until you succeed.)

Each Trial of Chaos consists of a series of encounters. A full trial can have up to 10 rooms, with increasingly difficult content and special boss fights at set intervals. Early trials in the story are shorter – for example, the Act 3 quest trial is 4 rooms long and culminates in one boss. Later on, you can find or trade for higher-tier Inscribed Ultimatums that offer 7-room and 10-room Trials of Chaos.
The twist that defines the Trial of Chaos is that after each encounter, you must choose one of three special modifiers that will apply to every remaining room in the trial. Some make enemies stronger (for example, giving monsters increased damage, speed, or extra abilities), others weaken your character (reducing your defenses or life recovery), and many introduce dangerous environmental hazards in subsequent rooms. Every modifier you pick also adds an extra reward to the final chest, previewed upfront. If you fail the trial, you forfeit all accumulated rewards – so success means walking a fine line between greed and survival.
Especially in longer trials, the difficulty can scale wildly depending on which mods you’ve stacked. A “clean” 10-room trial with mild modifiers might be very manageable, whereas a run where you’ve accidentally combined several brutal effects can become nearly impossible to survive. The key to how the Trial of Chaos works is learning to choose modifiers wisely and leveraging your build’s strengths. Fortunately, you are never forced to take a specific penalty – you always get a choice of three, and you can often steer towards “easier” ones that your character can handle.
Before choosing a modifier, you’ll see a quick preview of the reward you just added to the loot pool. Then you proceed into the next room and face its challenge with all the modifiers you’ve accrued so far. This loop repeats until you finish the final encounter. Survive the gauntlet, and you’ll claim everything in the chest.

When it comes to modifiers, you'll need to demonstrate knowledge of your build's strengths and weaknesses to choose the best options available. For example, if you know you have excellent mob clearing speed but lack single-target damage, you should try to avoid the Enraged Bosses modifier. Alternatively, if you're playing a build that uses the Chaos Inoculation keystone, the Chaotic Monsters modifier will simply have no effect on you. There are no strict rules to follow when choosing modifiers; just try to make the choice that will have the least negative impact on your build.
Furthermore, some modifiers can even be turned to your advantage, especially in the endgame. If you are farming a high-level Trial of Chaos, the Lethal Rare Monsters modifier can, albeit slightly, increase your chances of receiving a valuable reward. Or, if you are playing a well-geared character and use the Rakiata's Flow Lineage Support Gem in your build, the "Resistant Monsters" modifier will significantly increase your damage.
You can find a complete list of all modifiers by expanding the spoiler section below:
| Modifier | Effect | |
|---|---|---|
 |
Blood Globules | Tier I: Globules of blood manifest nearby, tracking you. When above you they will fall, dealing Physical damage. Tier II: Globules of blood manifest nearby, tracking you. When above you they will fall, dealing Physical damage and creating damaging blood ground. |
 |
Blood Mist | Challenge area is enshrouded by a blood mist which makes monsters within it immune to damage. |
 |
Burning Turrets | Tier I: Challenge area contains turrets that periodically fire projectiles straight ahead. Tier II: Challenge area contains turrets that periodically fire barrages of fire projectiles ahead. |
 |
Chaotic Monsters | Tier I: Monsters gain 20% of damage as extra Chaos damage. Tier II: Monsters gain 50% of damage as extra Chaos damage. |
 |
Deadly Monsters | Tier I: Monsters have 300% increased Critical Strike Chance. Tier II: Monsters always deal Critical Strikes. |
 |
Damaged Defences | Tier I: 40% less Armour, Evasion and Energy Shield. Tier II: 75% less Armour, Evasion and Energy Shield. |
 |
Drought | Monsters grant no Flask and Charm charges on death. |
 |
Enraged Bosses | Bosses deal increased damage and take reduced damage. |
 |
Entangling Monsters | Monsters inflict Grasping Vines on Hit. |
 |
Escalating Damage Taken | In each encounter room, damage you take increases by 1% per second, up to a maximum of 50%. |
 |
Heart Tethers | Tier I: Bloody hearts apply tethers that Slow you; breaking the tether Stuns you. Tier II: Bloody hearts apply tethers that Slow you; breaking the tether Stuns you and makes you vulnerable to damage for a duration. |
 |
Impending Doom | Tier I: Rings of Doom expand on the ground and explode for Physical damage at maximum size. Tier II: Rings and circles of Doom expand on the ground and explode for Physical damage at maximum size. |
 |
Lessened Reach | 50% less Area of Effect and 50% less Projectile Speed for monsters and hazards in the challenge area. |
 |
Lethal Rare Monsters | Rare Monsters have 1 additional modifier. 30% increased number of Rare Monsters. |
 |
Monster Speed | Monsters gain 20% increased Skill Speed (faster actions and attack/cast rates). |
 |
Occasional Impotence | You and your Minions deal no damage for 2 seconds every 8 seconds (damage-suppression pulses). |
 |
Petrification Statues | Tier I: Several statues petrify you if you remain in their gaze long enough. Tier II: Several statues petrify you quickly and for a longer duration if you remain in their gaze briefly. |
 |
Random Projectiles | Your projectiles fly in random directions. Monsters fire additional projectiles. |
 |
Reduced Recovery | Tier I: 40% reduced Life, Mana, and Energy Shield recovery rate (regen, flasks, recharge). Tier II: 75% reduced Life, Mana, and Energy Shield recovery rate. |
 |
Reduced Resistances | Tier I: −15% to Elemental Resistances and −10% to Maximum Elemental Resistances. Tier II: −30% to Elemental Resistances and −20% to Maximum Elemental Resistances. |
 |
Resistant Monsters | Monsters have +40% to all Elemental and Chaos Resistances. |
 |
Shielding Monsters | Monsters are protected by Energy Shield (additional ES layer on enemies). |
 |
Shocking Turrets | Tier I: Challenge area contains turrets that periodically fire lightning projectiles ahead. Tier II: Challenge area contains turrets that periodically fire a wave of lightning projectiles ahead. |
 |
Stalking Shade | Tier I: An invulnerable shade stalks you, inflicting Ruin with melee hits. Fail the trials at 7 Ruin. Tier II: The shade moves faster and inflicts Ruin with melee and projectile hits. Fail at 7 Ruin. Tier III: The shade moves even faster and inflicts Ruin with powerful melee and projectile hits. Fail at 7 Ruin. |
 |
Stormcaller Runes | Tier I: Runes appear that call down deadly lightning storms if you remain inside them. Tier II: Large runes appear that call down deadly lightning storms if you remain inside them. Tier III: Many large runes appear that call down deadly lightning storms if you remain inside them. |
 |
Temple Traps | Tier I: Spikes on the floor deal Physical damage when stepped on. Tier II: Many spikes on the floor deal Physical damage when stepped on. |
 |
Time Paradox | Buffs expire three times faster, while Debuffs expire three times slower. |
 |
Toxic Monsters | Monster hits always inflict Bleeding and Poison. |
 |
Unstoppable Monsters | Monsters cannot be Slowed and cannot be Stunned. |
 |
Vaal Omnitect | Tier I: An ancient Vaal machination deploys attacks against intruders. Tier II: The machination deploys an array of varied attacks. Tier III: The machination deploys a powerful array of attacks against intruders. |
 |
Volatile Fiends | Monsters release deadly volatile orbs on death; Rare monsters leave larger, more damaging volatiles. |
There's a strong connection between modifiers and the types of encounters you'll face. The catch, however, is that the rooms are random, so you can't perfectly tailor your modifier choices for the upcoming fight. But there's a pattern: the game selects the encounter type based on the current round. This allows you to make an educated guess about what's coming next.
Below is a breakdown of all possible encounters and the rounds where they can show up:
| Round 1 | Round 2 | Round 3 | Round 4 | Round 5 |
|---|---|---|---|---|
| Defeat all the Monsters |
Survive until the Timer Expires |
Escort the Statue or Collect all the Soul Cores |
Defeat the Boss |
Defeat all the Monsters or Survive until the Timer Expires |
| Round 6 | Round 7 | Round 8 | Round 9 | Round 10 |
| Sacrifice Monsters to the Altar by slaying them in the Blood Circles or Collect all the Soul Cores |
Defeat the Boss |
Defeat all the Monsters or Survive until the Timer Expires |
Sacrifice Monsters to the Altar by slaying them in the Blood Circles or Escort the Statue |
Defeat the Boss |
As mentioned earlier, when you choose a modifier, you will be presented with a reward that gets added to the final reward chest. This chest can be opened after completing the final trial required by the Inscribed Ultimatum you used to start the Trial of Chaos.
However, if you come across a particularly rare reward that you absolutely want to secure, you can interrupt the run and claim all the rewards you have earned so far. To do this, during modifier selection, click the "Preview Rewards" button, and then click the "Take Reward" button in the window that opens.
The list of rewards includes Corrupted Rare and Unique Items, Currency, and exclusive Soul Cores that can only be obtained in the Trial of Chaos, some of which are especially valuable. Rewards are distributed according to specific rules: namely, for the first three rooms, you receive one Corrupted Rare or Unique Item for each completed room. Each boss grants a random Soul Core, and rooms 5, 6, 8, and 9 will always award some type of currency. In addition, when completing a level 75+ Inscribed Ultimatum, the boss killed in the 10th round will drop one of three Fate fragments, which we will discuss later.
When you complete a level 75+ Inscribed Ultimatum, the boss in the final room will drop one of three Fates. The specific Fate that drops depends on which boss is in the room, and the bosses are assigned to these rooms randomly. You will need these fragments to access the final boss of the Trial of Chaos - the Trialmaster. At zone level 80, these bosses have a health pool of approximately 1.2 million.
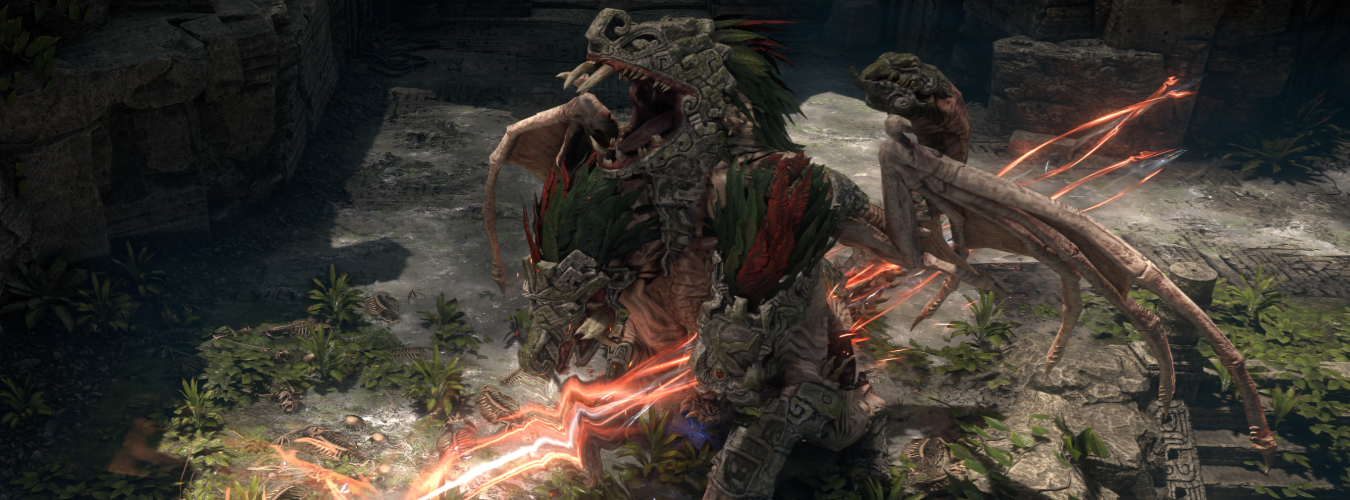
Uxmal, the Beastlord
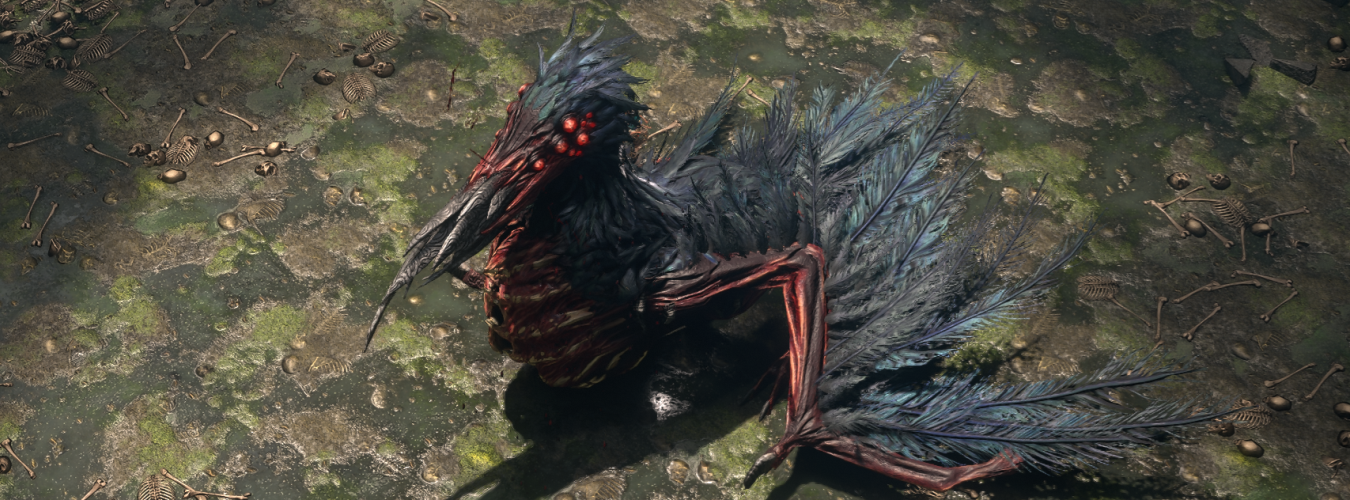
Chetza, the Feathered Plague
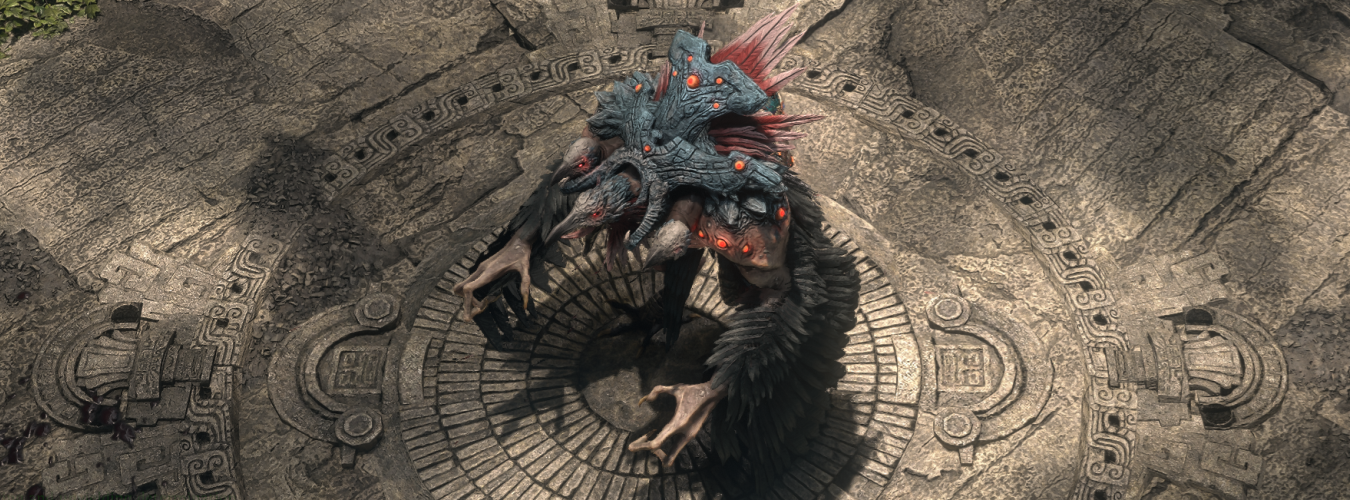
Bahlak, the Sky Seer
Uxmal, the Beastlord, is a versatile elemental powerhouse whose primary mechanic is tied to the multi-tiered arena itself. The entire encounter is a dynamic test of a player's ability to adapt, as Uxmal's environmental attacks change depending on which of the three levels you are fighting on. Mastering this fight means mastering the ground beneath your feet and understanding how each unique hazard will influence your strategy.
Abilities:
The fight with Chetza is a battle of chaos-tinged attrition. The arena becomes progressively cluttered with hazardous ground effects, while debuffs slow you down and pin you in place. This is a kiting encounter where your priority must be survival and pathing first, damage second. You must always be ready to reposition before her ground patterns fully form, as getting caught in overlapping hazards is a quick death.
Abilities:
Bahlak, the Sky Seer, is a master of aerial and elemental combat, presenting a dynamic challenge that tests a player's spatial awareness and reaction time. This encounter is defined by constant movement, forcing you to navigate a battlefield cluttered with lightning hazards while evading powerful, unblockable dive attacks. Victory demands a proactive approach, focusing on identifying attack cues and positioning yourself in the small pockets of safety his patterns create.
Abilities:
To challenge the final boss, you first need to run a level 75+ Inscribed Ultimatum and successfully clear all 10 of its rooms. Alongside this, you'll need to get your hands on three fragments: Cowardly Fate, Deadly Fate, and Victorious Fate. You can either farm these yourself or simply buy them from the trade site. Once you've beaten the final room, you can socket the three fragments into the door, granting you access to The Trialmaster's Tower. In a level 80 zone, the boss has slightly more than 3 million health.
The Trialmaster is the ultimate test of a player's mechanical skill, presenting a two-phase encounter that transitions from a methodical melee duel to a chaotic, ranged bullet-hell. This fight is a pure rhythm and pattern-recognition challenge where every attack has a distinct audio cue and a clear counter. Success is determined not only by your damage output, but by your ability to master the dance of his deadly abilities.
Melee Phase
Ranged Phase
In addition to one guaranteed Unique Item from the boss's specific loot table, you can also receive Corrupted Inscribed Ultimatum. These differ from regular ones by having a Prefix that allows you to sacrifice a certain amount of currency (specified in the prefix) when starting the next Trial of Chaos. If you successfully complete the trial, this amount of currency is doubled. The Prefix can feature a wide variety of currency, including up to 3 Divine Orbs, an Orb of Annulment, an Orb of Chance, etc.
In exchange for this valuable reward, the Suffix will contain a modifier that can significantly complicate your run, for example, by reducing your Defense by up to 75% or lowering your Maximum Elemental Resistances by up to 30%.
And just like with all other Pinnacle bosses, always check the rest of the items he drops, as they can be valuable crafting bases that you can either use yourself or simply sell.
| Required Level | Item | Description | |
|---|---|---|---|
 |
1 | The Adorned | Limited to 1 (0–100)% increased Effect of Jewel Socket Passive Skills containing Corrupted Magic Jewels Corrupted |
 |
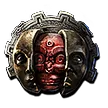
48 | Mahuxotl’s Machination | Grants Level 1 Raise Shield (333–666)% increased Armour and Energy Shield 100% increased effect of Socketed Soul Cores Everlasting Sacrifice Has 2 Rune Sockets (Hidden) |
 |
52 | Glimpse of Chaos | Can be modified while Corrupted +(50–150) to maximum Life +(50–150) to maximum Mana +(-30–30)% to Fire Resistance +(-30–30)% to Cold Resistance +(-30–30)% to Lightning Resistance Chaos Resistance is zero |
 |
56 | Zerphi’s Genesis | (20–30)% increased Stun Threshold +(10–30) to Strength Has (1–3) Charm Slots Corrupted Blood cannot be inflicted on you 50% of Charm charges used are gained by your Life Flasks (10–30)% increased Charm Charges used |
 |
60 | Hateforge | (50–80)% increased Armour Gain (1–3) random Charge on reaching Maximum Rage Lose all Rage on reaching Maximum Rage (-10–10) to Maximum Rage |
 |
— | Trialmaster’s Reliquary Key | Open a Reliquary portal by using this item at The Reliquary Vault. Can only be used once. |
 |
— | Corrupted Inscribed Ultimatum | Map Item |