
Theramore’s Fall is a three-player scenario introduced during the MOP pre-launch events, now returning for the Mists of Pandaria Classic pre-patch. It’s designed for small groups (with no strict tank/healer roles required) and was originally tuned for level-capped characters with modest gear.
The scenario comes in two faction-specific versions, each depicting a different side of the battle for Theramore Isle. Horde players undertake a covert assault leading up to the city’s destruction, while Alliance players arrive in the aftermath to secure the ruins and repel enemy scavengers. This guide will break down each phase of both the Alliance and Horde scenarios and offer tips for a smooth run.
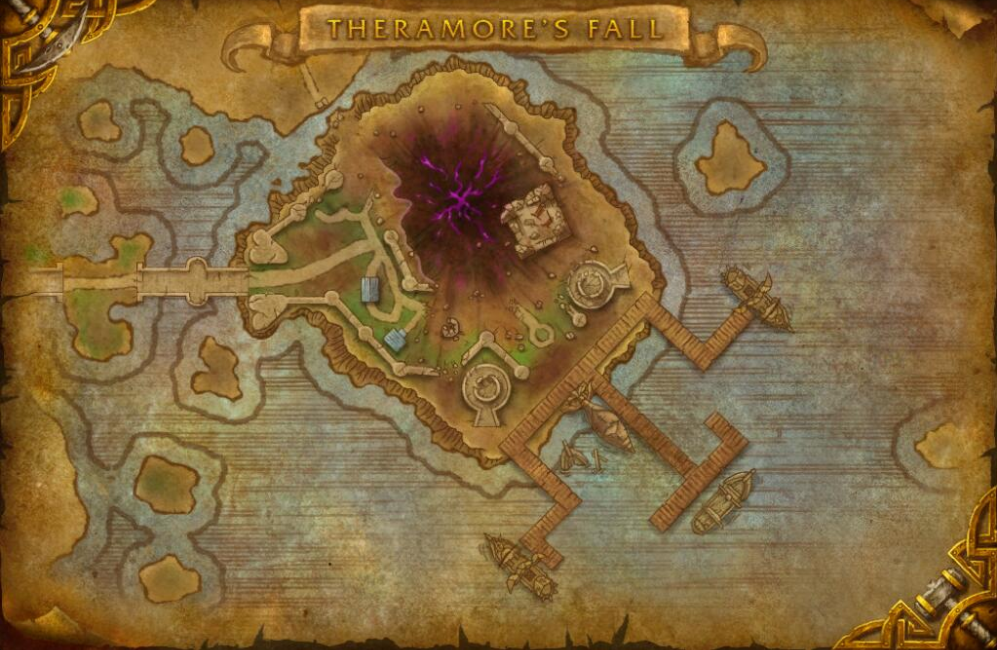
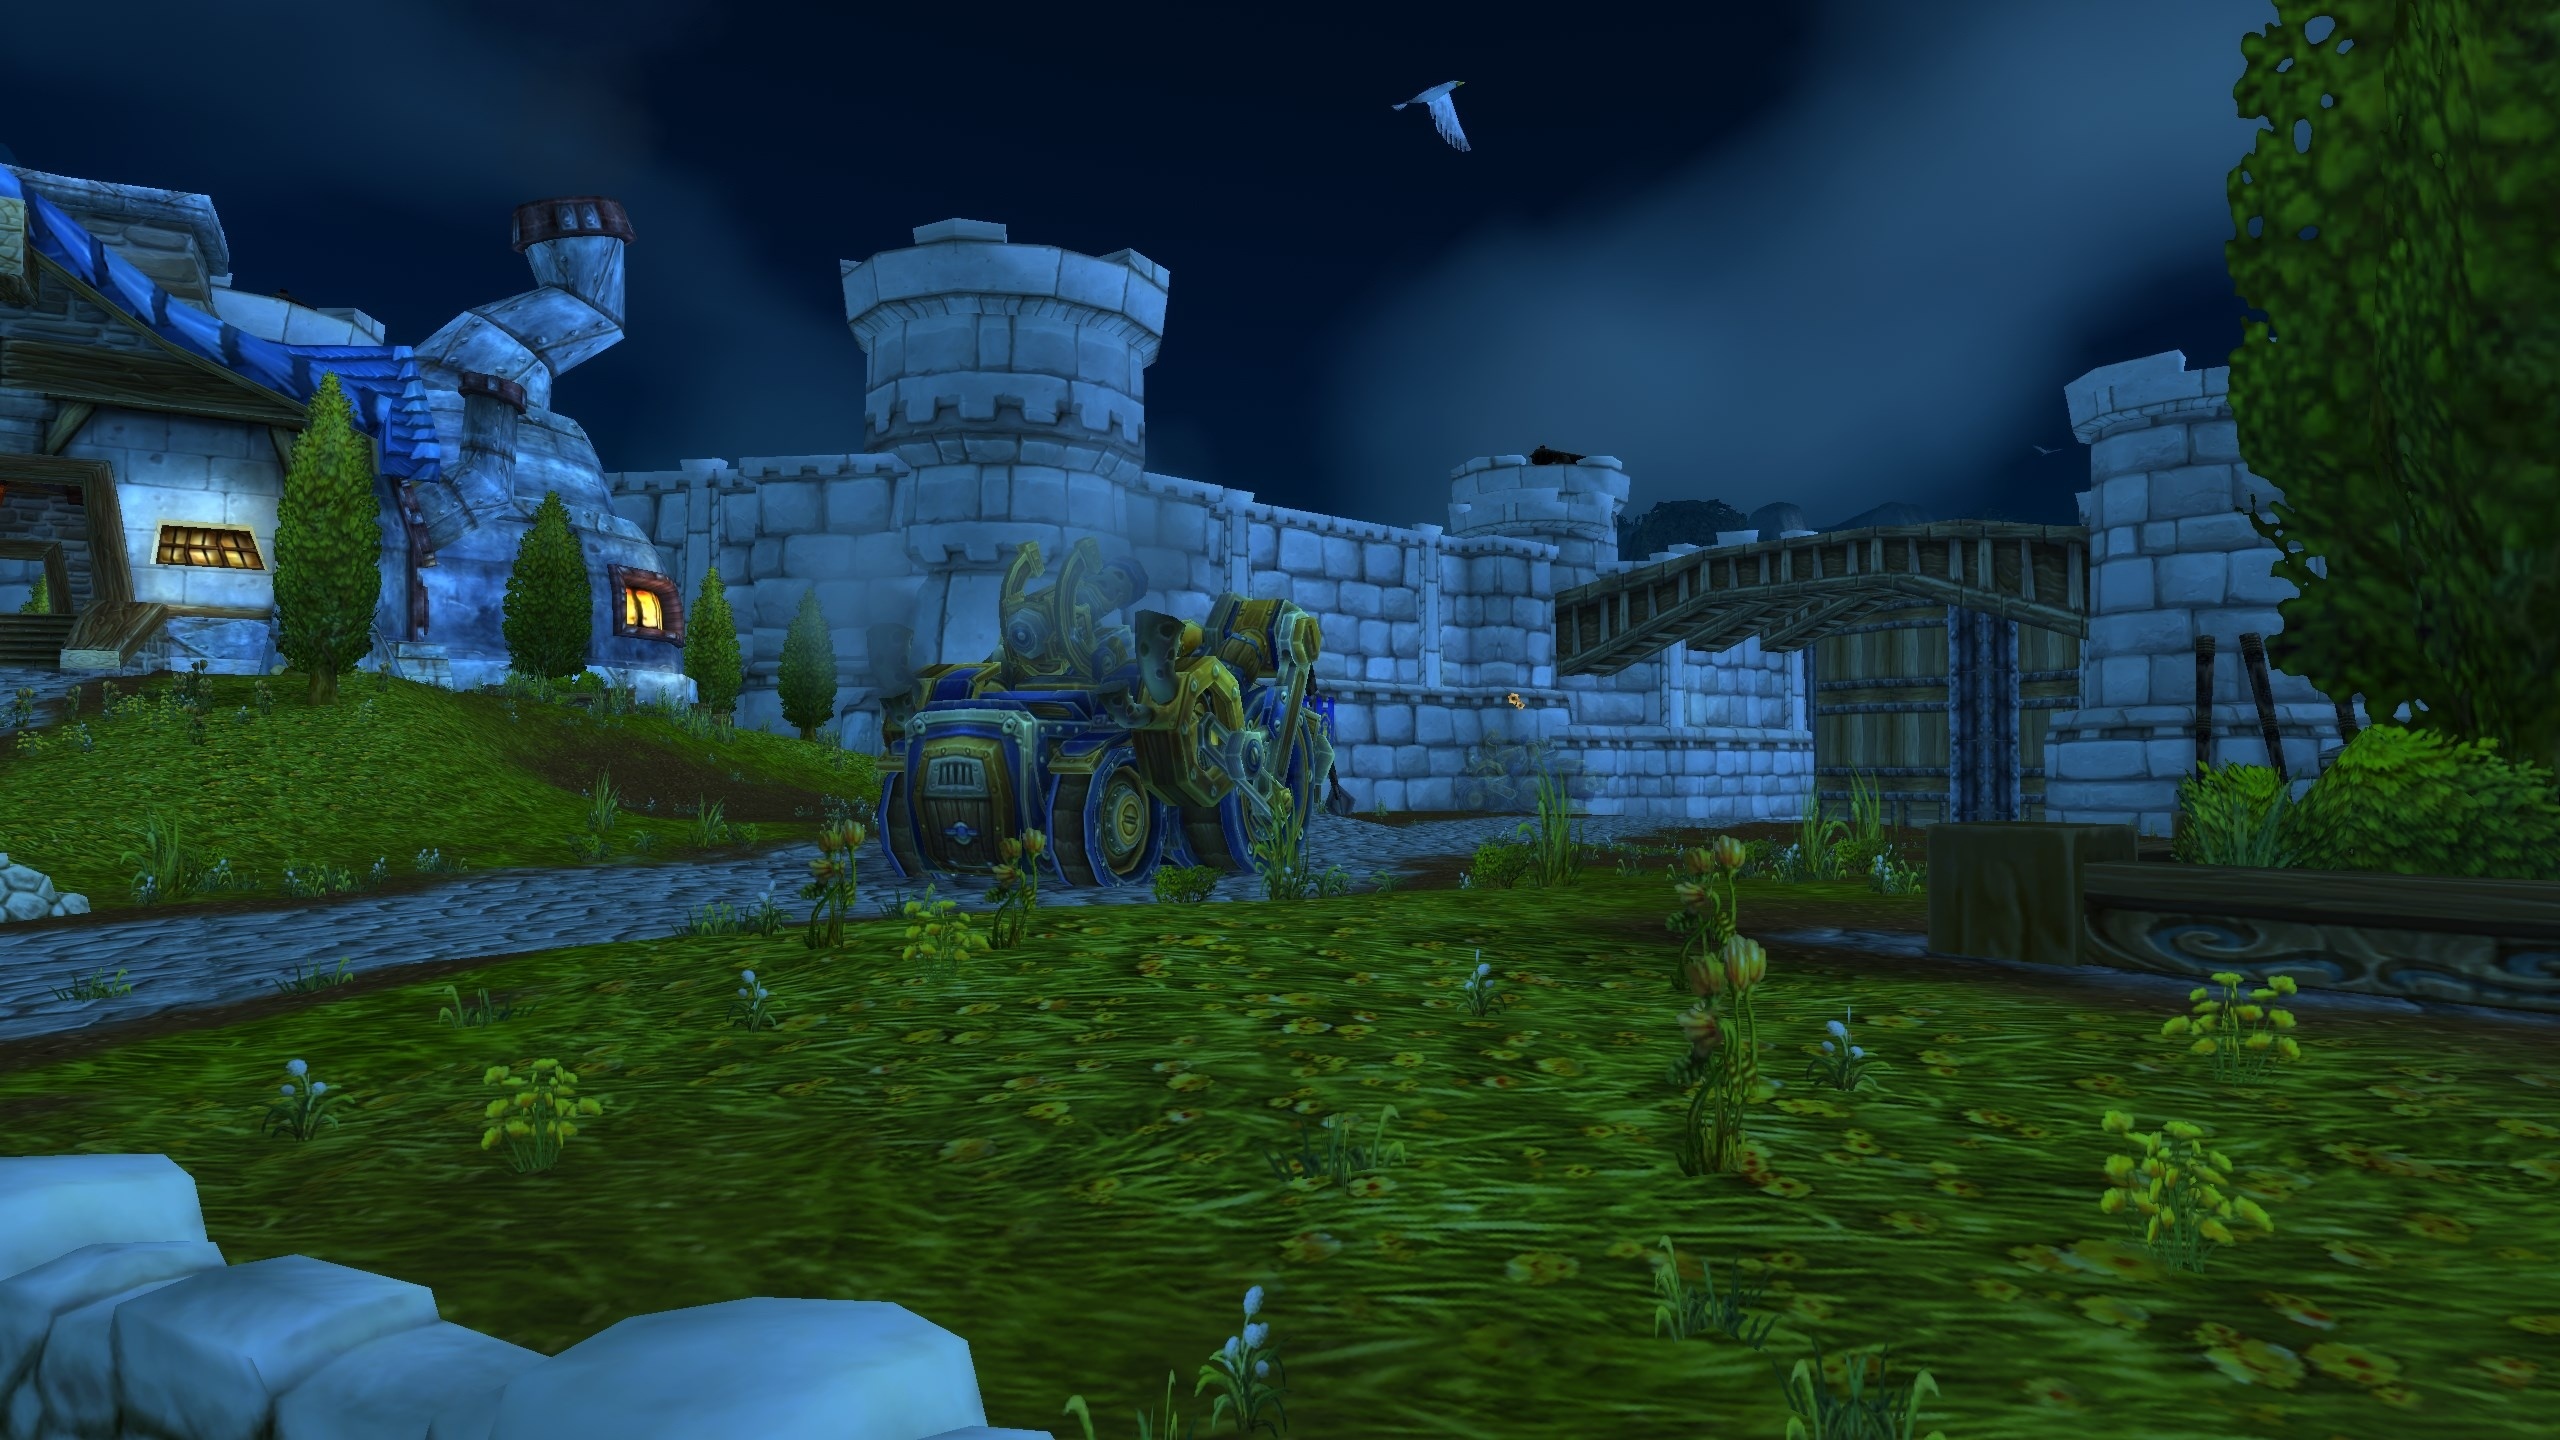
Picture a sultry summer evening on Kalimdor’s south-east coast. Gulls wheel lazily over the jade lagoon, torch-lit ramparts of Theramore Isle glimmer in the dusk… and then the sky erupts in a sickly violet flash. In an instant, the stronghold that once symbolized diplomatic hope is consumed by a mana-bomb firestorm. That moment — the shattering of Jaina Proudmoore’s neutrality lies at the heart of the Theramore’s Fall scenario, a bite-sized, cinematic adventure that bridged Cataclysm and ushered in Mists of Pandaria.
Two Sides, One Tragedy. The scenario starts in the same moon-lit harbor, but goals diverge fast. Horde saboteurs spike powder kegs and escort the radiant Focusing Iris to the city’s core. Alliance defenders follow minutes behind, dragging wounded to safety and blasting goblin zeppelins while flimsy barricades crumble.
Lore in Fast-Forward. That mirrored design compresses Christie Golden’s Tides of War into a twenty-minute sprint. Every task foreshadows Jaina Proudmoore’s break: the Iris humming with unstable arcana, her troops’ rising panic, her ideals slipping away. By the finale you’re not just running an instance — you’re standing on the hinge that turns her from diplomat to storm-forged avenger.
Blockbuster Finale. Both factions collide at the last checkpoint. Horde arms the Iris, Alliance tries to disarm it — and everyone is caught in the same blinding detonation. The mana-bomb doesn’t just level stone; it shatters Azeroth’s balance of power, lighting the fuse for Mists of Pandaria and leaving players amazed, guilty, and eager for what follows.
That’s it: no more Chromie-Time confusion (if you played MOP Remix you know what I mean). Ding 85, hit I → Scenarios, and relive one of Warcraft’s most explosive pre-expansion set pieces in proper Classic style!
As an Alliance hero, you arrive at Theramore right after a devastating mana bomb blast. Your mission is to secure the ruined city, rescue any survivors, and assist Lady Jaina Proudmoore in preventing the Horde from stealing a dangerous artifact (the Focusing Iris) amid the chaos. The Alliance scenario is broken into six stages, each with clear objectives:
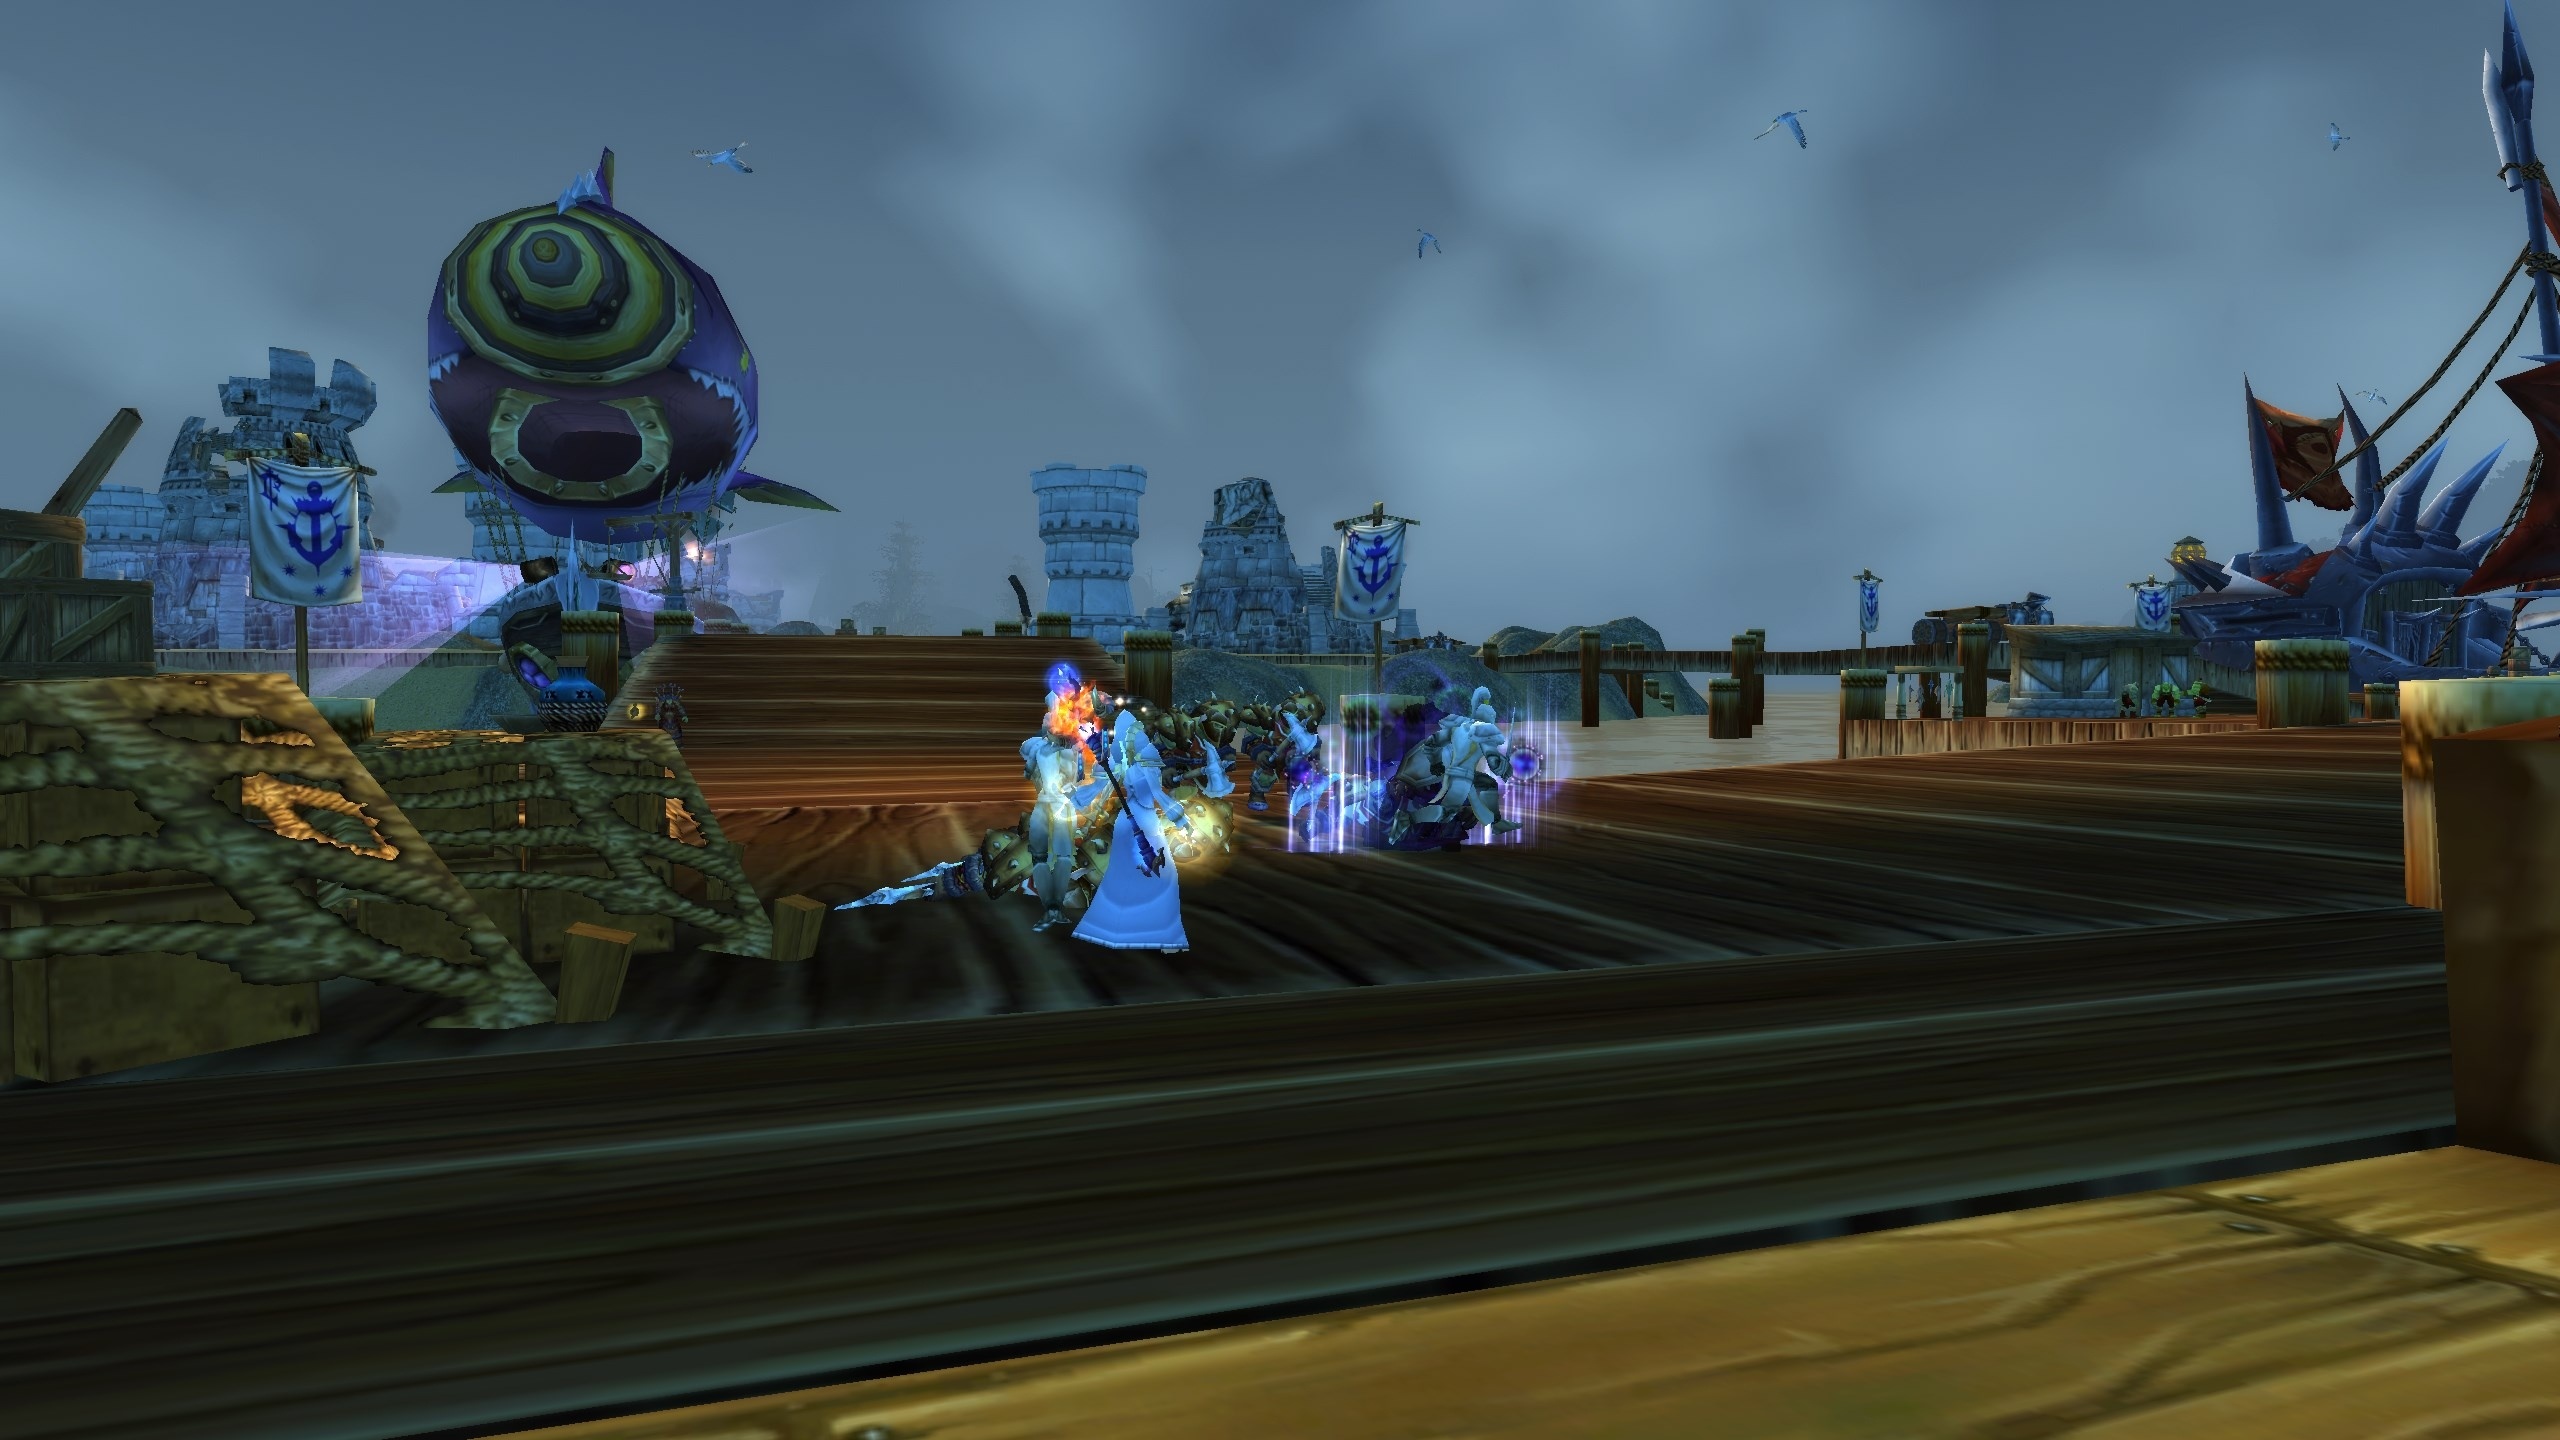
Objective: Defend the incoming ship from oncoming Horde attackers. As soon as you make landfall on Theramore’s docks, waves of Horde soldiers will swarm the Alliance ship. Help Captain Torgoley and his marines by fending off the attackers. Two named Horde elites (Sergeant Grud and Wave-Caller Zulga) lead this assault, and you must defeat both to clear the stage.
Tips: Stick together with your team and eliminate the lesser grunts quickly so you can focus fire on Grud and Zulga. Grud is a warrior-type brute, while Zulga may cast damaging water spells – interrupt or dodge what you can. The ship’s NPC defenders will assist, but don’t rely on them completely. Once these two are slain, the initial onslaught will falter and you can proceed into the harbor.
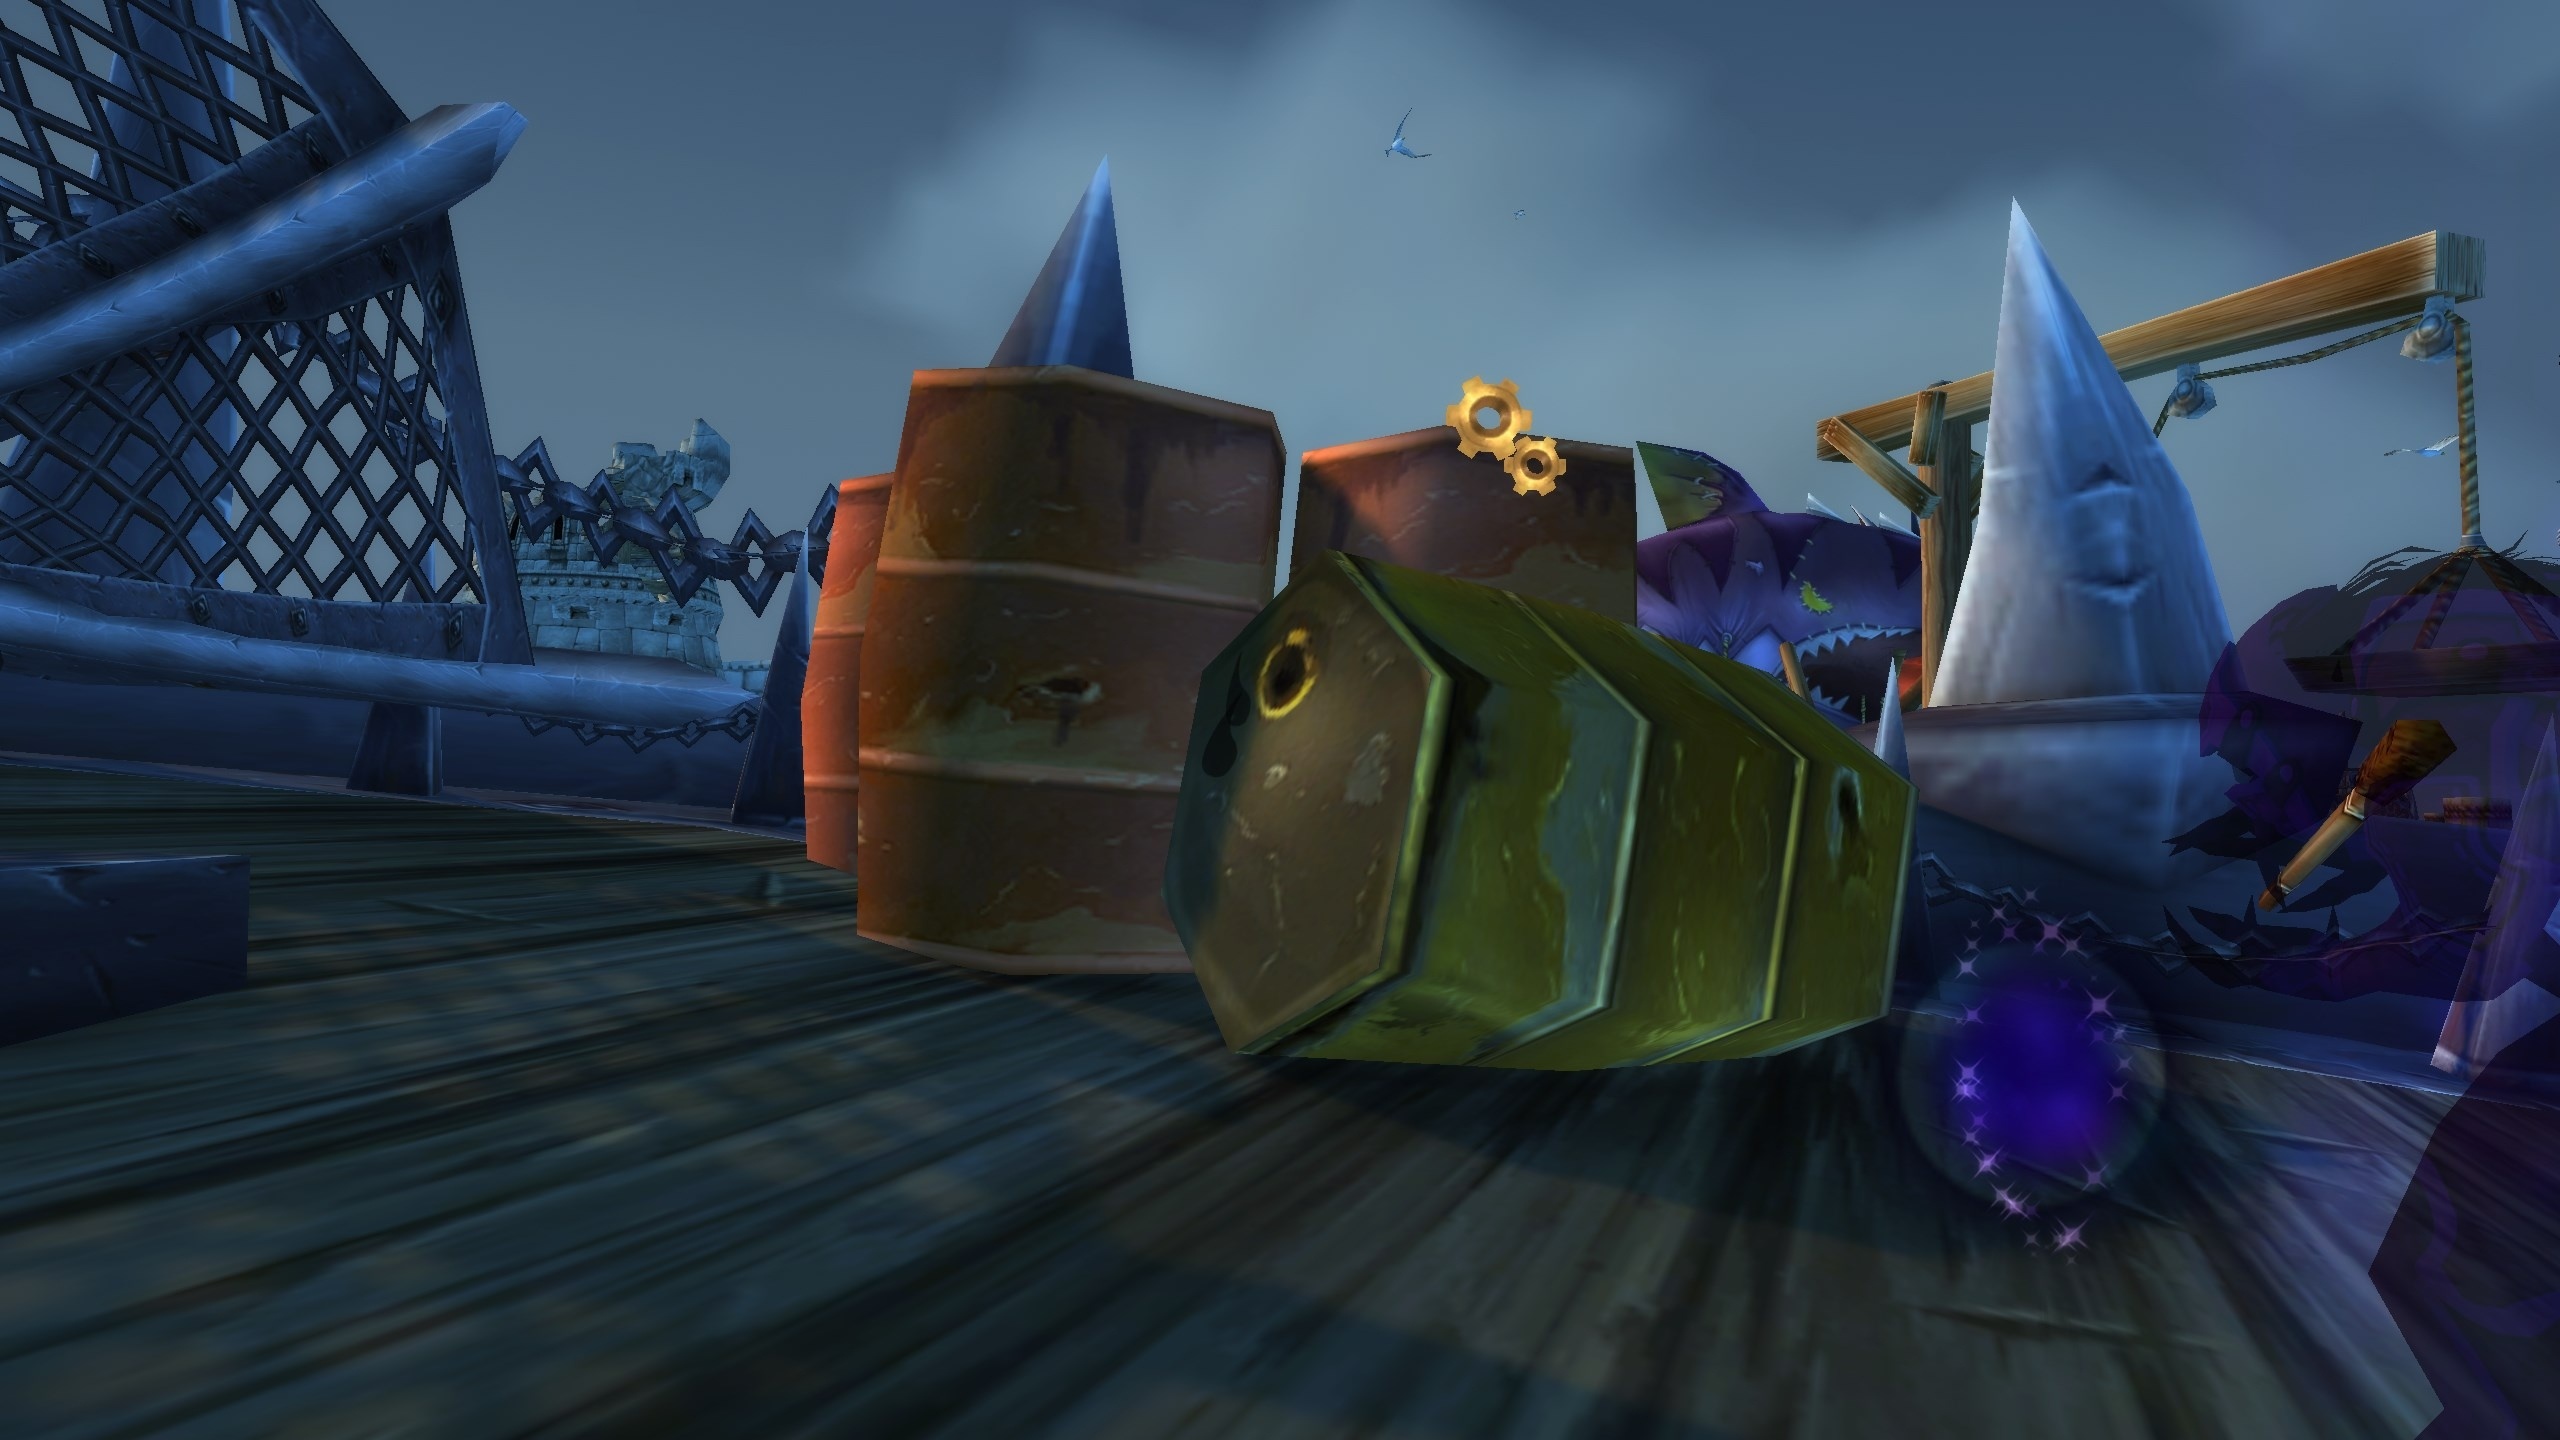
Objective: Drive out the Horde forces in the harbor area by slaying 3 Horde captains, torching 3 warships, and clearing out remaining enemies (about 20 invaders). Move along the docks systematically: you’ll encounter Sky-Captain “Dashing” Daz on the wrecked goblin airship (the one that deployed the mana bomb). Defeat him first but be wary of his area-of-effect charm ability, which can briefly make you lose control or attack allies. It’s wise to spread out or burn him down quickly to minimize the chaos from his charm. After dealing with Daz, continue up the pier to engage Overseer Lurguk guarding the dock gates. Once Lurguk falls, split up the remaining targets: one path leads to Captain Mousson and his ship, the other to Captain Korthok and his vessel. Take out both mini-bosses and ignite the powder barrels on each of their ships to scuttle them. Throughout this stage, you’ll also be cutting down Horde infantry – don’t rush too recklessly and avoid pulling multiple packs at once. Methodically clearing each ship and its crew will complete the harbor sweep!
Tips: Use area attacks to dispatch clusters of weaker enemies quickly, but focus your single-target damage on the named captains as they have more health and dangerous abilities. When setting a ship ablaze, you only need one team member to click the oil or powder keg – but ensure any nearby foes are dealt with first, so you aren’t attacked while igniting it. If Daz starts his mass charm, try to step out of its range or simply keep your distance from charmed teammates until it wears off. Keep an eye out for any explosive barrels or fuel drums on the ships; these are usually the interactable objects to burn the ships (they might even explode, so ignite them and move away). Once all three ships are burning and the docks are clear, the harbor will be secured.
Objective: Fight past remaining enemies into the heart of the ruined city. Your primary target here is Gash’nul, the Horde wind rider commander, along with his two ferocious wyverns. You’ll find Gash’nul at what used to be Theramore’s flight master area, surrounded by a pack of Horde troops. Clear the lesser soldiers first – pulling the whole group at once can be deadly, so thin out the guards around the boss. Once you engage Gash’nul, he will call down two Vicious Wyvern allies. Burn down these wyverns quickly to reduce incoming damage on your group. Gash’nul himself uses lightning-based attacks and will periodically drop Storm Totems that zap anyone nearby. Avoid or destroy these totems immediately, as they deal heavy damage if left alone. After Gash’nul and his pets are slain, the path into central Theramore will be open.
Tips: This is a good stage to use defensive cooldowns or crowd control on the initial trash packs so you don’t get overwhelmed. For Gash’nul, assign one party member (ideally a ranged DPS) to target and kill the Storm Totems whenever they appear; this will save your healer a lot of stress. If you’re going for the "Kite Fight" achievement, note that it requires defeating Gash’nul without destroying any totems – meaning you’d have to continually move to avoid their damage. This makes the fight harder, so only attempt it if your group is confident. Otherwise, take out those totems and focus Gash’nul down once his wyverns are dealt with.
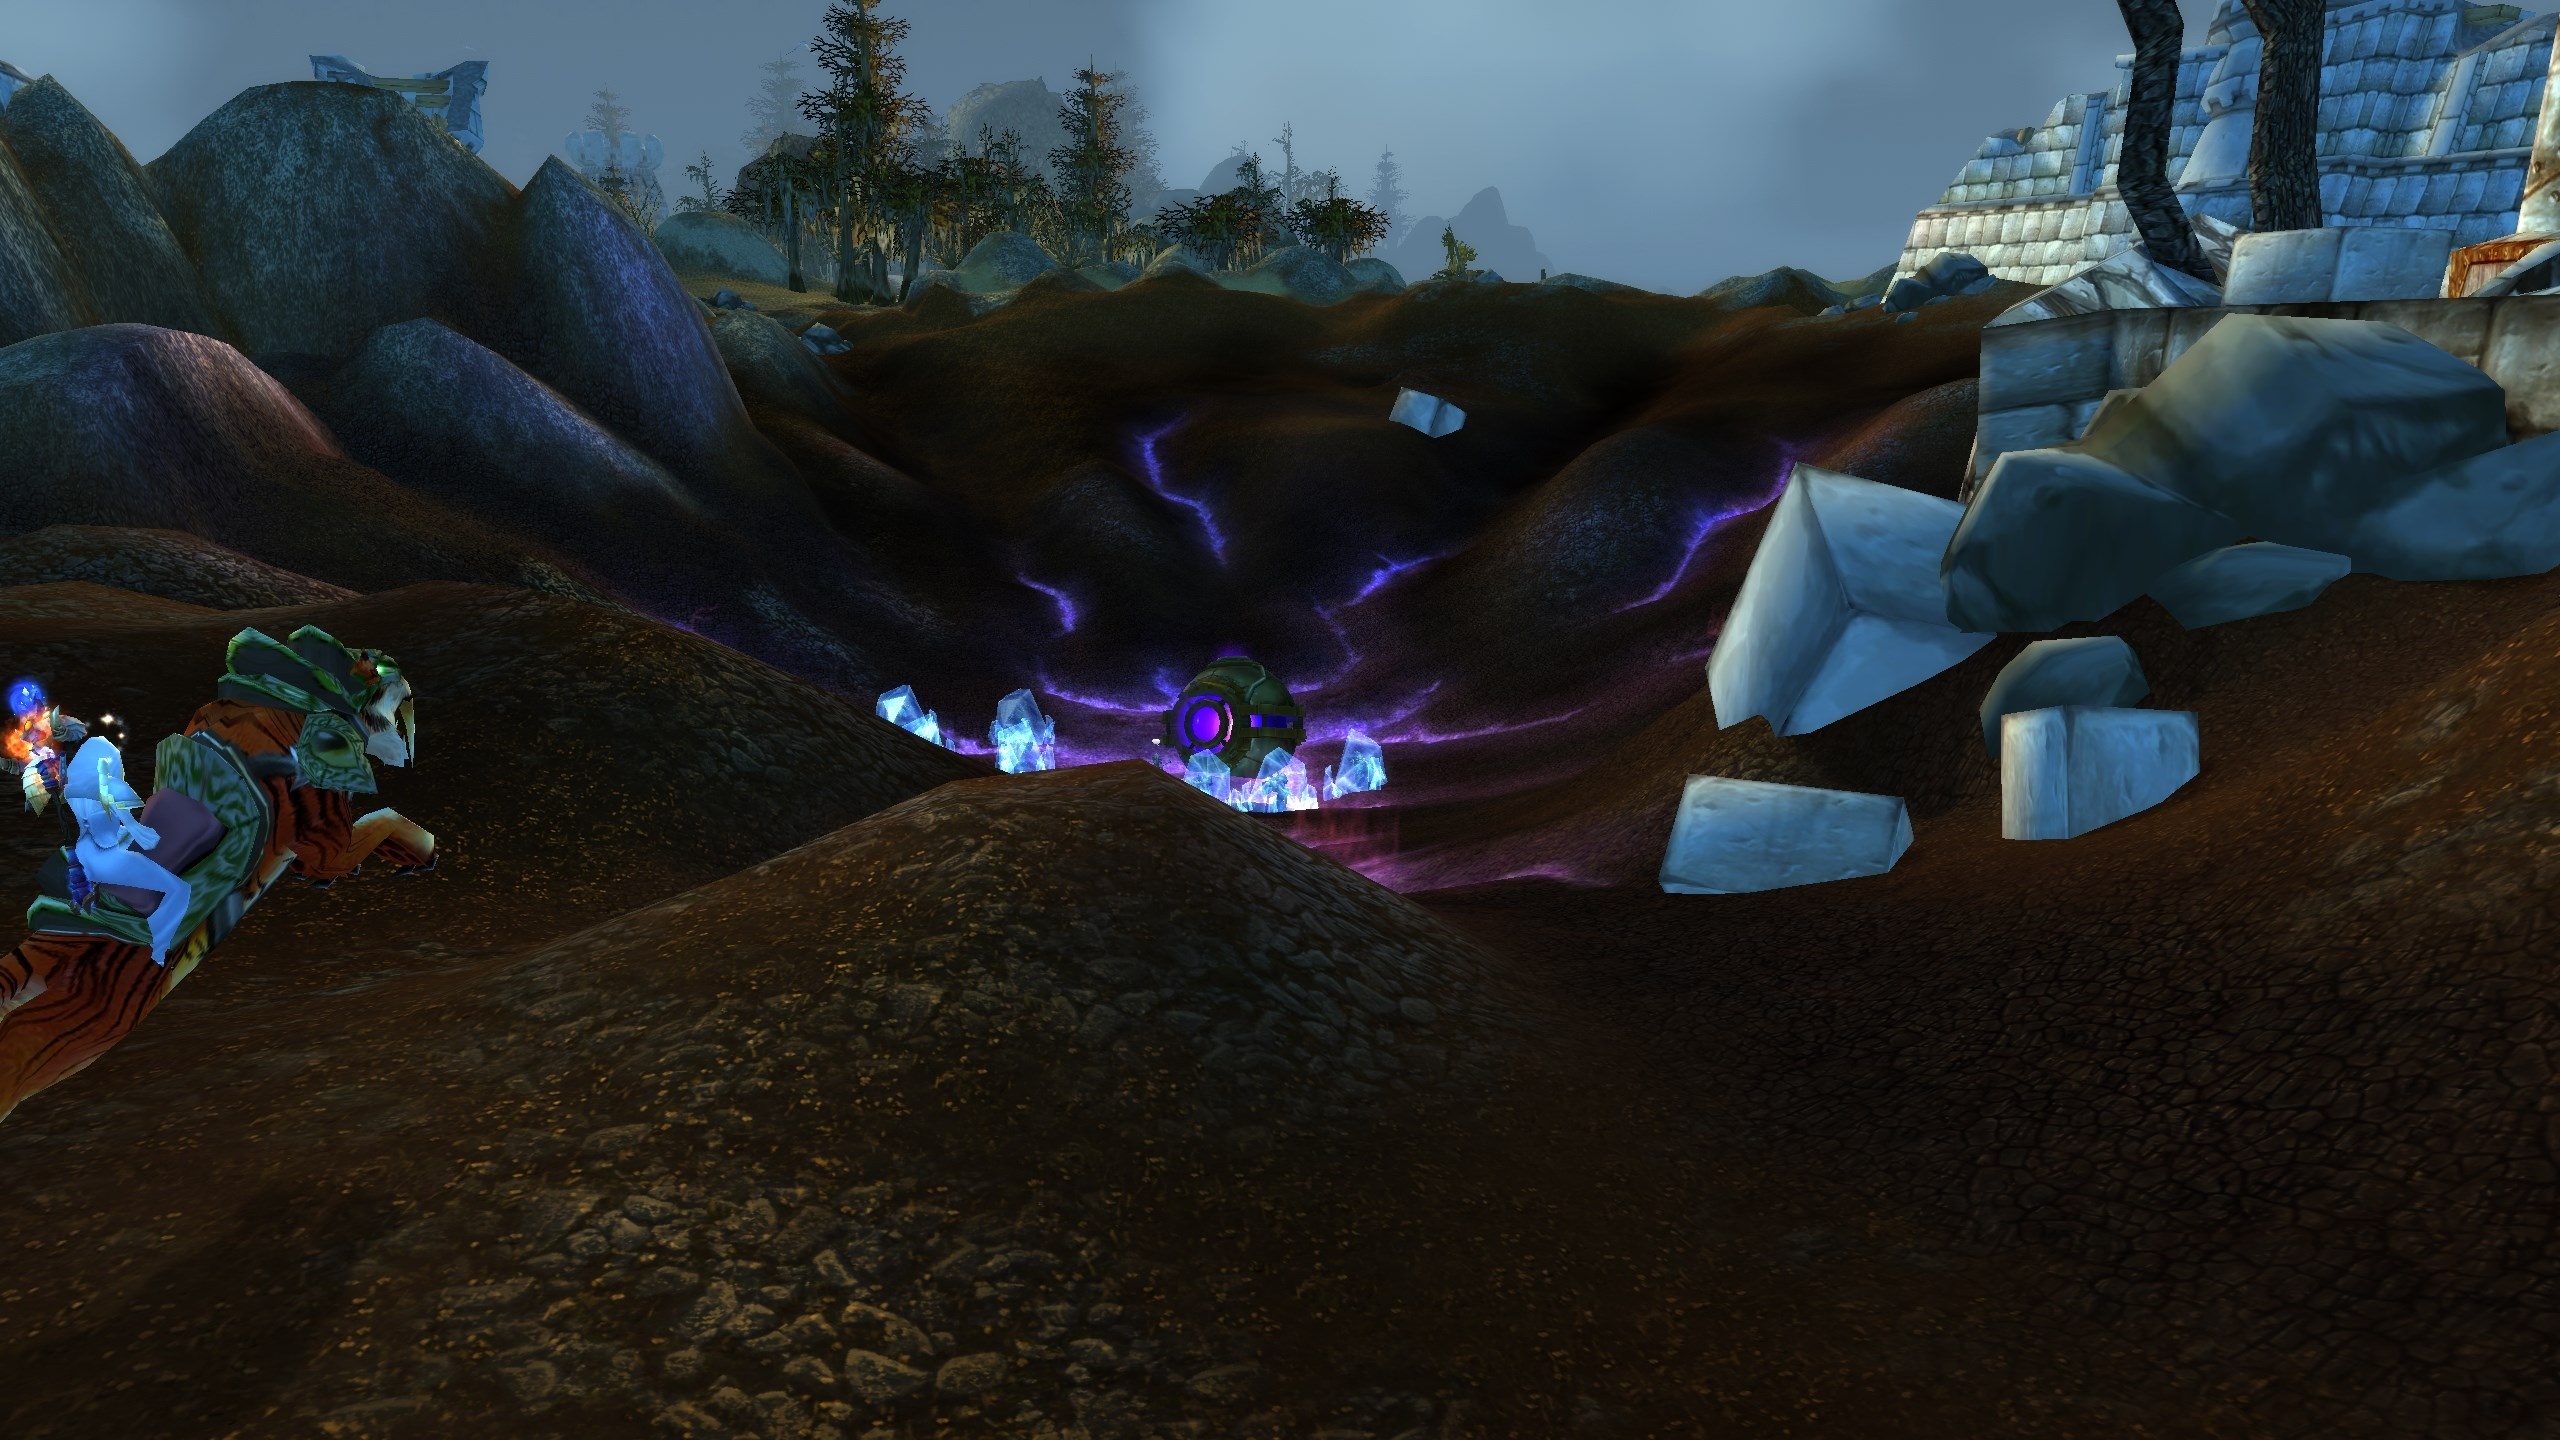
Objective: Locate Lady Jaina Proudmoore in the mana bomb crater and receive her orders. After clearing Gash’nul’s area, proceed northwest into the massive crater that now scars Theramore’s center. There you’ll find Jaina standing amid the rubble next to the enormous, spent mana bomb, surrounded by a few frozen Horde corpses (grim reminders of the bomb’s power). There’s no combat in this stage – approach Jaina and talk to her to trigger a short roleplay. Jaina is shaken and enraged by the destruction but remains focused on preventing further calamity. She informs you that the Focusing Iris (a powerful magical artifact used in the bomb) must be secured before the Horde can grab it. Jaina urges you to eliminate the remaining Horde forces in Theramore while she prepares to safeguard the Iris. After the dialogue, get ready to move on Jaina’s cue to the next phase.
Tips: Use this brief lull to regen mana or health, and make sure everyone in your party has caught up. If anyone died in the previous fight, they can safely release and run back now since the area around Jaina is free of enemies. Also take a moment to note the surroundings – you’ll be coming back to this crater shortly for the final showdown, so remember the path. Once you’re set, let Jaina finish her speech and Stage 5 will begin.

Objective: Stop the Horde’s siege engine and recover Theramore’s stolen standards. Head to the western gate of Theramore, where a goblin-made siege tank called the Gatecrusher is attempting to smash down what remains of the city gate. You must destroy the Gatecrusher. This mechanical boss will fixate on random players instead of sticking to one tank, so be prepared to kite it – when it targets you, move to avoid its frontal ramming attacks and any projectiles it might fire. While engaging the siege engine, spread out if possible to minimize group damage from any area attacks it has. Around the battle area, you’ll see Theramore Standards (Alliance banners) that were stolen by the invaders. There are three standards to recover: grabbing each one not only fulfills the objective but also grants a 15% damage buff to your party for the rest of the scenario. Make sure to click those banners either during lulls in the fight or immediately after the Gatecrusher is destroyed. Once the tank is blown up and all three standards have been reclaimed, the final stage will trigger back at Jaina’s position.
Tips: Focus fire on the Gatecrusher but don’t neglect safety – its ramming charge or any frontal cone attack it does must be dodged to avoid heavy damage (there’s even an achievement "No Tank You" for defeating it without anyone getting hit by its ram or stone-thrower attacks). If you’re the one being chased, kite the siege engine in a wide circle while your teammates pummel it. The person with threat should avoid dragging the vehicle near others, so they aren’t caught in its attack path. After it’s down, quickly coordinate to pick up the standards: ideally, have each player interact with one banner so everyone gets the damage buff. With the buff in hand, hurry back to Jaina at the crater for the finale.
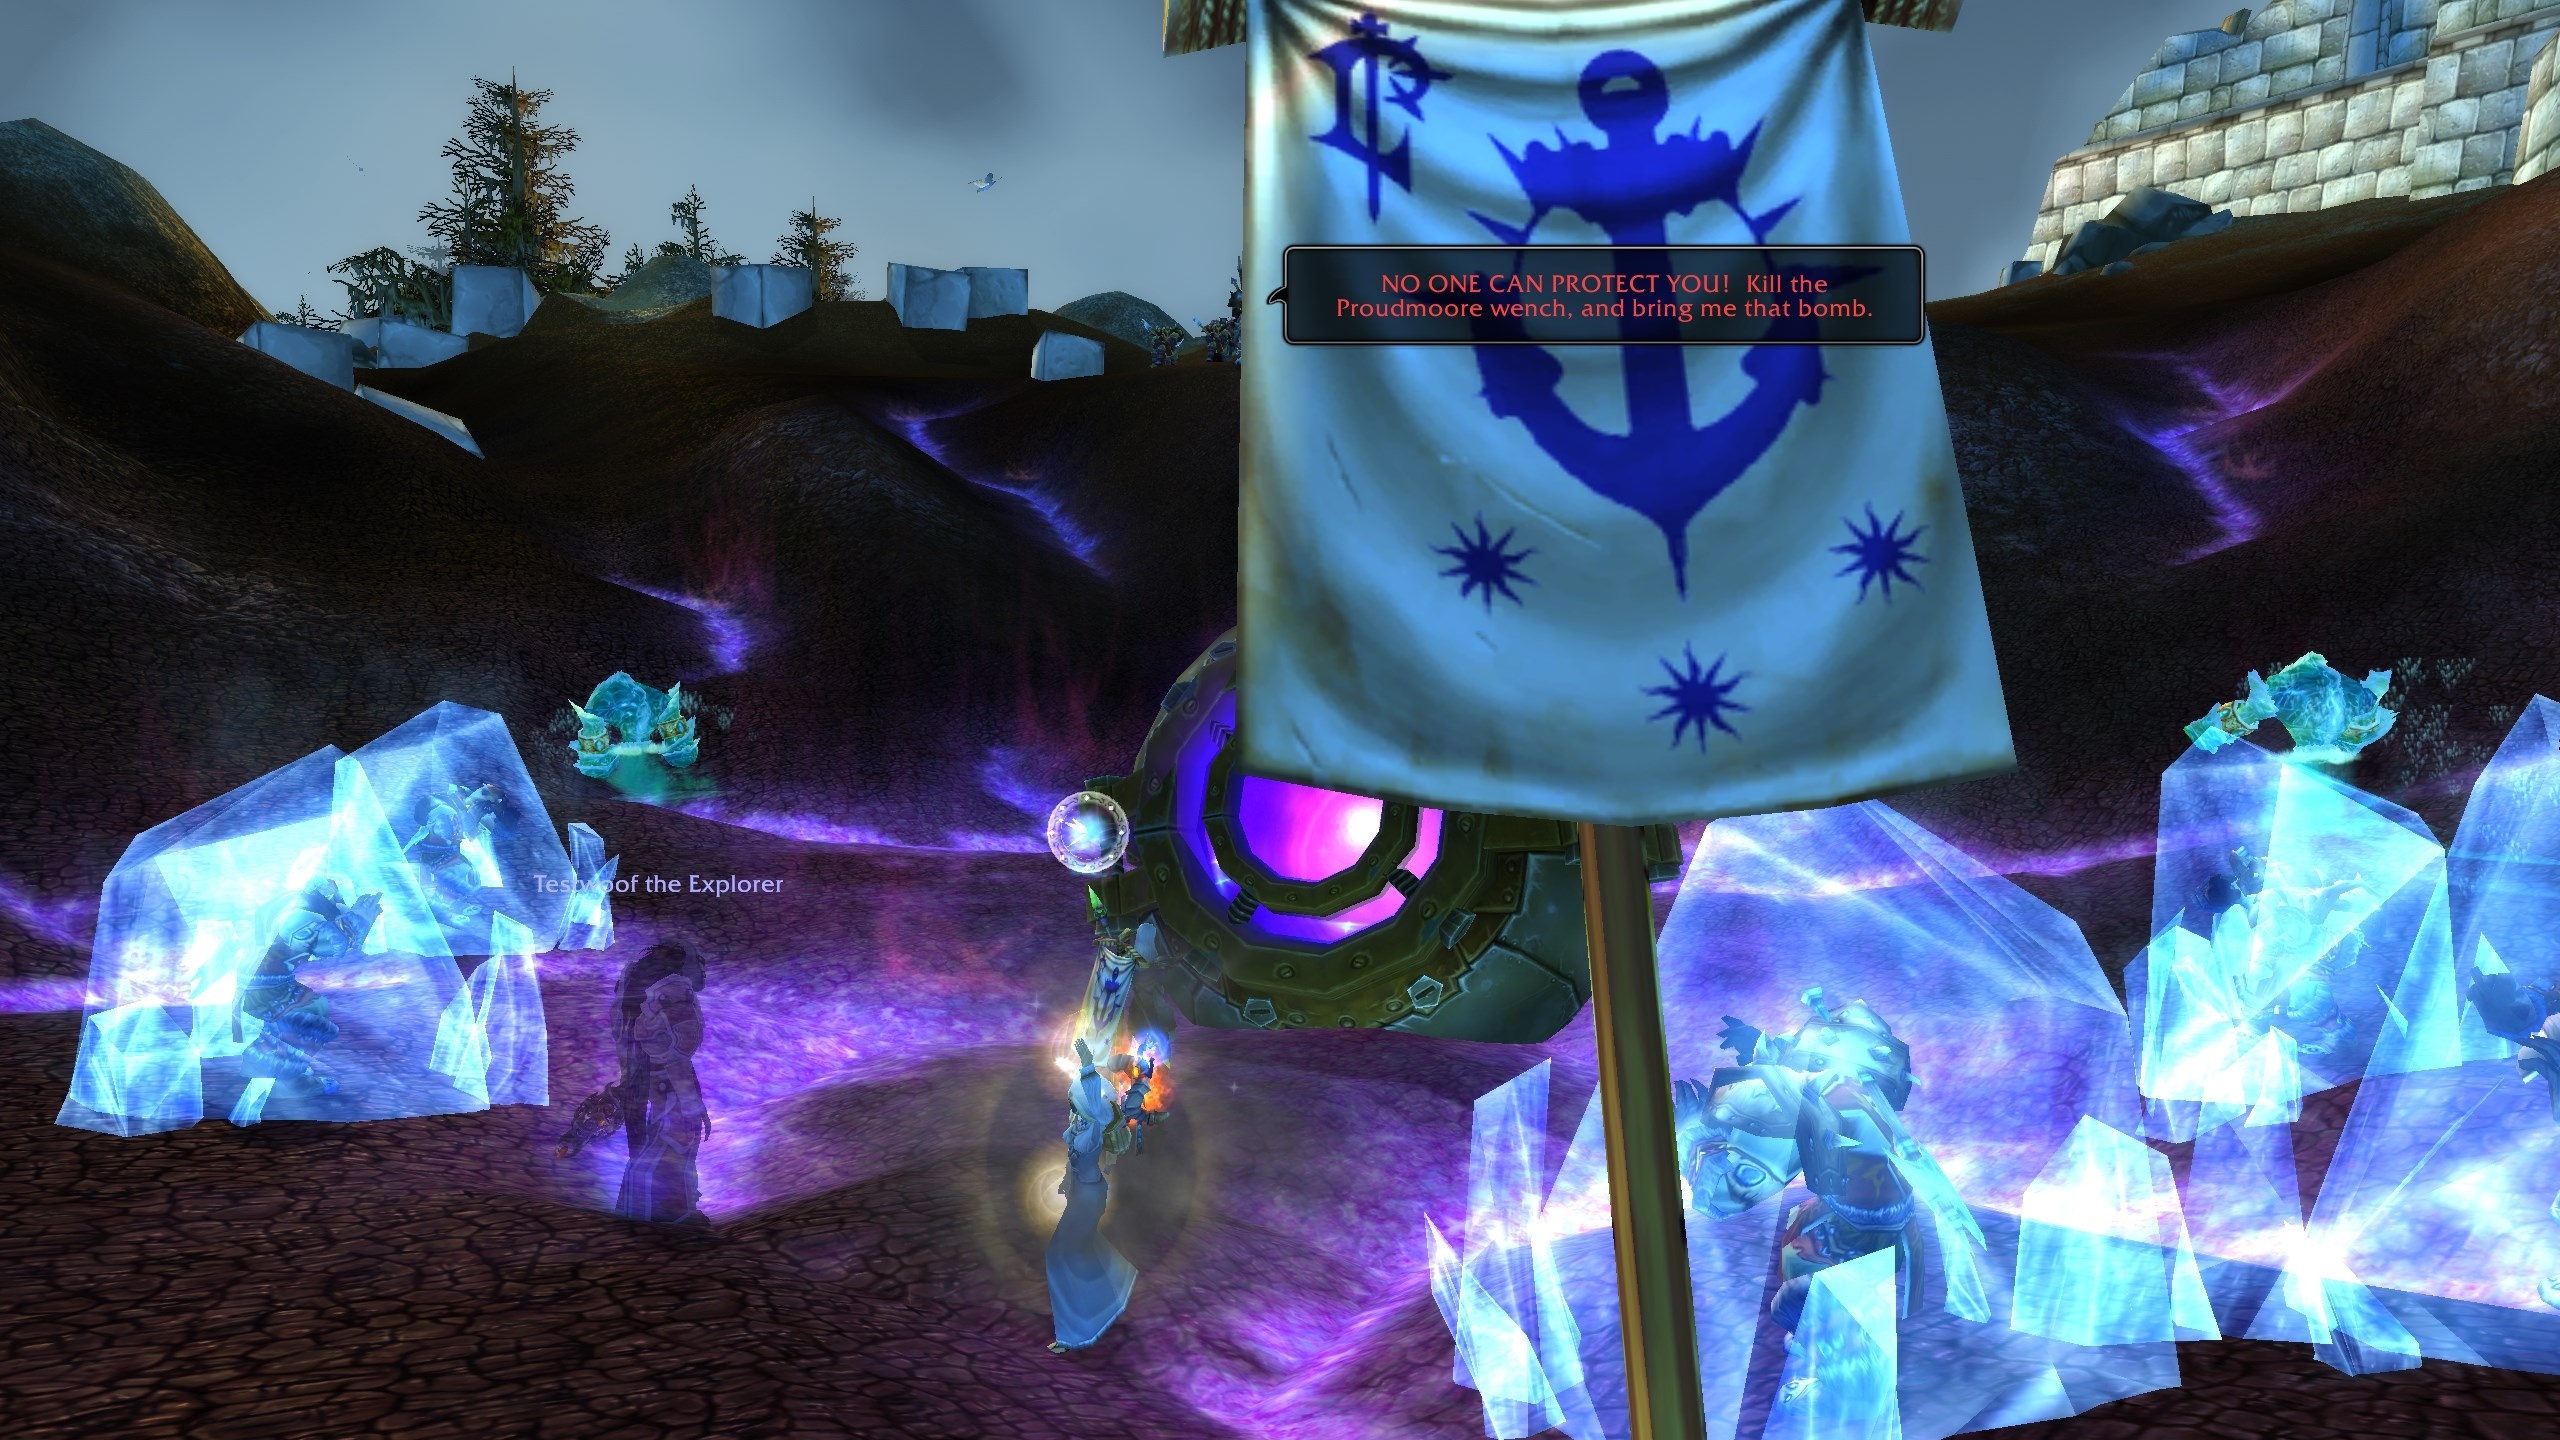
Objective: Protect Jaina while she finishes attuning to the Focusing Iris, and defeat the Horde commander Warlord Rok’nah. Back at the crater, Jaina begins channeling a spell to secure the Focusing Iris. Almost immediately, Warlord Rok’nah (the Horde general behind the assault) arrives with a squad of Horde soldiers to take the Iris. This final battle can be intense: Rok’nah himself is a formidable orc warrior who will engage your group head-on, and he’s accompanied by several henchmen. Jaina will summon three water elementals to assist in the defense, which will help occupy some of the adds, but Jaina herself does not fight – she continues channeling and is vulnerable throughout the encounter. Your top priority is to keep Jaina alive: if she falls, the mission fails. Have one or two party members pick up the aggro of the adds (or burn them down quickly) while at least one strong DPS focuses on Rok’nah. It’s wise to eliminate the smaller enemies first so they don’t all gang up on Jaina or overwhelm your group. Rok’nah may use powerful melee strikes and at one point drop his shield to dual-wield (increasing his damage output), so be prepared to use defensive cooldowns or kite if you start taking heavy hits. With the earlier damage buff from the standards, you should be able to cut him down faster so use Bloodlust or other big cooldowns here if available. Once Rok’nah is slain and the last of his cronies are dealt with, Jaina will complete her spell, securing the Focusing Iris and ending the scenario.
Tips: This is the climax, so don’t hold back – consumables, cooldowns, and even heroism-type effects should all be used to burst down the enemies before they can overwhelm you. If your party composition allows, assign roles: one player (ideally with tanky gear or abilities) gather up the adds and keep them off Jaina, the healer ensures Jaina and everyone else stay topped up, and the top DPS focuses Rok’nah. If no dedicated tank is present, kite and control are your best tools: snares, stuns, and even the water elementals assistance can keep enemies from reaching Jaina. Position yourselves between Jaina and the oncoming orcs: body-block anything headed her way. After the fight, you’ll hear some parting words from Jaina reflecting on the tragedy and vowing vengeance. Congratulations – you’ve saved what little could be saved at Theramore and completed the Alliance scenario!
(At this point, Alliance players receive the Theramore’s Fall achievement and, if eligible, a letter from Lady Jaina with the Theramore Tabard transmog attached).
In the Horde version of Theramore’s Fall, you are the strike team spearheading Garrosh Hellscream’s attack on Theramore. The scenario unfolds just before the mana bomb is detonated, with a focus on sabotage and sowing chaos in the city defenses. As a Horde hero, your objectives include crippling Theramore’s infrastructure – burning Alliance ships, killing key personnel, disabling their siege weaponry, and ultimately rescuing a Horde spy to ensure the bombing goes as planned. Work efficiently through the five main stages, and you’ll escape moments before Theramore is obliterated.
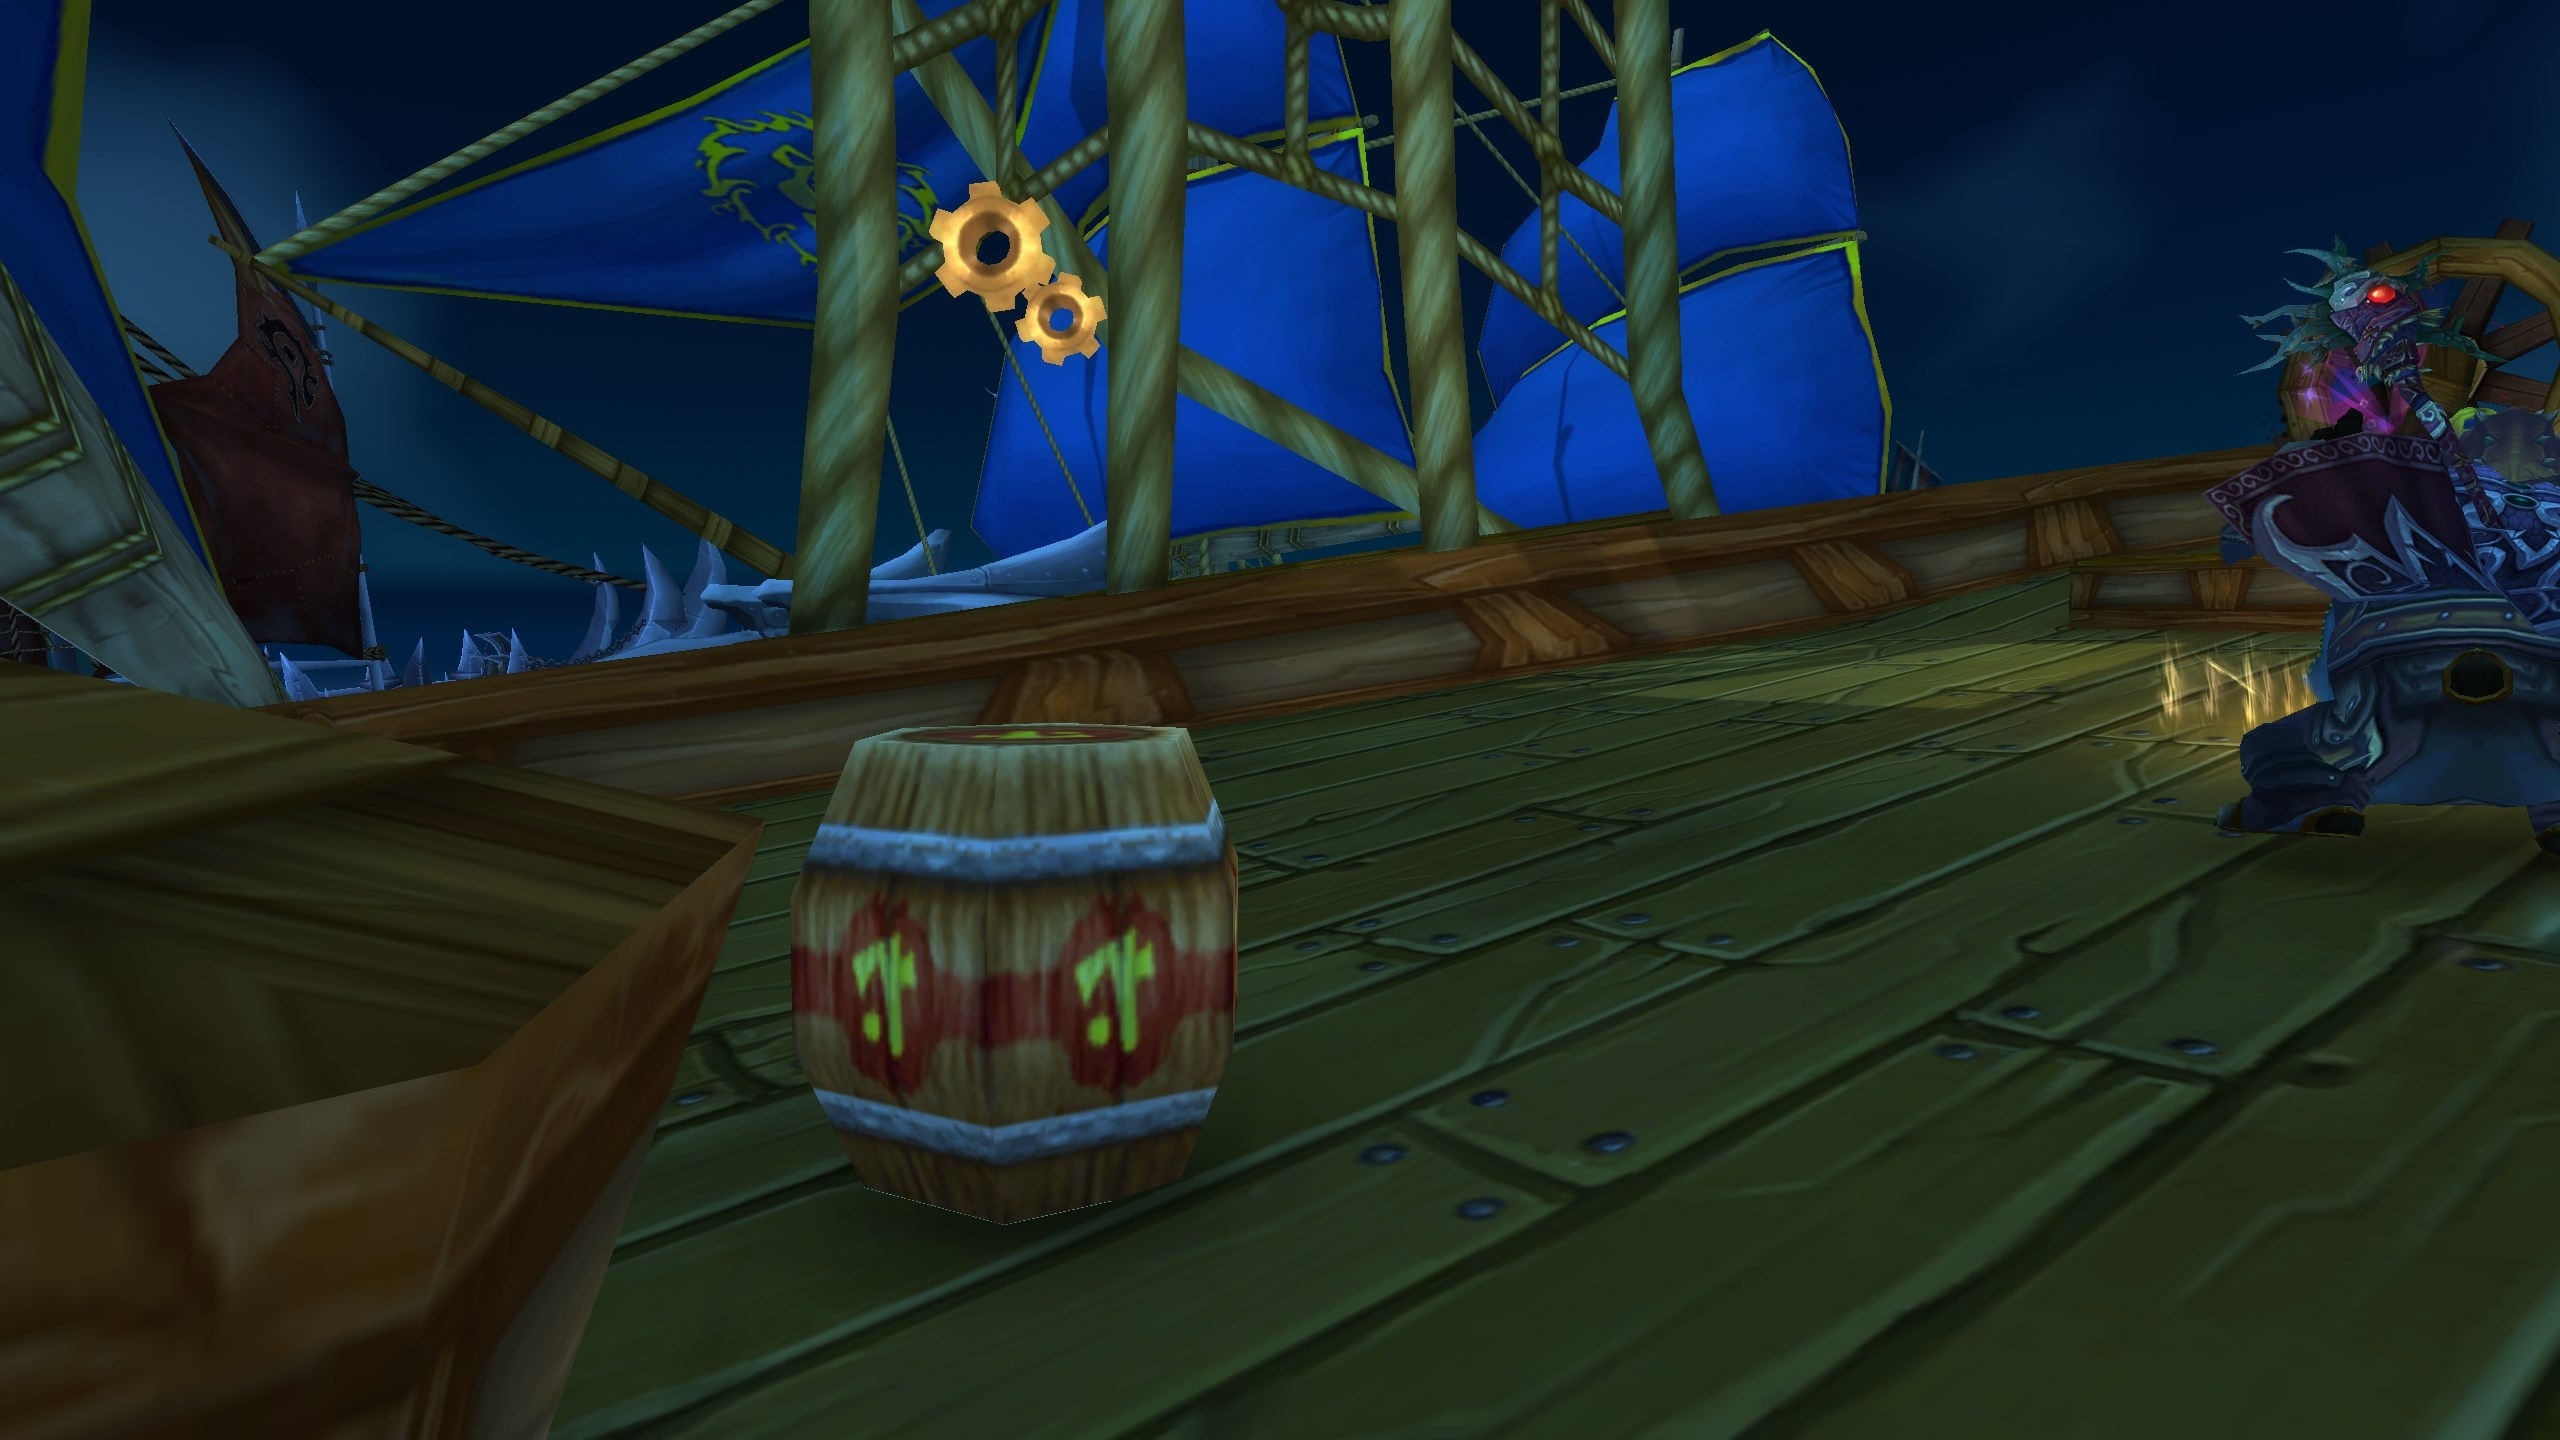
Objective: Infiltrate the docks and rig explosive powder barrels on all six Alliance warships. You’ll begin on a Horde gunship and move onto Theramore’s piers from there. The harbor is lined with Alliance vessels, and each must be dealt with. Fight your way onto each ship by eliminating the Theramore guards and 7th Fleet marines on board. Most of the ships are led by a captain or officer, and you’ll need to defeat these officers to plant the explosives. Interact with the powder barrels on each ship to rig them to blow. Essentially, you are methodically clearing each ship and setting charges. Captain Drok, your Horde commander, sums it up best as he growls the battle plan: "Burn their ships. Butcher their flight master. Sabotage their war machines. And rescue our spy!" — that is exactly what you’ll be doing over the course of this scenario, starting with the ships. Take them one by one; once all six ships have been rigged with explosives, you’re done in the harbor.
Tips: Be careful not to over-pull on the crowded docks. If your group jumps onto multiple ships at once or strays too far ahead, you could attract several packs of Alliance defenders simultaneously. It’s usually best to move as a unit, ship by ship. Use line-of-sight around ship structures to cluster enemies if you need to, and try to take out any Alliance healers or mages first among the crew as they can prolong or complicate the fight. Also, watch out for Alliance cannons on the ships – if any are manned or auto-firing, avoid their line of fire or disable them by killing the gunner. When you rig the powder barrels, a timer on that ship might start (indicated by a sizzling fuse sound or visual); you generally have enough time to hop off to the next target, but don’t linger on a ship that’s about to blow! Finish all six ships and ensure the quest counter shows 6/6 barrels rigged before moving on.

Objective: Meet up with Blastmaster Sparkfuse and trigger the explosives. After rigging the final ship, head toward the harbor’s entry where a small Horde strike team is waiting near the docks exit. Clear out any Alliance defenders around this area; a few may rush in as you regroup. You’ll find Sparkfuse (a goblin explosives expert) ready to detonate the charges. Speak with Sparkfuse to inform him that all ships are wired, and he will promptly blow up the rigged warships, sending Theramore’s proud fleet to the bottom of the sea. Enjoy the fireworks as the Alliance ships go up in flames behind you. With the docks in ruins, the Horde landing force has eliminated any escape by sea for Theramore’s forces.
Tips: This stage is brief, but don’t let your guard down. When approaching Sparkfuse, a group of Alliance reinforcements might attack. Take them out quickly (perhaps using area damage since they come in a clump) before you talk to the goblin. The explosion itself is scripted; just make sure all party members are nearby when you trigger it, so no one misses the cue to move on. If you have a moment while Sparkfuse chats or sets up the detonator, top off your health and mana. The noise is sure to draw attention, which leads to the next phase.
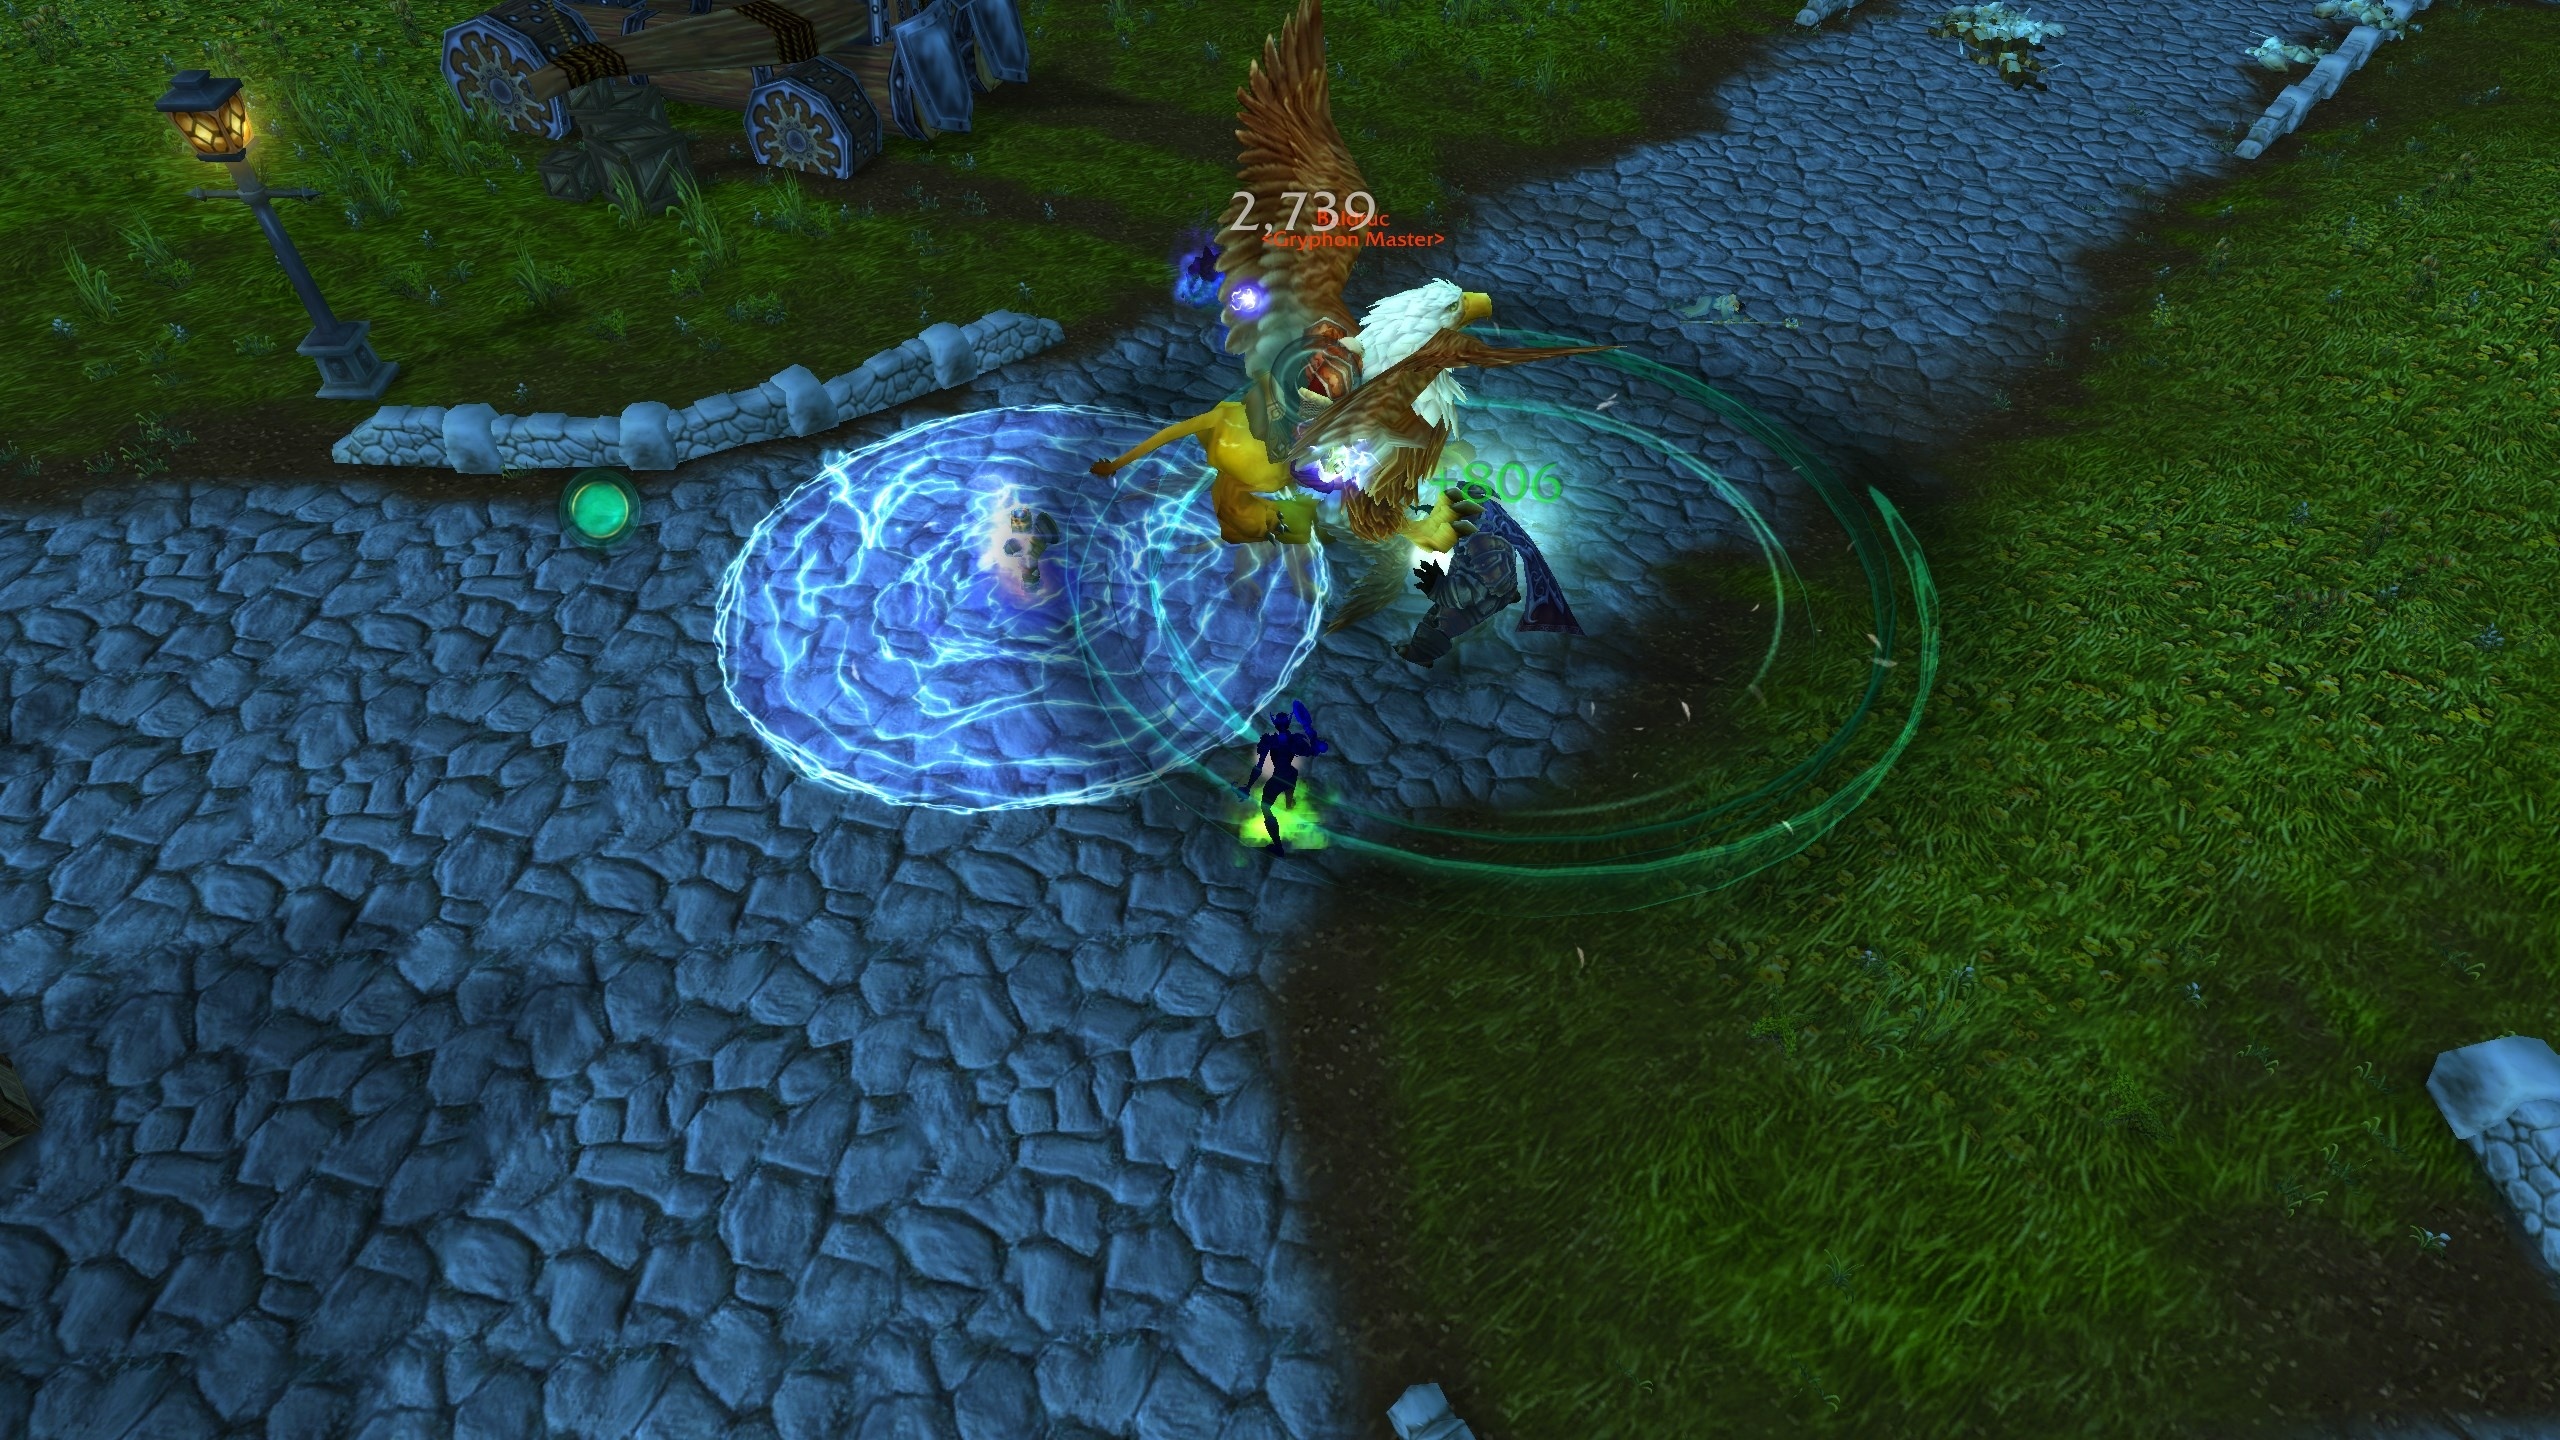
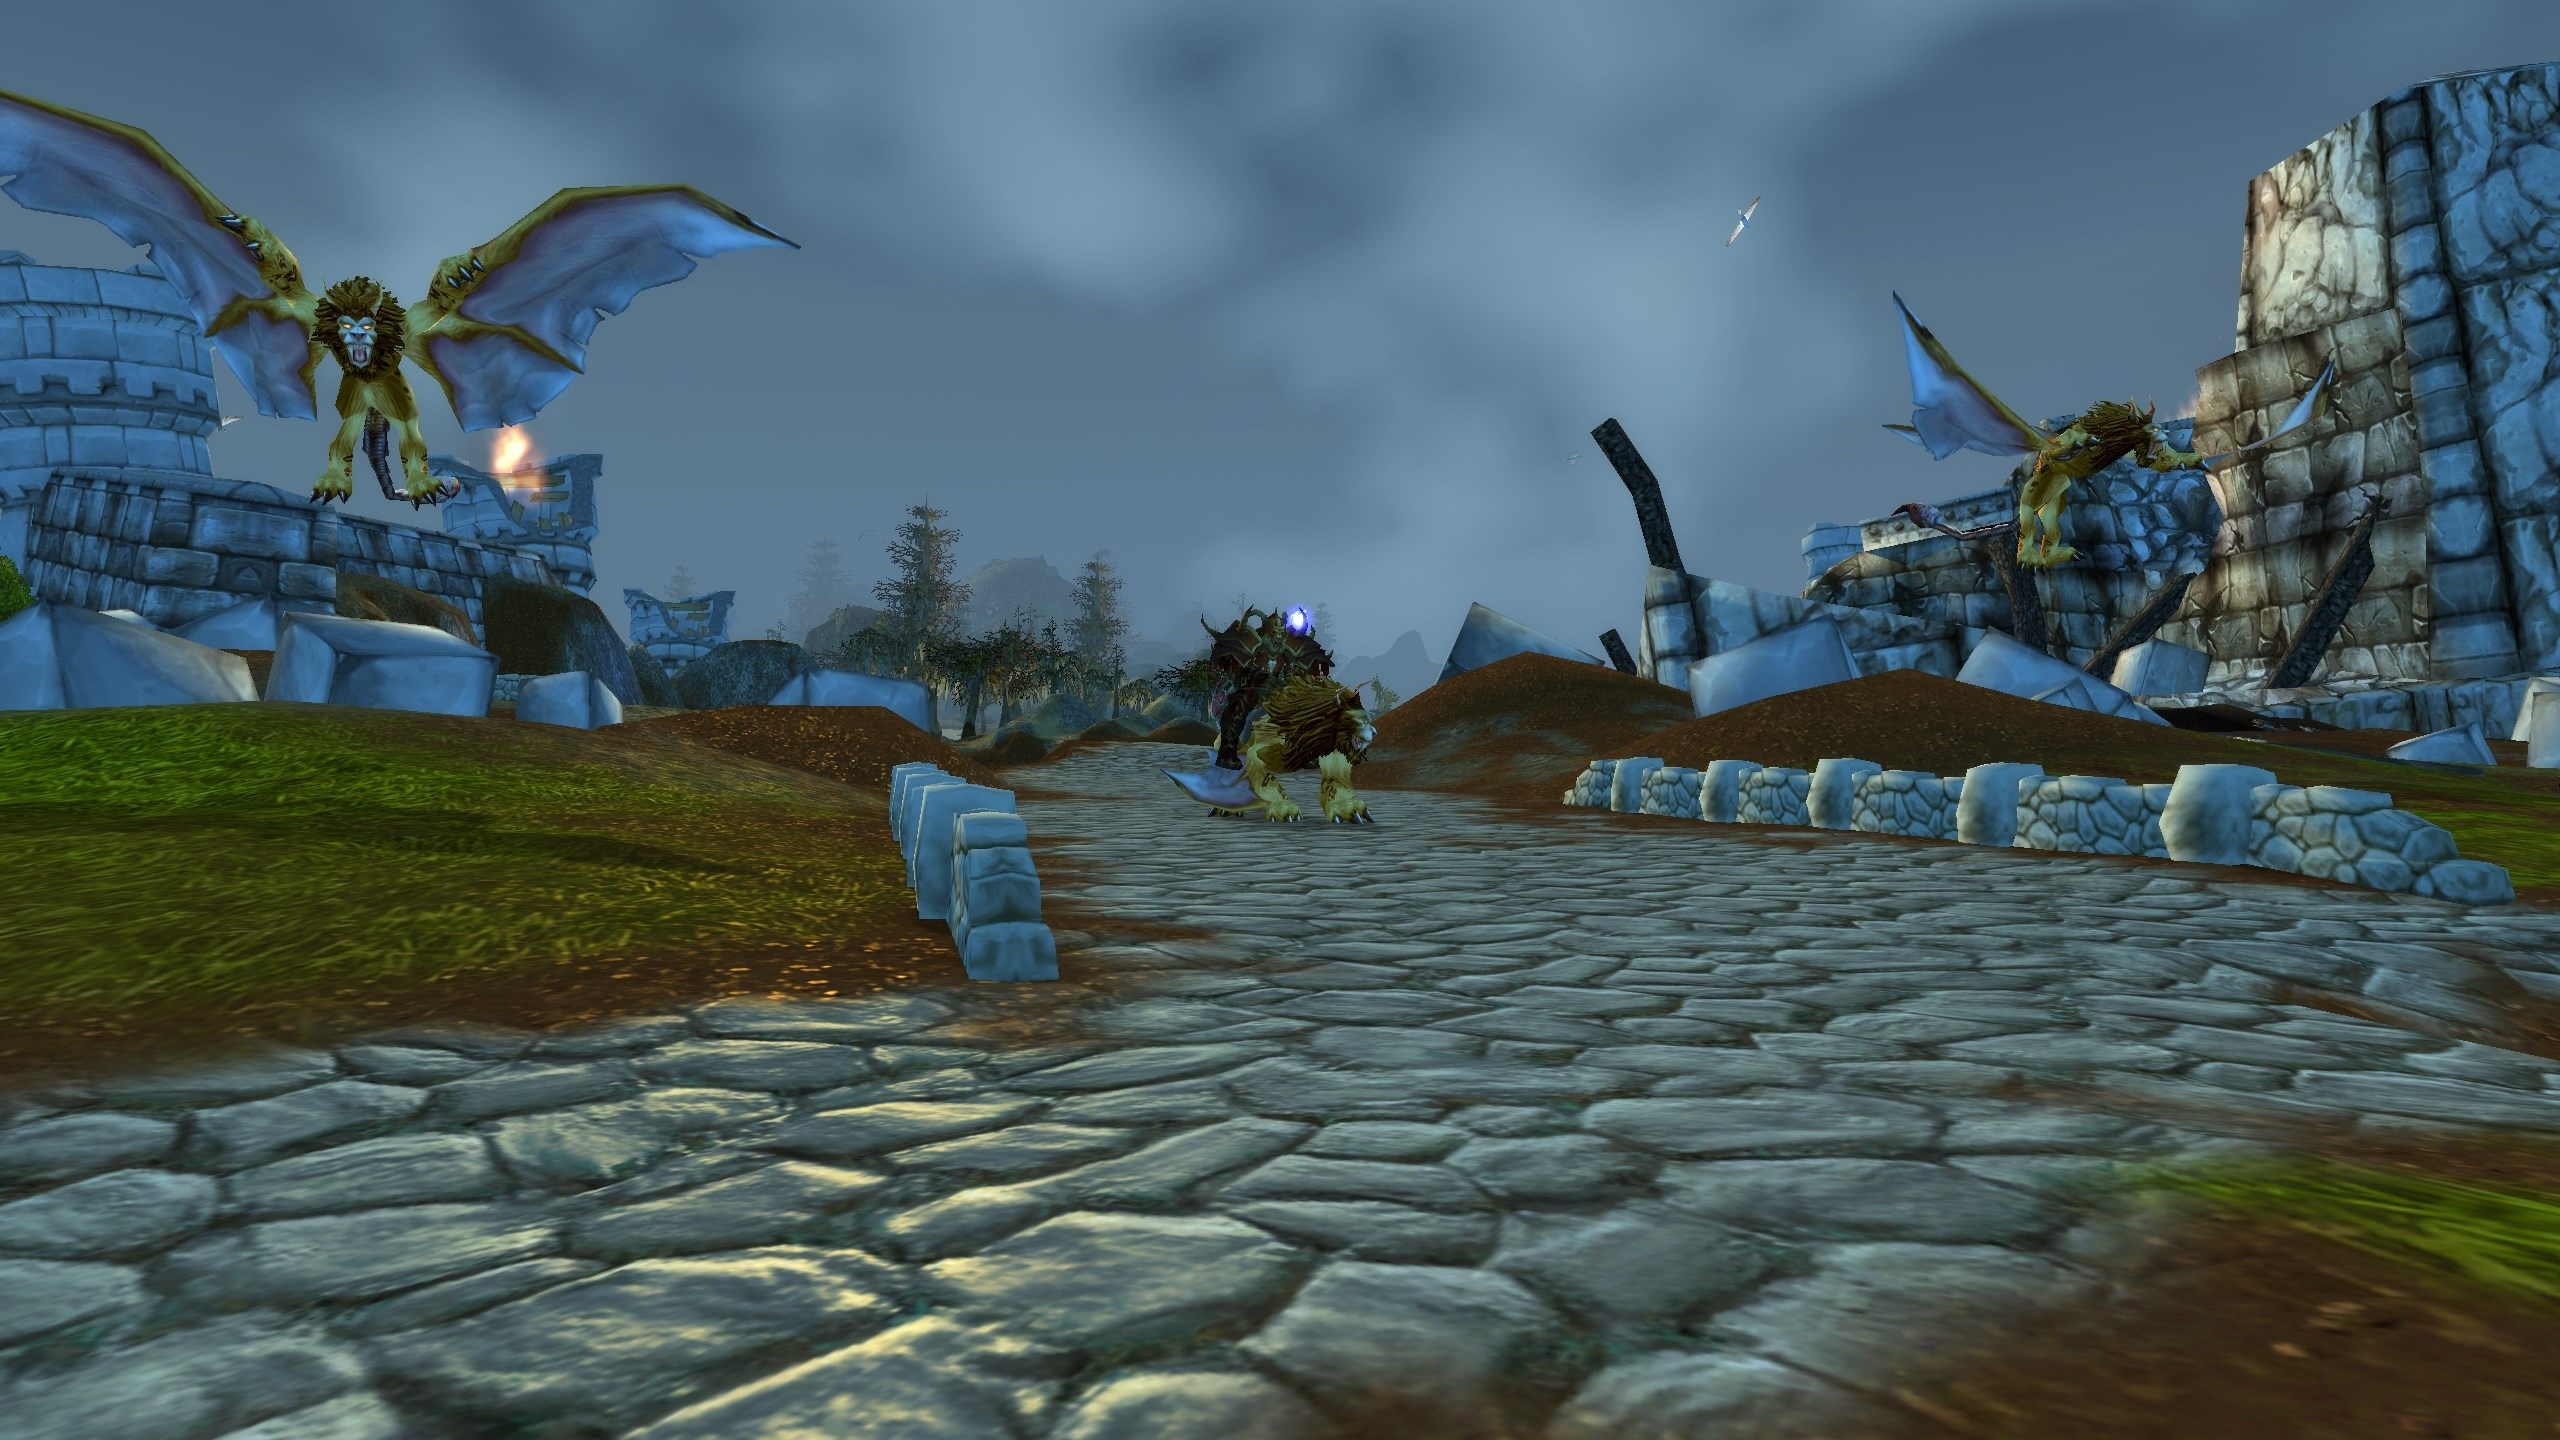
Objective: Slay Baldruc, Theramore’s gryphon flight master, and his two gryphons. The destruction of the docks alerts the Alliance air support. As you move further into Theramore, Alliance soldiers will attack in waves. Repel the initial charge and two subsequent groups of defenders that come to investigate the commotion. After you’ve cut through these forces, Baldruc swoops in on his gryphon, accompanied by an additional pair of war gryphons, to avenge the fallen. This fight mirrors what the Alliance faced with Gash’nul, but now you are the invader. Baldruc will drop Storm Totems that deal significant damage if not addressed. The key is to avoid or destroy his totems quickly while dealing with him and his beasts. Take out the two gryphon adds first to reduce incoming damage, as they can harass your whole party. Baldruc himself uses lightning attacks (empowered by those totems), and possibly a swooping strike. Keep moving to avoid any static AoE he places. Once Baldruc and his gryphons are slain, the skies are clear as Theramore has lost its aerial support.
Tips: Use this fight’s mechanics to your advantage. If you have a Shaman or someone with purge abilities, they might remove any buffs Baldruc gains. However, generally it’s easier just to destroy the totems. Coordinate target priorities: mark the totems or call them out so your DPS can swap and destroy them as soon as they spawn. If you’re melee-heavy, consider using defensive cooldowns when the totems are up, since you might be eating unavoidable damage until they’re gone. Ranged players can spread out to avoid chain damage from lightning. Remember, "Kite Fight" applies here as well: Horde players can earn the achievement by defeating Baldruc without killing any totems, meaning you’d have to kite him and endure the extra damage. This is tough, so attempt it only if you’re confident (and perhaps have healing to sustain through the storm). Otherwise, clear totems and finish him off systematically. After Baldruc falls, take a breather if needed – the next target is the Alliance’s heavy armor.
Objective: Destroy the Alliance’s heavy siege tank "Big Bessa" and sabotage the remaining unmanned tanks. Continue deeper into Theramore, heading toward the courtyard near the town’s keep/blacksmith area. Here the Alliance has a formidable siege engine nicknamed Big Bessa pounding away; you must take it out. Big Bessa functions similarly to the Gatecrusher from the Alliance scenario: it will randomly fixate on different players rather than staying on one tank. Keep an eye on who Bessa is targeting – that person should run or dodge to avoid a direct hit. Bessa’s attacks hit hard, so don’t be in front of it unless you enjoy being flattened. Fight and destroy Big Bessa, and once it’s scrap metal, turn your attention to the three smaller, unoccupied siege vehicles nearby. These are parked Alliance tanks that haven’t been manned yet – and you need to sabotage all 3. To do so, interact with each tank (likely clicking on them or a fuse on them). After a brief timer, each sabotaged tank will explode, so get clear of it quickly after arming it to avoid eating the blast. Sabotage all three. One of these tanks is actually "Captain Stormwall’s tank" – once you blow it up, you’ve effectively neutralized the last of Theramore’s heavy defenses. Stage 4 ends with the Alliance’s war machines in ruins.
Tips: This is another phase where the "No Tank You" achievement is in play – for Horde, it requires destroying Big Bessa without anyone being hit by its ram or cannon attacks. Achieving this means your whole team must be alert and on their toes: use slows or stuns on Bessa when it fixates, and have the targeted player run for dear life out of the telegraphed path of the charge or AoE. Even if you’re not achievement hunting, these are good tactics to avoid unnecessary damage. During the Bessa fight, also be mindful of any straggling Alliance infantry in the area – sometimes a few soldiers might be around the courtyard. It can help to clear them out first so they don’t join in when you’re busy with the tank. For the sabotage part, coordinate who will plant explosives on which tank if you want to speed it up, but make sure not to cluster around a tank that’s about to blow; you can sabotage one, move to the next, and by the time you arm the second, the first might be exploding safely behind you. Healers should top everyone off before sabotaging, just in case someone does get clipped by an explosion or Bessa’s parting shot. With all tanks destroyed, you’re nearly done – now it’s time to extract your asset and get out.
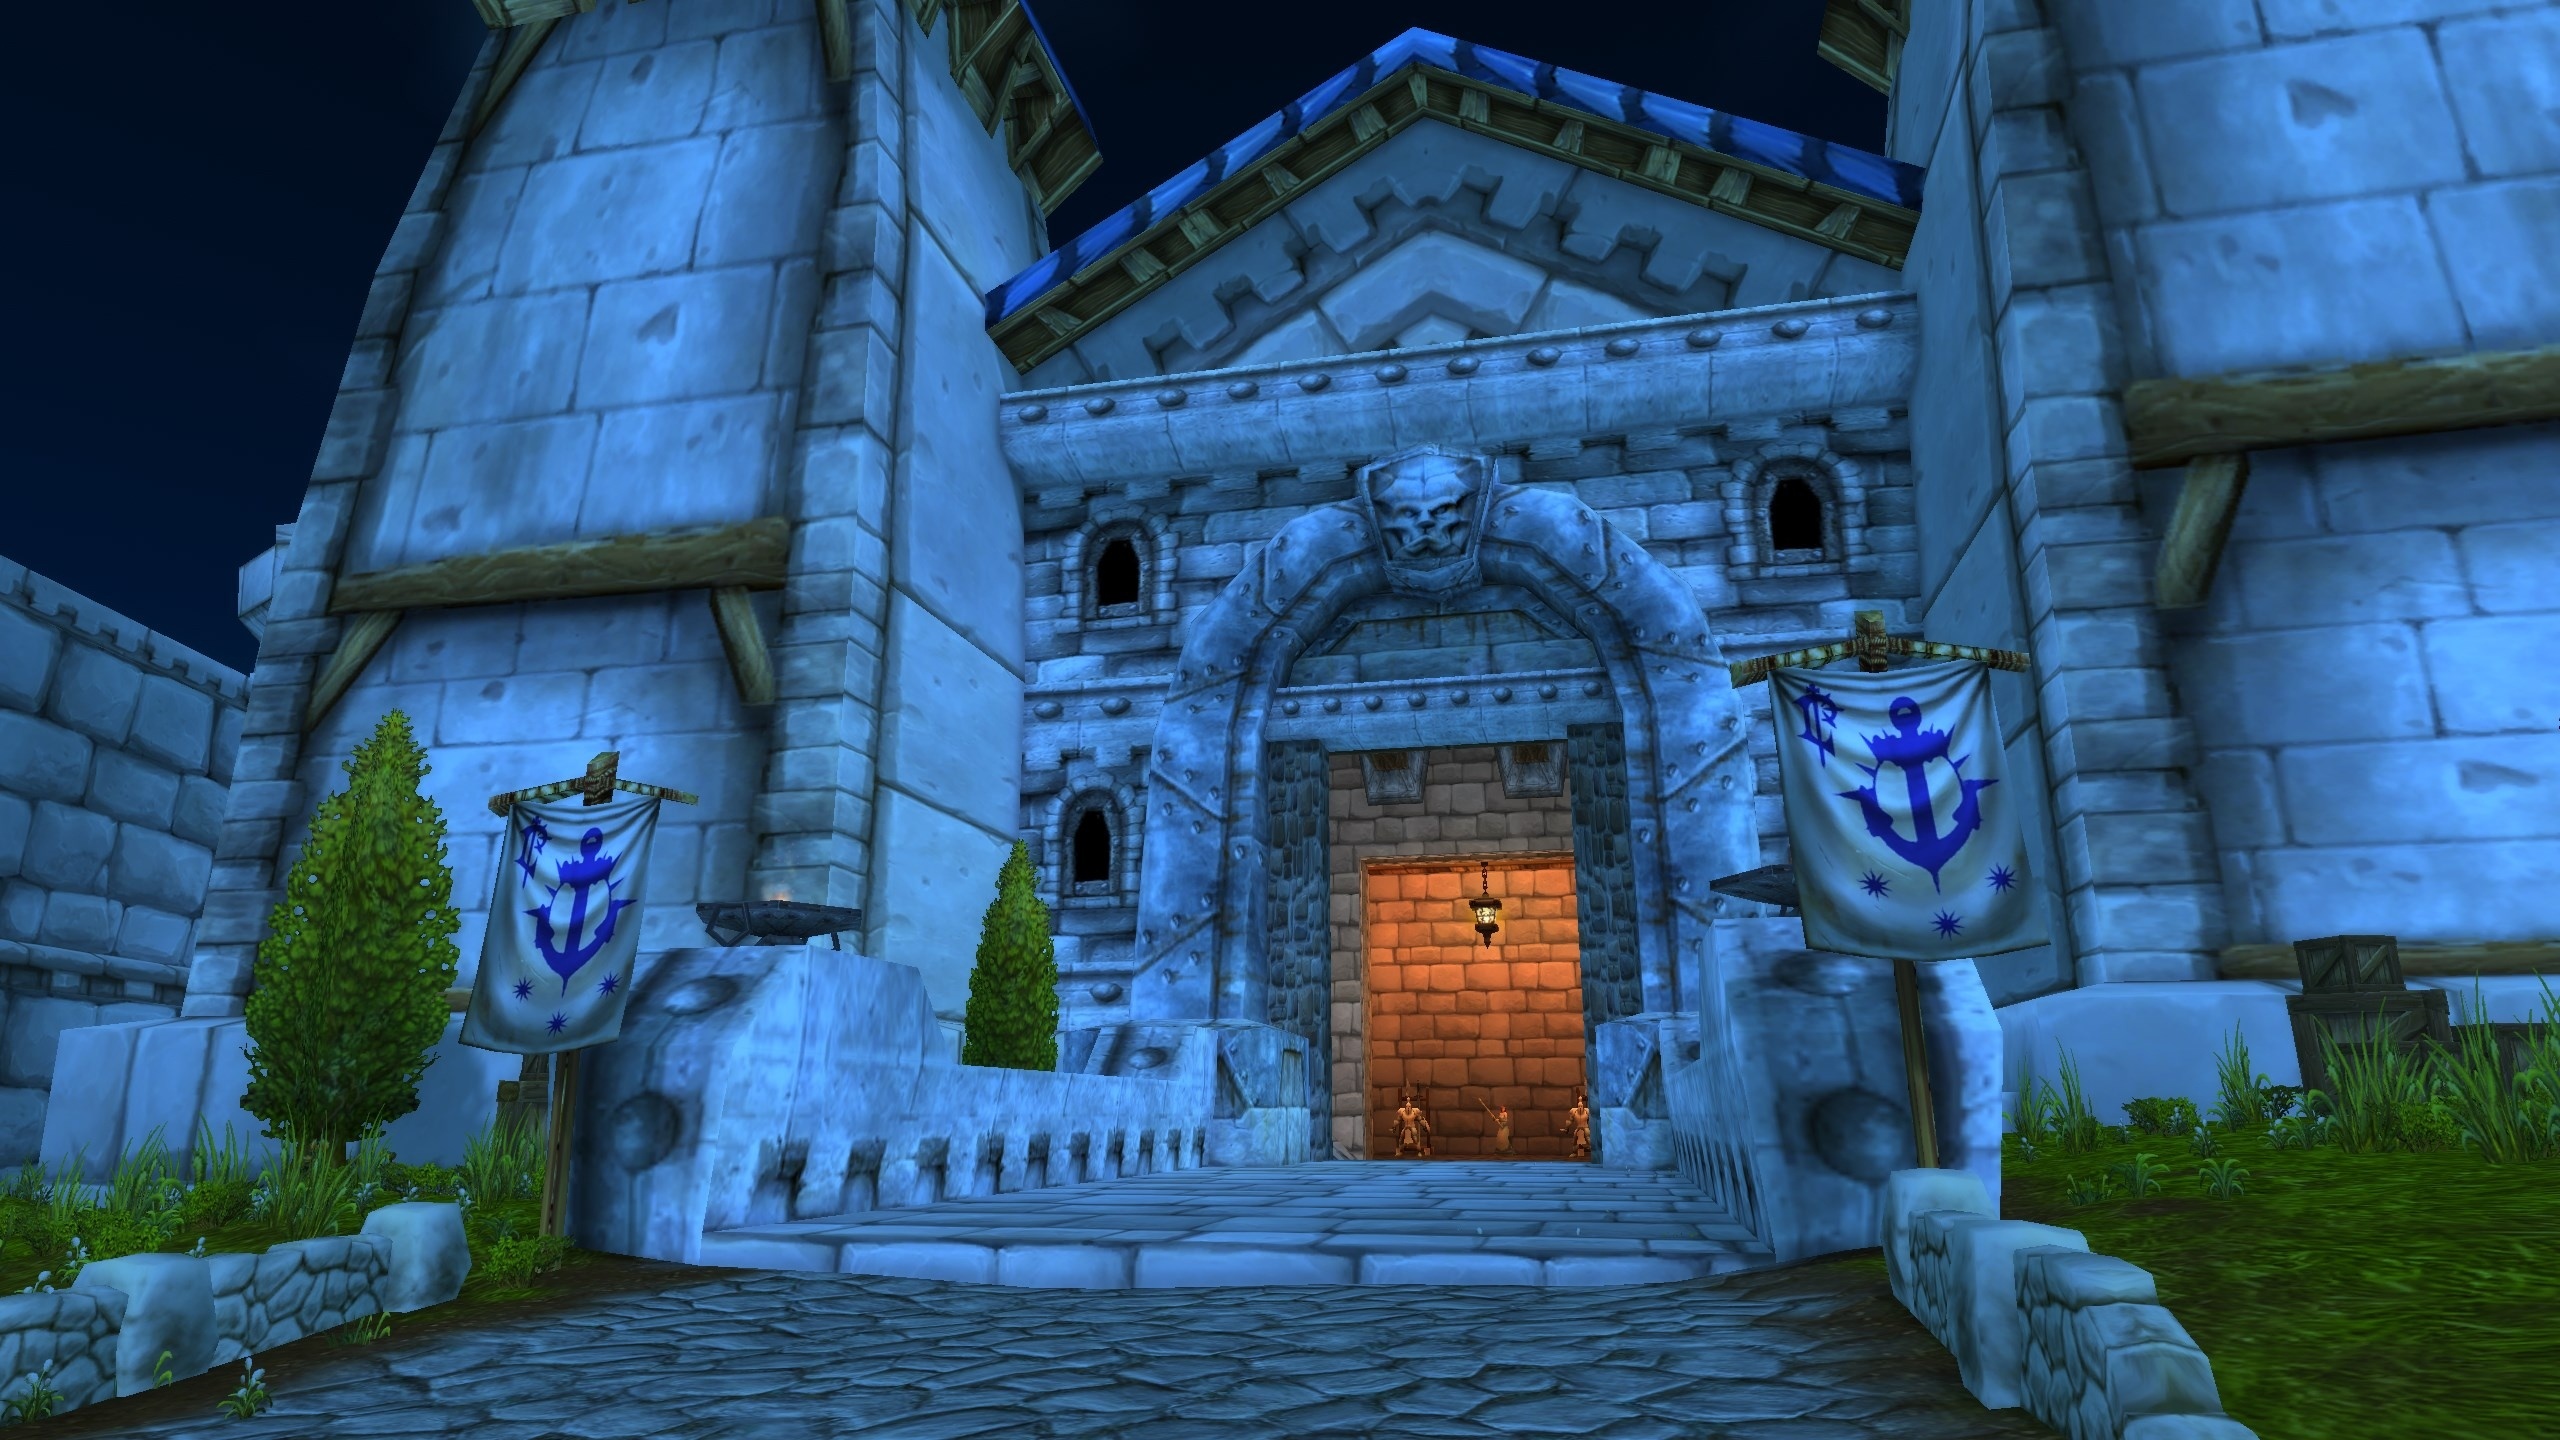
Objective: Infiltrate Foothold Citadel, slay Captain Hedric Evencane, and rescue Thalen Songweaver. Thalen, a Sunreaver agent, has been held captive inside Theramore’s keep throughout the fighting. With the city in chaos, you must break him out. Head east from the tank courtyard toward the Citadel – but avoid the central tower where Jaina Proudmoore, Archmage Rhonin, and Kalecgos are magically observing the battle. Enter the Citadel building and fight your way through the remaining Alliance guards inside. Make your way upstairs to find Captain Hedric Evencane, the commander of Theramore’s garrison. Hedric will engage you in a final duel. He has a similar fighting style to Warlord Rok’nah – wielding a sword and shield initially, then switching to a more aggressive stance with a dagger after you wear him down. Deal with Hedric’s defense (you might need to get through a shield-block phase) and then finish him off when he goes on offense. Once Hedric is slain, loot the [Arcane Shackles Key] from his body. Head down into the Citadel’s dungeon to find Thalen Songweaver locked in chains. Use the key to free Thalen. Our irritable blood elf spy is grateful (in his own snarky way) and will explain that the "failed" siege was a feint – the real plan is already in motion, as an airship carrying a mana bomb is en route to wipe Theramore off the map. Thalen then opens a portal for your team. Step through it promptly as time is almost up!
Tips: When dearing the Citadel, watch for casters or healers among the guards and prioritize them. It’s a tight indoor environment, so be cautious pulling groups in the halls. Against Captain Hedric, interrupt any spells he might cast (some captains throw heals or magic attacks) and be ready for his stance change when he drops his shield (his damage will spike, but his defense will drop – a good time to burn him down). Freeing Thalen doesn’t immediately end the scenario; ensure the whole party is near when you turn the key so nobody gets left fighting stray mobs alone. Once Thalen is free, follow his lead quickly. He’s basically telling you "get out now!" for good reason.
The moment your team enters Thalen’s portal, a cutscene will play. You’re taken back to the Horde airship high above Theramore, where the goblin captain gives a final sinister chuckle: “We’re gonna turn this place into a sinkhole, heh”. From the vantage point of the airship, you witness the mana bomb being dropped onto Theramore. In a blinding flash, Theramore is annihilated – mission accomplished. You and Thalen escape through the portal just in time, leaving the city to its fate.
Back in the aftermath, you’ll receive the Theramore’s Fall achievement for Horde and a letter from Thalen Songweaver shortly thereafter containing your Mini Mana Bomb toy reward (a grim souvenir of the operation). Well done – you’ve successfully executed Garrosh’s orders and ensured Theramore’s fall!
Mini Mana Bomb

Theramore Tabard
On your very first clear of Theramore’s Fall, Alliance players are mailed a Theramore Tabard, while Horde players receive the Mini Mana Bomb (that does a very cool explosion!).
Each completion also drops a bind-on-pickup bag, Spoils of Theramore, which contains:
Below you’ll find a table of every epic that can emerge from the Spoils of Theramore bag. Although the stats are frozen at ilvl 384, most pieces share unique or rarely-seen models, making them prized additions to any transmog collection. Helm enthusiasts will appreciate the ornate Circlets and tribal Rok’nah helms, while weapon hunters can pick up everything from sleek cutlasses to a vibrant gun and staff pairings — perfect for giving even max-level characters a fresh, distinctive silhouette.
| Theramore Arcanist’s Hat Helmet |
Squallshaper’s Hat Helmet |
Rok’nah Hag’s Hat Helmet |
Rok’nah Skirmisher’s Helm Helmet |
Rok’nah Raider’s Helm Helmet |
| Rok’nah Wolfstalker’s Helm Helmet |
Rok’nah Wolfcaller’s Helm Helmet |
Silver Circlet Helmet |
Black Circlet Helmet |
Golden Circlet Helmet |
| Skirmisher’s Spear Weapon |
Overseer’s Handaxe Weapon |
Marine’s Rifle Weapon |
Captain’s Cutlass Weapon |
Staff of the Faithful Weapon |
| Grunt’s Greataxe Weapon |
Marksman’s Blade Weapon |
Archmage’s Staff Weapon |
Sailor’s Scimitar Weapon |
Blood Guard’s Shield Shield |