Final Fantasy 14 Dancing Mad Ultimate is a seventh ever released Ultimate raid and one of the key novelties of Patch 7.51. Now, it looks like one of the most challenging encounters in the game history, which requires players to exactly complete all the boss mechanics. In our FFXIV Dancing Mad Ultimate guide, you will find all you need to know about this encounter: how to unlock Dancing Mad Ultimate, the best party composition for the fight with Kefka, tactic details, and raid rewards.
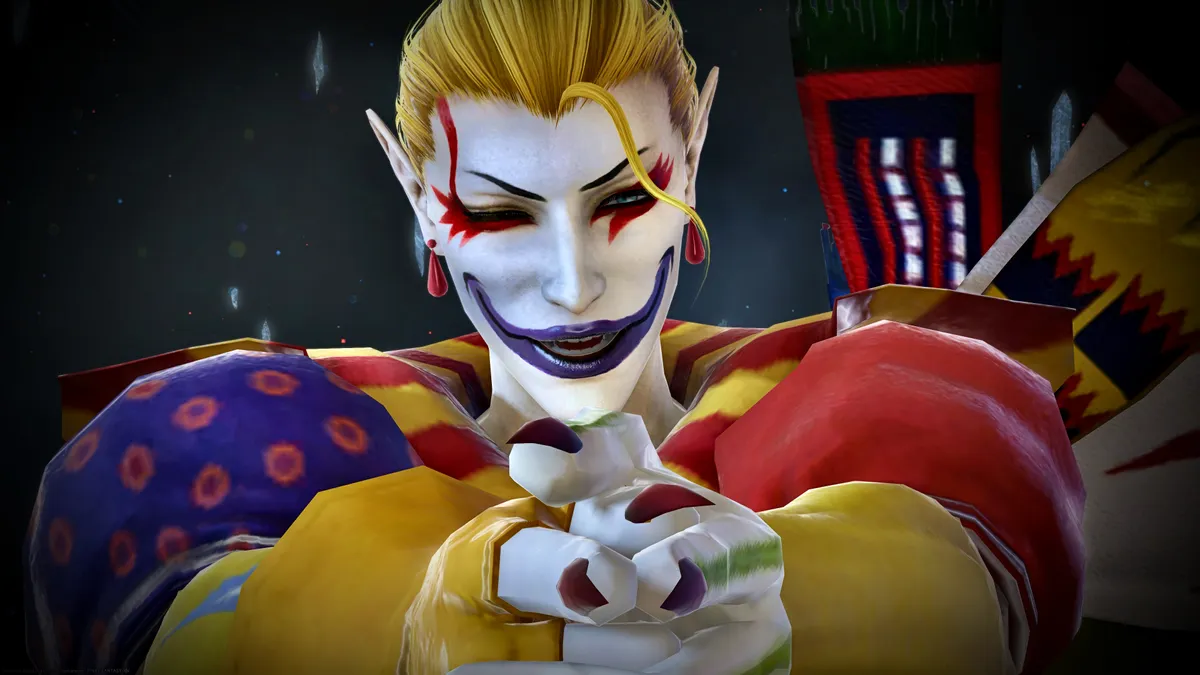
The first thing you should know is that Dancing Mad Ultimate is something of a reimagining of Sigmascape V4.0 (Savage) from the Omega raid series, featuring Kefka Palazzo from Final Fantasy VI as the sole boss. For the Patch FFXIV 7.51 encounter, Kefka was massively redesigned: the developers updated the boss's visuals, added new voice acting, and constructed tricky transformation phases that make this challenge far harder to conquer compared to its Savage predecessor.
But there's a catch: the only rewards you can obtain by completing the Dancing Mad Ultimate challenge are cosmetic. If you're looking for gear of the highest possible item level, you won't get any, because the gear ceiling is already finalized at the raid's release. So, you should only plan to storm Dancing Mad Ultimate if you want to earn the new Ultimate Diamond Weapons, the title, and the plate items. On the other hand, you can simply skip this encounter.
Before you can start the fight with Kefka's ultimate form, several strict requirements must be completed. Let's break down all of them in detail:
Once you've completed all the preparation steps, you can finally unlock Dancing Mad Ultimate. To gain full access to the encounter, you need to:
Now, let's talk about the encounter tactics in detail.
While the Dancing Mad Ultimate raid rewards players with only cosmetic items, the difficulty of the encounter is still very high. To conquer it, your team needs great chemistry, the right job composition, and strict execution of the tactics. Some phases of the fight only become available after solving tricky riddles, so you need to prepare thoroughly for a Dancing Mad Ultimate run.
As mentioned, the Dancing Mad Ultimate raid is a challenge for 8-player groups. And while nearly all jobs are perfectly viable in Patch 7.51, some shine more in Ultimate runs due to their consistency and utility, which can be more important than the extra damage other jobs might offer. Another key factor in conquering Dancing Mad is the mitigation mechanic, so the right group composition will make your raid run much smoother. Now, let's take a look at the most common and successful Dancing Mad Ultimate job compositions:
That said, even if you have the perfect group in terms of jobs, you still need to learn the tactics and understand what you need to do during each specific stage of the encounter. Below, we'll share the key tactical points you should keep in mind throughout the five phases of the Dancing Mad Ultimate fight.
It is important to assign role numbers, split into Support (west) and DPS (east) groups, and form two light parties with clock positions before the fight starts. The phase mixes combat with a hidden puzzle required to unlock Dancing Mad Phase 3.
Kefka boss uses a conal tankbuster and cycles through three Graven Image segments. The key mechanic involves Kefka telegraphing attacks while floating rings with question marks indicate whether the telegraph is real or fake - if fake, the opposite happens. Now, let's talk about Graven Images:
To avoid the enrage phase, you should bring Kefka below 15% HP. If you hear the specific voice line which confirms the puzzle was solved, Phase 3 is unlocked; any other line means failure, but you still can start the Dancing Mad Phase 2.
The core of the fight revolves around the complex Forsaken mechanic:
After Forsaken, resolve Trine (falling triangle AoEs) and Wings of Destruction (half-room cleaves), which is followed by a two-hit tankbuster. Finally, Kefka must be reduced to 1 HP before he enrages. Be aware that if you fail to solve the Phase 1 puzzle, your treasure coffer will be empty.
Kefka summons Exdeath from the Deltascape V4.0 (Savage) Phase 1 and Chaos from the Alphascape V1.0 (Savage) bosses and becomes untargetable.
At the start, players split into two groups of four based on proximity to each boss, gaining debuffs that prevent attacking the other. The phase revolves around two complex multi-part mechanics:
The phase ends with Blizzard III puddle baits, role-based 4-player stacks from Chaos, and two-player towers from Kefka. Roles alternate: stack role goes middle, tower role takes light party towers, then they swap. A final Blizzard III motion check and Big Bang dodge conclude the phase. Kill both bosses before enrage to progress.
Kefka becomes targetable and grants his real/fake mechanic to all three bosses. Every cast from any boss can now be real or fake, indicated by a question mark ring, and this status must be remembered as it determines how debuffs are resolved. During this phase, Kefka will fight toward the Chaos and Neo Exdeath, Exdeath's powered up Phase 2 form from Deltascape V4.0 (Savage).
The phase applies debuffs through three Grand Cross casts from Neo Exdeath. The first two Grand Crosses each give players Compressed Water (stack or spread), Forked Lightning (spread or stack), Cursed Shriek (look away or look at), and two Acceleration Bombs (stillness or motion, one short and one long timer). Between these, Chaos casts Tsunami (donut or circle AoEs) or Inferno (circle or donut AoEs), and Kefka casts Mystery Magic (ice and lightning dodges). The short-timer debuffs from Grand Cross 1 and 2 resolve first, later in the sequence.
Grand Cross 3 applies Black Wound or White Wound (lethal damage from matching or opposite color) and either Allagan Field (must avoid lethal damage) or Beyond Death (must take lethal damage). Neo Exdeath then casts Flood of Naught, a two-sided half-room cleave with Black Antilight and White Antilight. Players resolve their Wound and Field/Death debuffs by standing in the correct colored side based on a simple rule: Allagan Field players stand in the opposite color of their Wound, Beyond Death players stand in the same color, and both reverse if Flood is fake.
The short Water, Lightning, and Acceleration Bomb debuffs then resolve with Supports stacked north and DPS south, spreading one player per role as needed. Kefka casts Mana Charge, recording a Thunder and Blizzard cast for later. Short Cursed Shrieks resolve next (players stand out and party looks away if real; stand in and look at if fake) while dodging Thunder AoEs. Then the short Tsunami/Inferno debuff resolves with a stack-and-move or stack-and-stay pattern.
The long Water, Lightning, and Acceleration Bomb debuffs resolve during a Blizzard dodge, followed by long Cursed Shrieks. Finally, Kefka casts Mana Release, replaying the recorded Thunder and Blizzard mechanics-but with its own real/fake twist: the release is fake if one recorded cast was real and the other fake, and real if both were the same. The long Tsunami/Inferno debuff resolves during this, requiring precise movement into safe zones.
Bring Kefka below 25% HP to survive Ultima Upsurge and progress to the final phase.
The final phase opens with Ultima Repeater, a four-hit raidwide requiring early mitigation. Auto-attacks called Fell Forces are role-based triple stacks (Tank, Healer, DPS) and occur throughout the phase.
There are the main mechanics you will face during the final Kefka phase:
The final mechanic is Forsaken, Kefka's enrage sequence. The party stacks south, then rotates clockwise (west, north, east, south) after each stack and baited AoE, as Kefka destroys sections of the arena. Only one safe quadrant remains. Kefka then begins casting Forsaken Null; kill him before the cast ends to clear the encounter.
We know you're hoping this long fight comes with rewards. Sure, that's right. And while all of them are cosmetic, we're sure you don't want to miss any. Completing the Dancing Mad Ultimate raid and taking down Kefka rewards you with the cosmetics from the list below:
To exchange your Kefka Totems into the chosen Ultimate Diamond Weapons, you should find Uah'shepya in Solution Nine. And don't forget to check out our Gil Farming Guide to get ready for the raid run.
Good luck hunting for your desired rewards, conquer! And don't forget that we're always ready to help you in your adventures with our Dancing Mad Ultimate service.